To write an original text in your word processor, you can use special characters of different fonts available on your system. But if you cannot find the one that fits your needs you can create him by yourself. Windows does indeed have a hidden utility called Private Character Editor, which allows you to draw your own pixel characters, which you can then reuse freely inside your documents. In this tutorial I will show you where to find this tool and how to start designing your own font/character.
Launch the Private Character Editor
Private Character Editor is a hidden utility in Windows that will allow you to create your own characters.
Step 1: Click Start menu, inside search field type eudcedit and confirm by pressing Enter on your keyboard
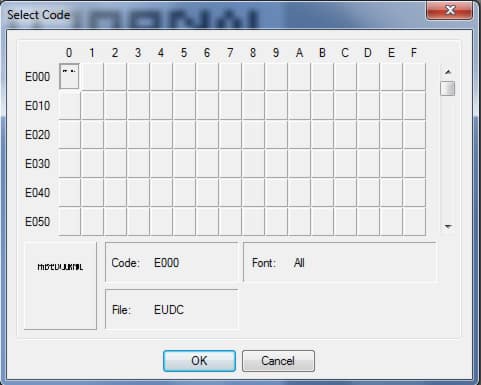
Step 2: A blank grid is displayed. Click the first box (E000) and click OK.
Draw a character
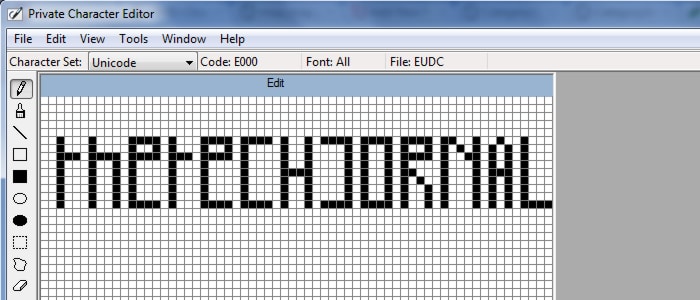
Step 1: A new grid appears. It represents the pixel canvas for your future character.
Step 2: Now draw your character using the tools of the left bar.
Step 3: Left mouse click in a box to create a pixel right mouse click to remove the pixel.
Step 4: To help you in your path, click the View menu and then click Show Outline. A red line providing an overview of your route is displayed on the grid.
Step 5: You can also have a help character reference as your model. Just click on the Window menu and then click Reference. Select the character from which you want to go and click OK.
Save the character
Once you have designed your character, you must register him. You can then reuse it in your documents. Here is how to do that
Step 1: Click the Edit menu and then Save Character.
Step 2: Then click on the Edit menu and click Select Code.
Step 3: The character grid is displayed. Your character is present. Click it if you want to change it again.
Step 4: After that, if you want to create new characters, use an empty square in the grid of characters.
Use the character
You can now use your character in your text.
Step 1: Open your favorite word processor.
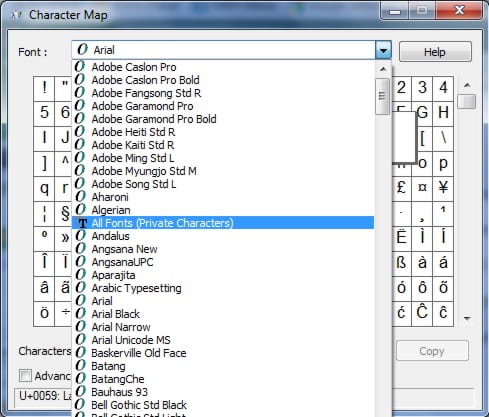
Step 2: Then click the Start button, clicking All Programs, Accessories, System Tools and then Character Map.
Step 3: Then select the font, All Fonts (Private Characters).
Step 4: Double click on your character.
Step 5: Click Copy.
Step 6: Back in your word processor, paste your character in your text with the keyboard shortcut Ctrl + V.
[ttjad keyword=”all-in-one-desktops”]


![Read more about the article [Tutorial] How To Fix Galaxy Note 2 Wi-Fi Problems](https://thetechjournal.com/wp-content/uploads/2013/01/wifi-note-2-fix-ttj-logo-512x245.jpg)
![Read more about the article [Tutorial] How To Disable Auto-Play Of Facebook Videos In Android](https://thetechjournal.com/wp-content/uploads/2014/11/FA-432x768.png)
![Read more about the article [Tutorial] How To Sync Windows Paid Apps on Other Windows 8 Computers](https://thetechjournal.com/wp-content/uploads/2012/10/microsoft-store-a7s8d95s4df54s654df-512x289.jpg)