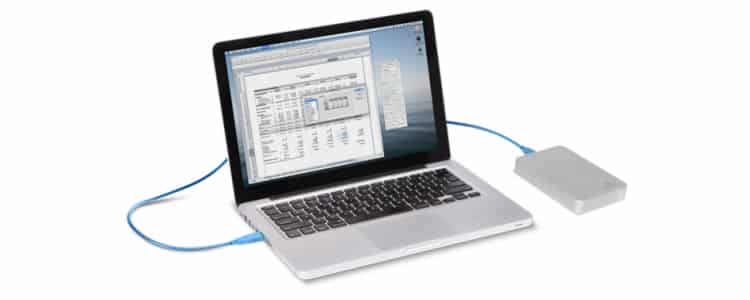
Whether you are planning to make a clean installation Mac OS X or you need much larger file to store more files, in both cases you will need to format your hard drive. Formatting hard drive in any operating system is not a complicated procedure, and it’s the same with Mac OS X. In this tutorial I will go through all steps you need to follow in order to format your entire hard drive or just a hard drive partition.
To get started follow steps below
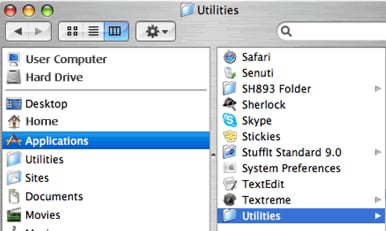
Step 1: In the first step, you need to go system drive, generally named “Macintosh HD.”
Step 2: Go to the Applications and after that choose “Utilities”
Step 3: Then double-click the “Disk Utility” application program in order to open it. Then a new window will arise. This window will give you a list of the hard drives presently mounted on the laptop or computer.
Step 4: Choose the hard drive that you want to format on the left. Here you should keep in mind that it is impossible to format startup hard drive unless the system drive has booted completely from the Installed Disk. One most important point you should note that, formatting the startup hard drive will enduringly remove the data and information stored on the hard drive. So, if you are thinking on removing the startup hard drive, then back up all vital files, folders, and applications.
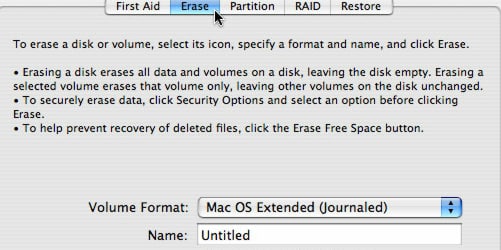
Step 5: In this step, you need to click on the “Erase” or “Delete” button to the right side of the list of hard drives. Then the window or tab will show the menus for deleting the disc and formatting it in order to work on the Mac computer or laptop.
Step 6: Choose the “Volume Format” option from the list. In maximum situations, it’s finest to leave it at “Macintosh OS Extensive (Journaled)” because this is mainly the default. This default setting is the most excellent menu for working Macintosh OS X.
Step 7: Select the format option that best suits with your needs. In this point, if you have any question regarding the hard drive formats, then you can see Mac user’s manual.
Step 8: In this step, you need to rename the drive. According to you wish type a name for the hard drive in the part where it asks you for the name. You should remember that this given name will appear when the hard drive is mounted on a Mac computer or laptop.
Step 9: Press the delete key. A new window will ultimately open and will ask to verify the delete process.
Step 10: Press the “Delete” key in this pop-up window in order to start the procedure of deleting the hard drive. When this procedure will be completed, then the hard drive will come out with the given name on the left corner of the pop-up window in the list of all hard drives. You will see the name of your formatted hard drives in the hard drives list on the screen of the Mac laptop or computer.
[ttjad keyword=”mac”]


![Read more about the article [Tutorial] How To Add New Sounds Inside Microsoft Office Applications](https://thetechjournal.com/wp-content/uploads/2012/07/office-sounds-ttj-logo-512x262.jpg)
![Read more about the article [Tutorial] How To Handle Notifications In Windows 8](https://thetechjournal.com/wp-content/uploads/2012/11/toast-notifications-ttj-logo-512x185.jpg)
![Read more about the article [Tutorial] How To Install Apple watchOS 3 Beta Certificate](https://thetechjournal.com/wp-content/uploads/2016/08/chrome_2016-08-14_10-05-19-512x288.jpg)