Have you accidentally deleted one or more photos from your camera’s memory card, mobile phone or your computer? Don’t worry, with Recuva data recovery tool, you can effectively recover photos from your memory card and your hard drive. Follow this tutorial step by step to learn the recovery process.
Before proceeding to below steps make sure you download Recuva app from Piriform website and install it in your Windows system. Once the installation is complete continue to the steps below.
Step 1: Before starting the recovery of the deleted photos, you need to scan the drive and search for deleted files using Recuva. Insert your memory card or connect the USB from which you have lost your photographs.
Step 2: Start up Recuva from the desktop and from the Start menu.
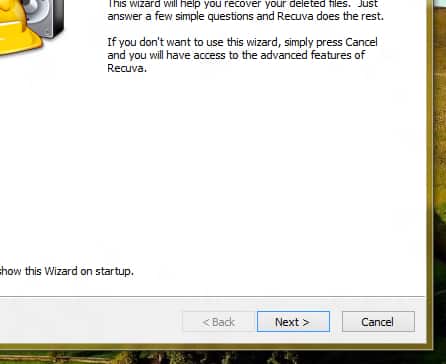
Step 3: In the window that opens, click Next.
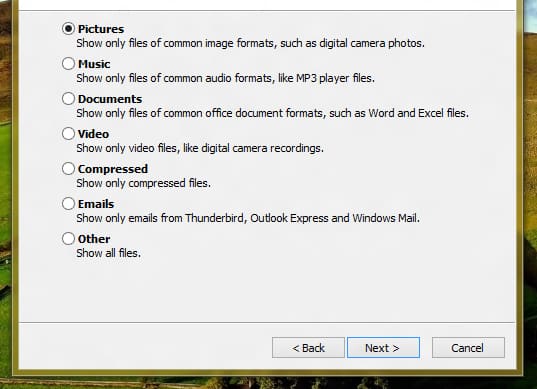
Step 4: Leave the option named Pictures selected, and then click Next.
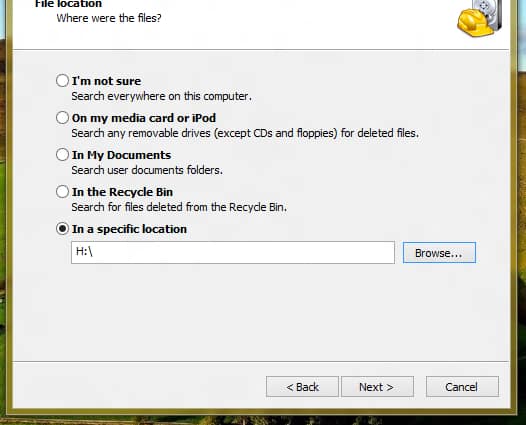
Step 5: Select the location where the pictures were deleted from. For example, you can select On your media card or iPod or can show specific drive path using the drive letter. Once you have selected the location, click Next.
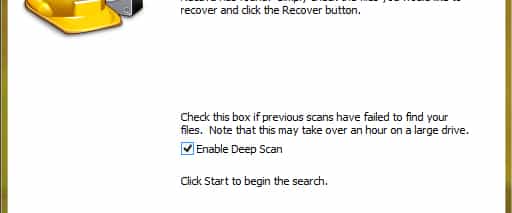
Step 6: If you want to get better results from this scan make sure you select a check box in front of Enable Deep Scan. By enabling this feature your photos have greater chances to be detected. However, it will take more time for the scan to finish.
Step 7: Finally click on the Start button.
Step 8: The specified location you selected in Step 5 is then analyzed.
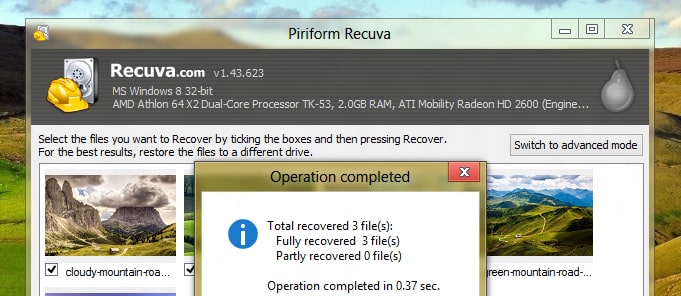
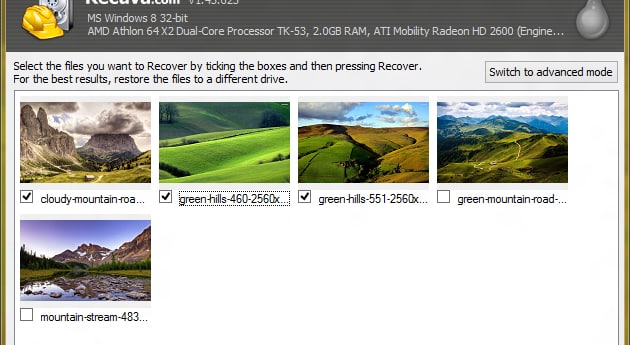
Step 9: Once the scanning process is finished, Recuva will display a thumbnail of pictures that can be recovered.
Step 10: Select the checkbox in front of deleted pictures that you wan to recover.
Step 11: Click on the Recover button.
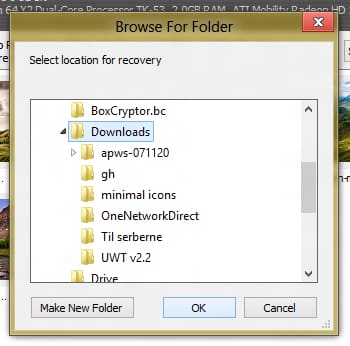
Step 12: Select the folder in which you want to copy the recovered pictures (it should be a separate folder in a separate drive). Click on Next to proceed.
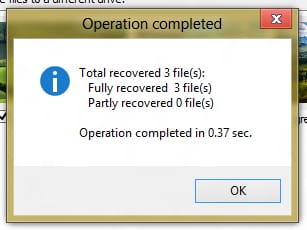
Step 13: The recovery process will take few seconds or up to several minutes depending on how many photos you selected to recover. Once it is complete, click on the OK button.
Step 14: Open Windows Explorer and go to recovered photo folder which you have specified in Step 12. You will find all photos you have selected in Step 10. Remember to keep them safe now!
Let us know, whether this tutorial was helpful or not.
[ttjad keyword=”hot”]


![Read more about the article [Tutorial] How To Disable Auto-Update Of Android Apps](https://thetechjournal.com/wp-content/uploads/2014/11/GPS-432x768.png)
![Read more about the article [Tutorial] How To View Thumbnails Of Your Favorite Websites In Mozilla Firefox](https://thetechjournal.com/wp-content/uploads/2012/05/speed-dial-setup-popup-window.jpg)
![Read more about the article [Tips] How To Fix A Scratched Xbox 360 Game Disc](https://thetechjournal.com/wp-content/uploads/2012/04/fix-dvd-logo-512x236.jpg)