If you need to have quick access to Windows 8 Administrator Settings and Options from your Start Screen you can add them with few mouse clicks, but even if you add them, it won’t be quite easy to find the one you need. That’s why, in this tutorial I will show how to add all your admin settings inside Windows 8 Start screen and then organize them into groups.
Let’s get started.
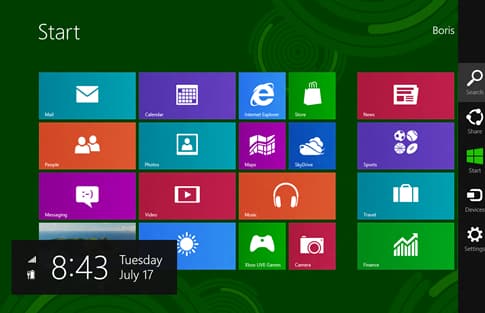
Step 1: From your Windows 8 Start screen, press Win+C on your keyboard or, move your mouse in the top right corner of your screen to bring the Charm Bar.
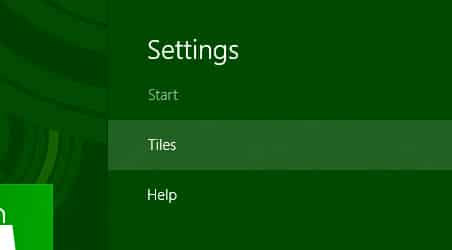
Step 2: Inside the Charm bar click on Settings and then click on Tiles to show up the Start Screen Tiles settings.
Step 3: Now inside Tiles you can turn on the option to Show administrative tools by sliding the button from No to Yes.
Step 4: Close the window and all administrative tools should now be visible inside your Start screen. Since there are so many tiles on your Start screen it would be great to organize them the way you like.
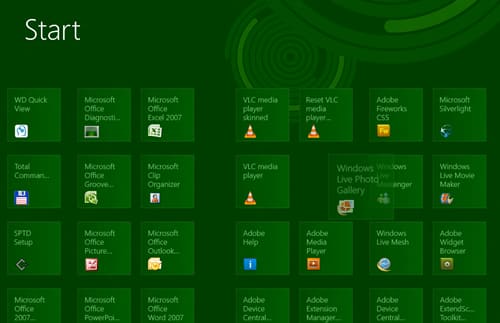
Step 5: Put similar apps next to each other by dragging them while pressing the left button of your mouse.
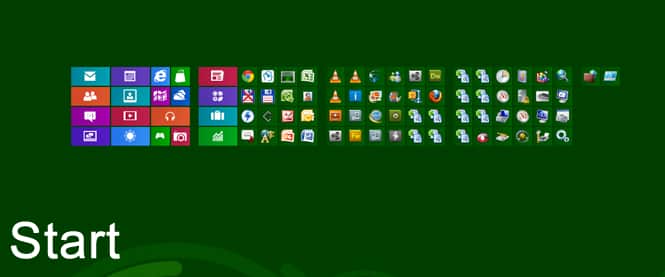
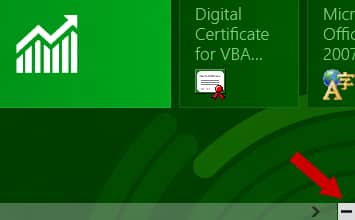
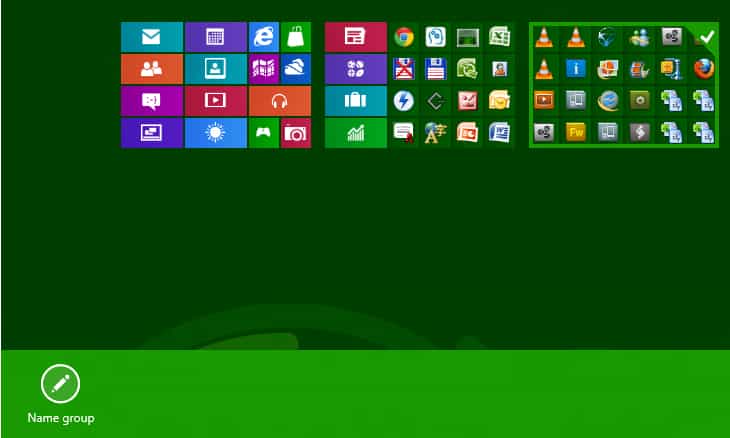
Step 6: To organize the Windows 8 Start screen click on the small negative (-) icon at the bottom right of your screen and all icons will become smaller (they will zoom out) which gives you a better view of all icons.
Step 7: Now right-click on a group of tiles and at the bottom left of your screen you should see an option called Name Group.
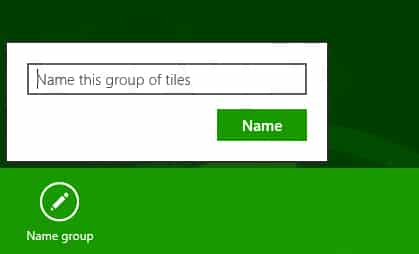
Step 8: Give a name to your Tiles Group and press Name to create the group.
Step 9: Once you are done with tiles and groups organization, click on zoom in button in the bottom right to zoom in your Start Screen.
[ttjad keyword=”ssd”]


![Read more about the article [Tutorial] How To Turn Off Store App In Windows 8](https://thetechjournal.com/wp-content/uploads/2013/01/store-app-disable-windows-8-ttj-logo-512x210.jpg)
![Read more about the article [Tutorial] How To Detach A Device From Dropbox Account](https://thetechjournal.com/wp-content/uploads/2013/01/login-dropbox-as5s6a54e8r7w98e7r9.jpg)
![Read more about the article [Tutorial] How to Hide From Annoying Friends On Facebook Chat](https://thetechjournal.com/wp-content/uploads/2013/01/advanced-settings-wer7w98e7r9we.jpg)