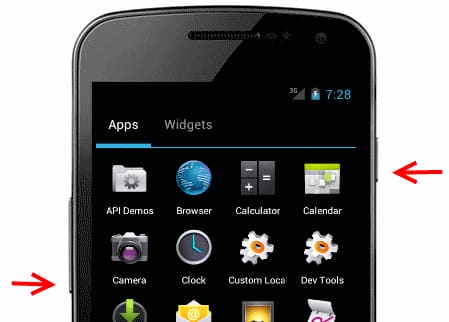
Thanks to XDA forum, we have an image of the Android 4.1 version for the Galaxy Nexus which was given at the Google I/O 2012. So if you are one of those who like to be trendy, this tutorial will teach you how to install Android 4.1 on your Galaxy Nexus. The idea is to unlock the bootloader to be able to install ClockworkMod, we will flash the phone in recovery mode with the Android 4.1 ROM. The process of installing the recovery includes loss of data, so it is advisable to backup your data.
Once you have backed up your data you can continue steps below in order to upgrade your Galaxy Nexus to Android 4.1 Jelly Bean
Step 1: Download ClockworkMod and also download the Android 4.1 Rom.
Step 2: Before you proceed to below steps save the zip file and the Rom, on your phone’s internal storage.
Step 3: Now unlock the bootloader by following this tutorial. Note that this will clear you SD storage.
Step 4: Put the phone in FastBoot mode by holding down the volume up and down together and then press power button.
Step 5: Next install the recovery ClockworkMod which you previously uploaded to your phone using command fastboot flash recovery directorio/fichero.img. The directory and file name depends on where you have made the upload.
Step 6: Do not restart your phone yet! Once installed press the volume button to select the option Restart bootloader and press the power button. This is necessary because when you install from the command line you have to reboot to access the recovery, but if you do a normal restart with the factory rom you will crush the recovery.
Step 7: Now press the volume button down to select Recovery Mode and press the power button.
Step 8: After restart you will be in the new Recovery ClockworkMod, now it comes the easy part.
Step 9: First format the partitions and data cache. Note that this will remove all data from your phone so make sure you backed up your important data from the phone. Again use the volume buttons and scroll to the wipe data / factory reset and run it. Then do the same with wipe cache partition.
Step 10: Finally we will perform the installation by simply taping on the option install zip from sdcard and locate the zip of the rom we have uploaded to the phone in Step 2.
[ttjad keyword=”android-phone”]


![Read more about the article [Tutorial] How To Get Desktop Notifications When You Receive Updates On Google+](https://thetechjournal.com/wp-content/uploads/2012/03/google+-512x239.jpg)
![Read more about the article [Tutorial] How To Make Your Photo Look Old](https://thetechjournal.com/wp-content/uploads/2012/09/choose-file-56aa5a56aa5a55a5a5ddews.jpg)

does my samsung galaxy need to be rooted to do this?