You wanted to rename some files and that files are actually huge. But it needed more time, patience and much more concentrated to rename those files. We are here with a simple trick, that will let you rename multiple files at once on mac and save your precious time.

In mac, there has lots of functionality and options. Mac is useful OS if you know what functionalities and that uses. Otherwise, you can’t do much more work. But there should be some shortcut option, right? Here we are – with the shortcut that you were dreaming for. If you wanted to rename files altogether then you can use that shortcut. So you can quickly rename those files at a single click.
What is Batch Rename Files?
Batch Rename Files means renaming a group of files at once. Before the release of Yosemite, you had to use third-party software like Automator to renaming a group of files. But now you can easily use this feature without installing third-party software. Apple is working harder to make Mac more useful. So they made a shortcut option to rename it automatically.
Why you should use the Batch Rename Files?
Suppose, you have to rename lots of files like camera files as you captured too many. So, your files are in “DSC101” format and for example, now you want to change this format to “Pic no. 101” for every photo. It could be a very lengthy process. So you can change or rename all of those files name with few clicks. You don’t have to rename each file individually. Let’s see how to do it:
Step 1: Open the Finder
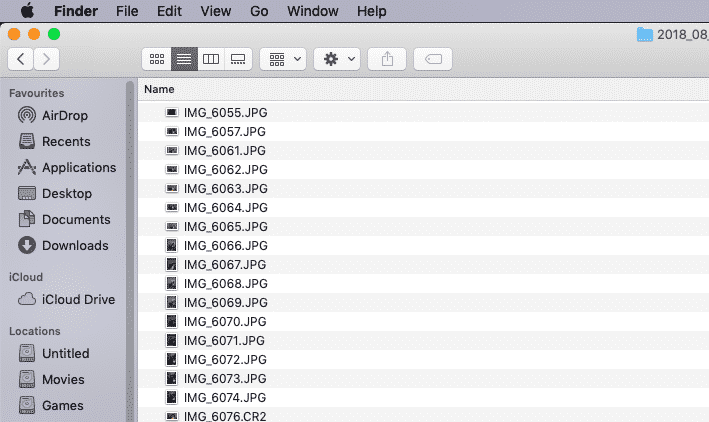
Step 2: Go to that folder that consists of files
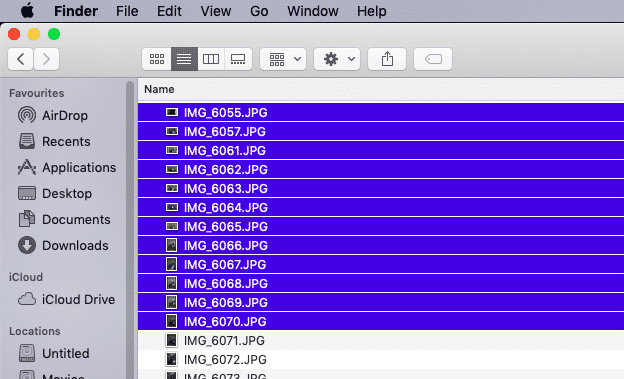
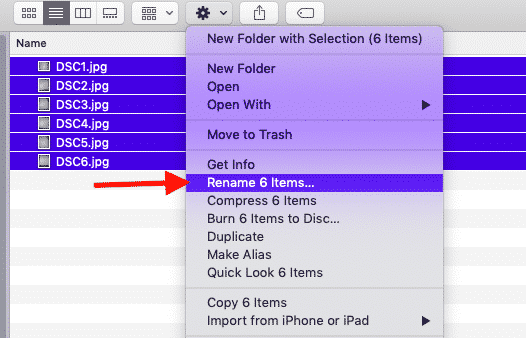
Step 3: Now click “shift+click” to select multiple files or “Control+click” to select individual files
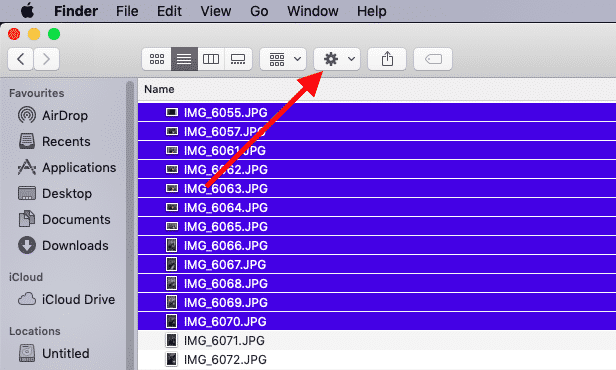
Step 4: Click on the “Action” button
Step 5: Now select “Rename X items” (Here X means selected numbers)
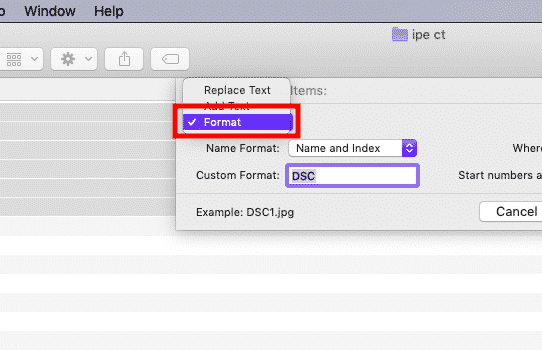
Step 6: In the drop-down menu select “Format“
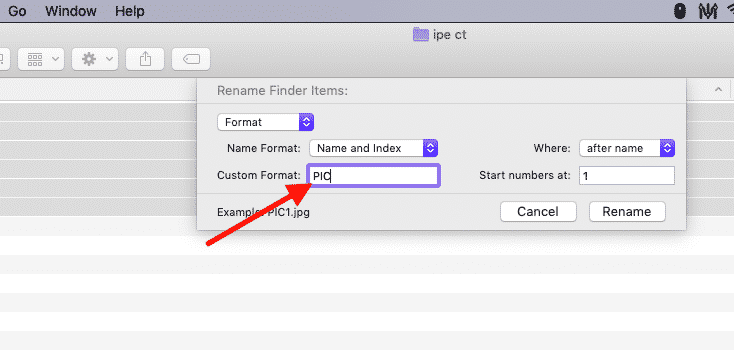
Step 7: In “Custom Format” box enter your file name
Step 8: Now click on “Rename“
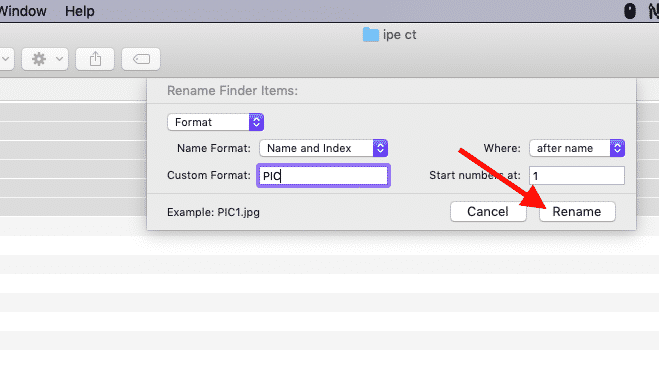
That’s it, you have renamed all files together right from your Finder and without wasting any time. As you have learned it, please feel free to share this tutorial with your friends who might face the same problem and you could save their times too!