Launcher in Android device will make you feel a new environment to use. When you buy an Android mobile a default launcher is given by the manufacturer. If you feel bored of using the same home environment you can change the default launcher by downloading numerous launcher apps from the Google Play Store. It will make you feel like a new Android device. Today our tutorial is about how to change the default launcher on Android.
Changing Android launcher is easy. Please follow the below steps.
I used LG G3 S Android Smartphone for this tutorial. You can use any Android mobile you like. The steps might be little different for different manufacturers but the basic approach should be same.
Step 1: Go to Play Store and download your preferred launcher. Here we chose “EverythingMe” launcher.
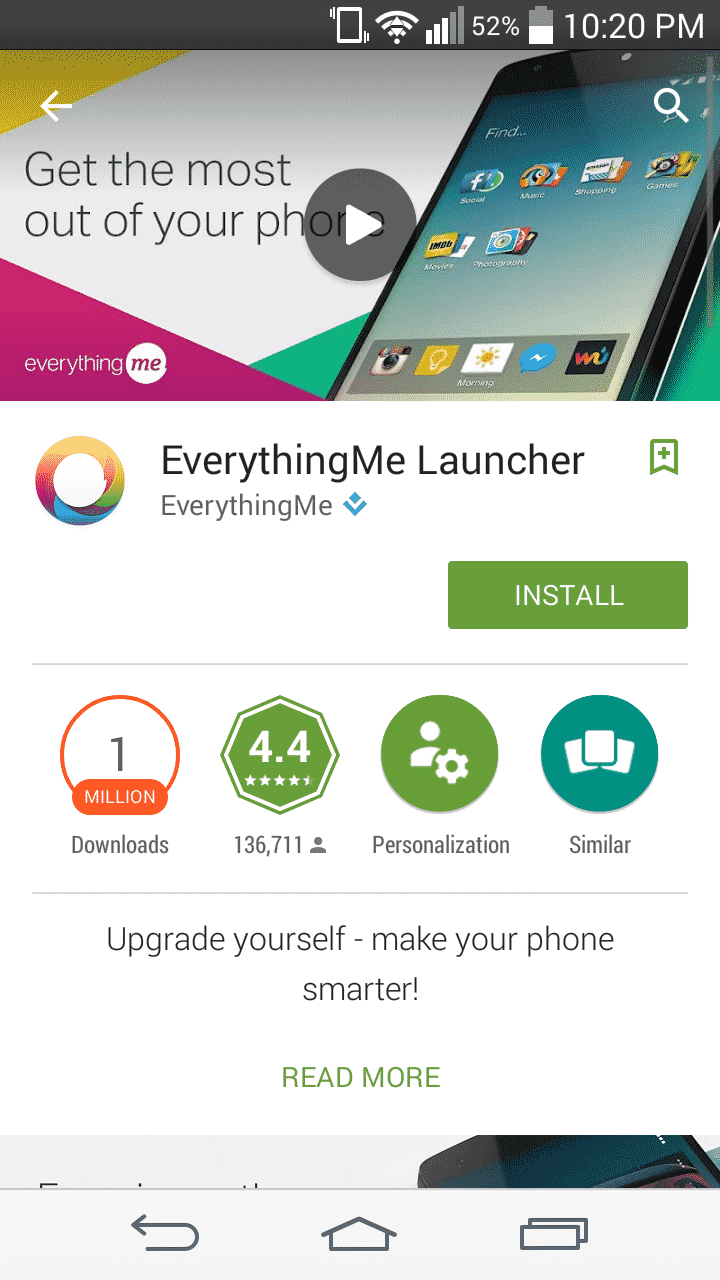
Step 2: After downloading, install the launcher.

Step 3: Now Go to “Settings”.
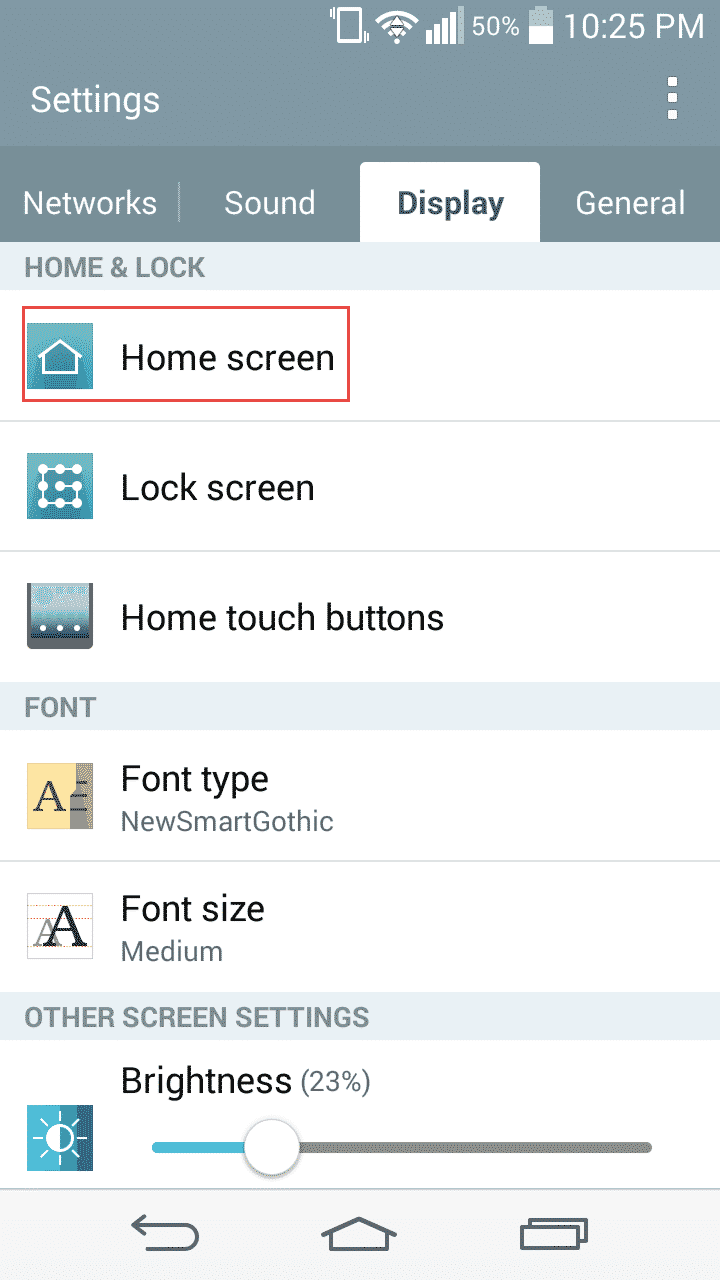
Step 4: Tap on “Display”.
Step 5: Go to “Home screen”.
Step 6: You will find “Select Home” option on the top. Tap that option.

Step 7: Now you will find your installed launchers in the list. Select our desired launcher and it will be in effect afterwards and your default launcher will be changed now on.

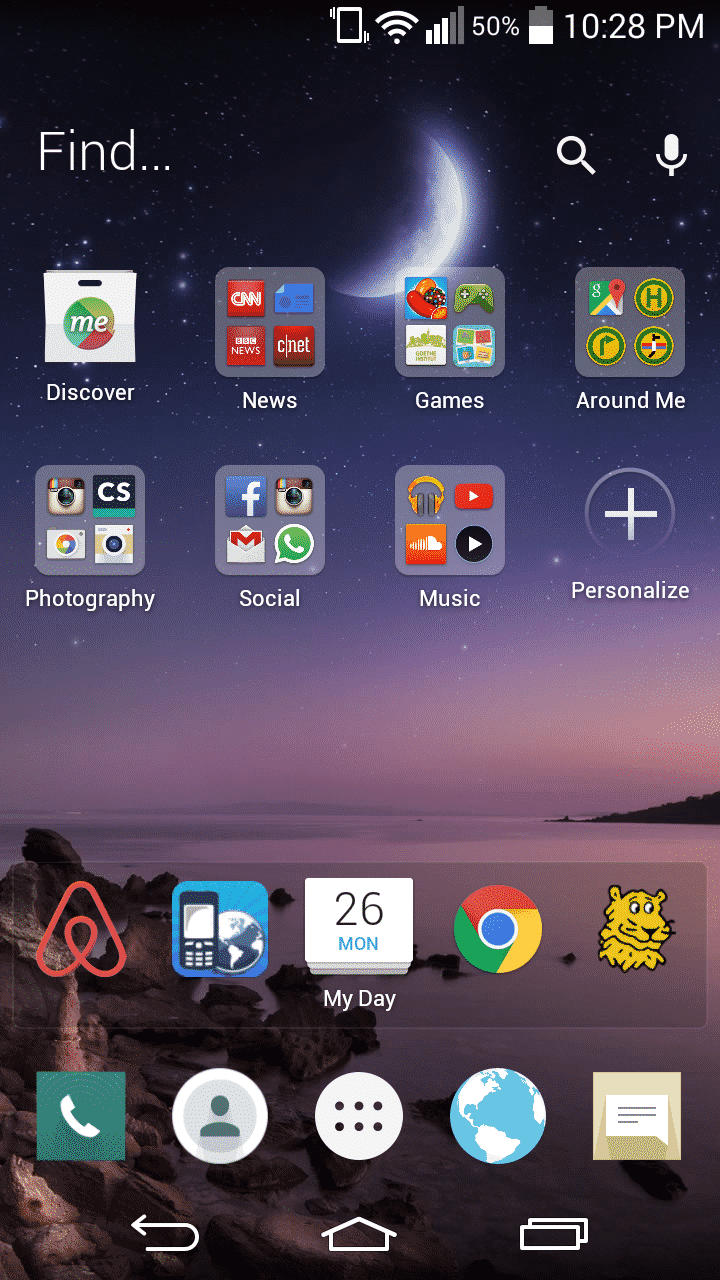
Step 8: Customize the launcher as you wish.
Let us know in comments if you find this guide helpful!
[ttjad keyword=”android-phone”]
![Read more about the article [Tutorial] How To Limit Live App Tile Updates Data Usage – Windows 8](https://thetechjournal.com/wp-content/uploads/2012/09/settings-from-win8-home-screen-as7789a7d93a1sg44sdh4h4h654sd.jpg)
![Read more about the article [Tutorial] How To Use Your Android Phone As Web Camera – Windows](https://thetechjournal.com/wp-content/uploads/2012/07/android-webcam-laptop-512x213.jpg)