From time to time we face with tedious task of having to rename multiple files simultaneously. To make this process much easier in Windows we can use a free app called Freename. It is a portable application that runs on any Windows from XP to Windows 8 (32-bit and 64-bit version). Follow this quick tutorial to find out how to rename hundreds or thousands of files in just a few seconds.
Before proceeding to below steps make sure you download Freename from SourceForge.
Step 1: Once you run the application, click Context menu tab and then click Integrate button. This will integrate Freename inside Windows shell allowing you to access the application software from right-click menu.
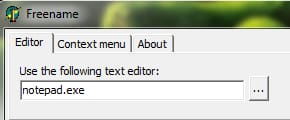
Step 2: Now go back to Editor tab, under Use the following editor click and select Notepad or simply type notepad.exe inside that field.
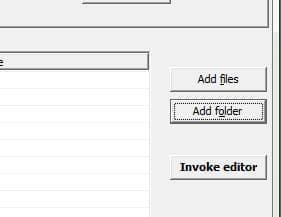
Step 3: Select files using the Add folder button or the Add files button.
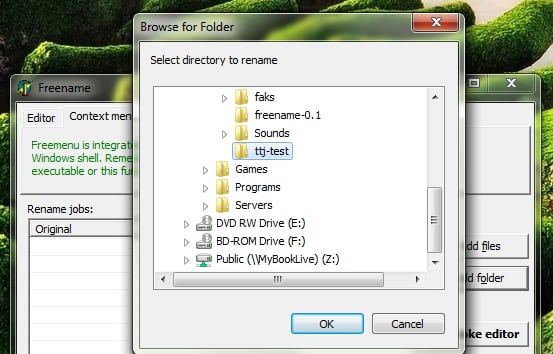
Step 4: Locate the folder which contains the files that you want to rename and click Open.
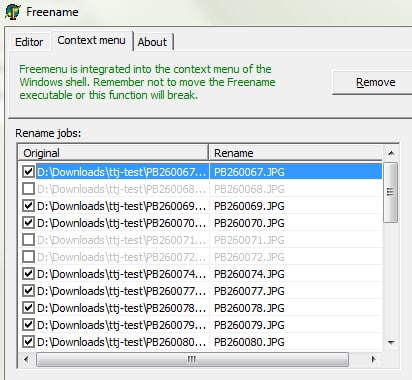
Step 5: All files which you want to rename are listed inside Rename jobs list. If you want to exclude a certain file simply un-select it.
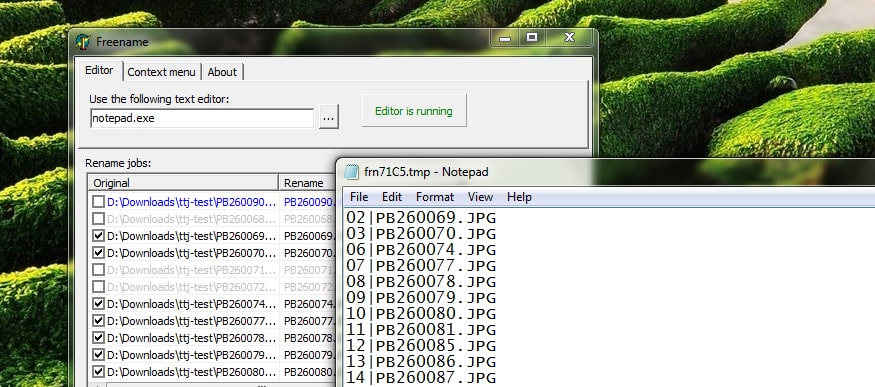
Step 7: Click Invoke Editor button and start applying name changes for each file.
Step 6: Once you are ready to start renaming, click Apply renames button located in the bottom right side of the window and the name changes which you have made will be applied to the selected files.
[ttjad keyword=”microsoft”]




![Read more about the article [Tutorial] How To Play Xbox 360 Games On Laptop Or Desktop Computer](https://thetechjournal.com/wp-content/uploads/2012/04/xbox-on-pc-logo.jpg)
![Read more about the article [Tips] How To Fix A Scratched Xbox 360 Game Disc](https://thetechjournal.com/wp-content/uploads/2012/04/fix-dvd-logo-512x236.jpg)
![Read more about the article [Tutorial] How To Copy Xbox 360 Game To A Hard Drive](https://thetechjournal.com/wp-content/uploads/2012/04/xbox-console-hdd.jpg)