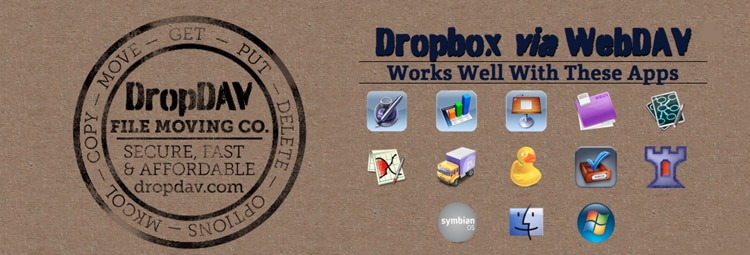
Thanks for services called DropBox you are able to share your documents, photos and videos for free with anyone. Now if you are using this service on your iDevice, for example iPad getting files from your DropBox online storage to your iPad is quite easy using their free iPad app. However if you need to reverse that, and send your files from app such as Pages it’s not quite easy. In this tutorial I will show you how to use service called DropDAV and make this process piece of cake.
Before we proceed to below steps make sure you already have a DropBox account and a DropBox app installed on your iPad. To be able to save files on iPad you can then signup for DropDAV account. Unfortunately DropDAV service is not free but since this is the only of this kind we don’t have a choice, well at least for now. Once you have DropBox and DropDAV account setup proceed to below steps
Step 1: On your iPad lunch Keynote, Numbers or Pages app
Step 2: Now go to My Documents screen and at the bottom of your screen you will see a Copy button (first button from the left).
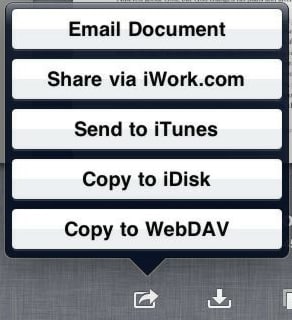
Step 3: Tap on that button and a context menu will show up.
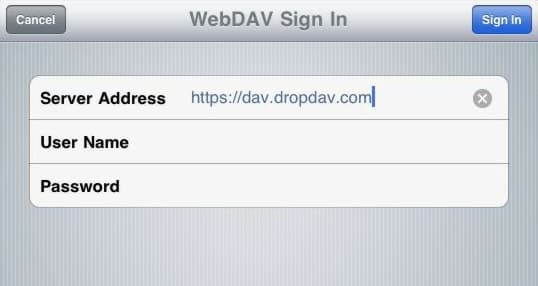
Step 4: Tap on Copy to WebDAV and then add your DropBox user name, password and server address which is https://dav.dropdav.com
Step 5: Tap on Sign In button located in top right of your window
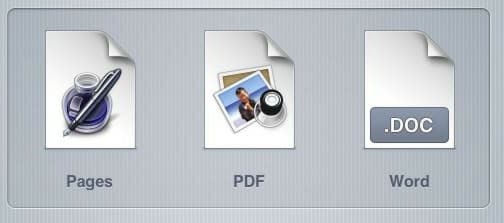
Step 6: When you arrive to DropBox, choose a format for your file. In each app you will be able to export files as the default Keynote, Pages or Numbers format, however you can also use Microsoft Office formats or PDF. If you are planning to edit any of documents on your iPad make sure you always save a copy in native format and a format you wish to share.
Step 7: Now choose folder where you want to store your files and then tap on Copy button in top right corner of your window.
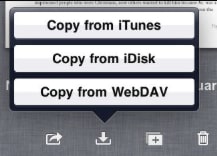
Step 8: Once we have added files to DropBox as DropDAV you will be able to open and edit files from you DropBox account. Now open the app in which you want to download your documents e.g. Pages and then from app home screen tap on download button located at bottom of your screen (second button from left)
Step 9: From context menu choose Copy from WebDAV. You will see a whole list of your files stored at WebDAV, browse the file you want to edit and then tap on him to download the file on your iPad or other iDevice
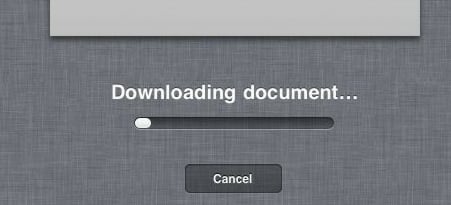
Step 10: You file will now start downloading and depending on how large file it is and how fast internet you have it may take few minutes to finish. Once it is downloaded you will see a thumbnail of a document on your file list just like you would see it from any other document.
You are done! If you face with any problems leave it in comment section below. Also we would love to hear your overall opinion about WebDAV app itself.
[ttjad keyword=”ipad”]


![Read more about the article [Tutorial] How To Recover Deleted Photos From Memory Card](https://thetechjournal.com/wp-content/uploads/2012/11/enable-deep-scan-recuva-as5d48e9w7r98we-512x213.jpg)
![Read more about the article [Tutorial] How To Fix Pokemon Go Crash Or Server Issue On iPhone](https://thetechjournal.com/wp-content/uploads/2016/07/pokemon-go-pikachu-phone.jpg.optimal-512x284.jpg)
