iPhone Dev Team has already release an updated version PwnageTool 4.3.2 to Untethered Jailbreak latest iOS 4.3.2 on iPhone 4, iPhone 3GS, iPad, iPod Touch 3G and 4G. Similar to RedsnOw and SnOwbreeze, iPad 2 is not included for jailbreak this time.
![]()
You guys already know that Redsn0w 0.9.6rc14 can do the same job.
If Redsn0w does the same job then why a user should use PwnageTool ? The answer is very clear. If your iPhone relies on a carrier unlock, you have to use PwnageTool 4.3.2 to update to a custom iOS 4.3.2 firmware without the upgraded baseband so that you can unlock using Ultrasn0w. Instead Windows users should use Sn0wbreeze 2.6.
Step 1: Download PwnageTool 4.3.2 for Mac OS X.
Step 2: Download iOS 4.3.2 firmware for iPhone, iPad, iPod touch or Apple TV.
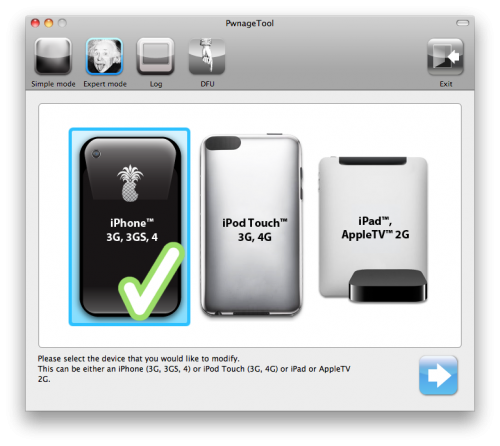
Step 3: Click to select Expert Mode from the top menu bar

Step 4: Click to select your device. A check-mark will appear over the image of the device. Click the blue arrow button to continue.
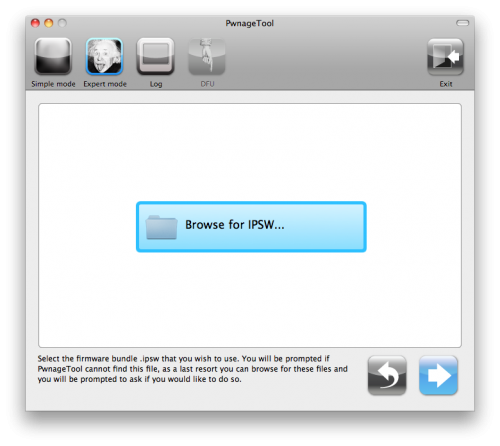
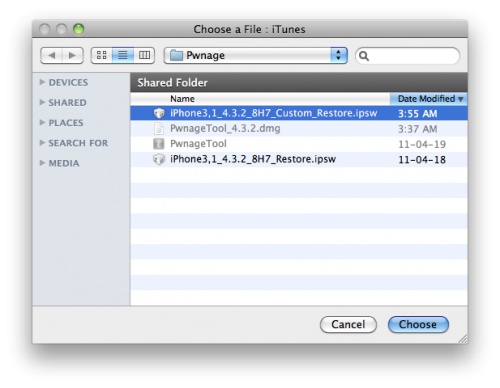
Step 5: You will be brought to the “Browse for IPSW” page. Click the Browse for IPSW… button.
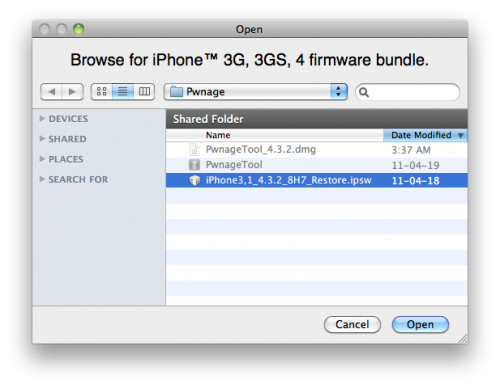
From the popup window select your firmware from the Pwnage folder then click the Open button.
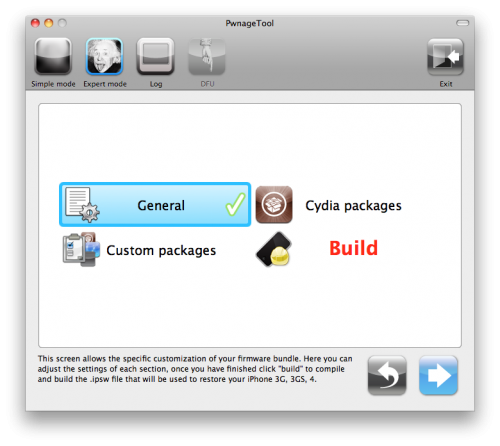
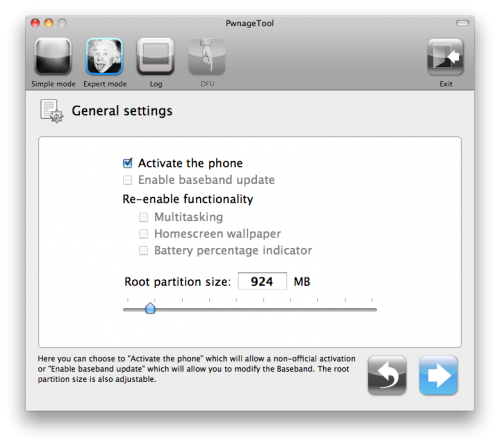
Step 6: You will then be brought to a menu with several choices. Click to select General then click the blue arrow button.
The General settings allows you to decide the partition size. Check Activate the phone if you are not with an official carrier then click the blue arrow button.
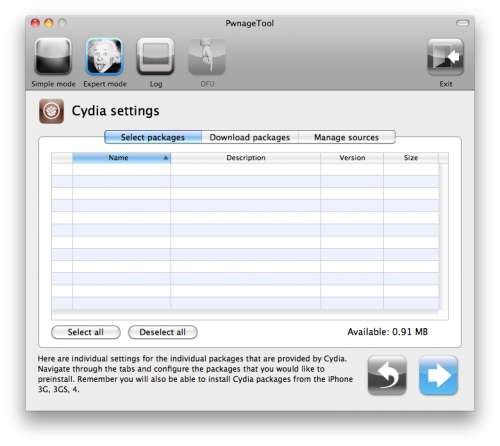
The Cydia settings menu allows you to create custom packages so you do not have to manually install the necessary them later.
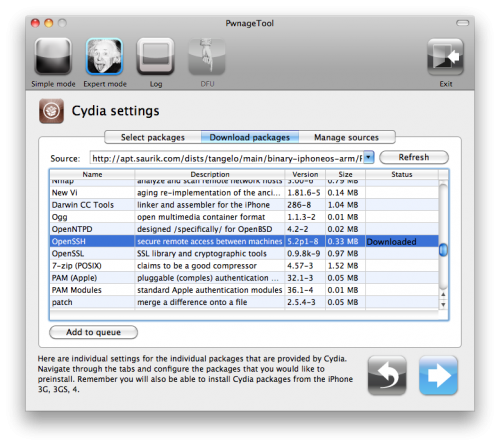
Click to select the Download packages tab. Then click the Refresh button to display all the available packages. Double clicking the package you want will download it and make it available in the Select Packages tab.
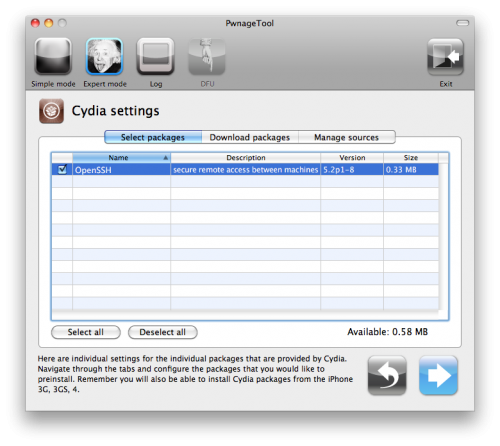
Checkmark the ones you want then click the blue arrow button.
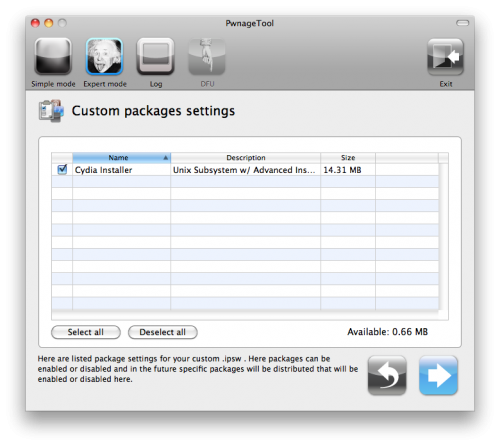
The Custom Packages Settings menu displays listed package settings for your custom IPSW. For know leave these settings as is. Click the blue arrow button to continue.
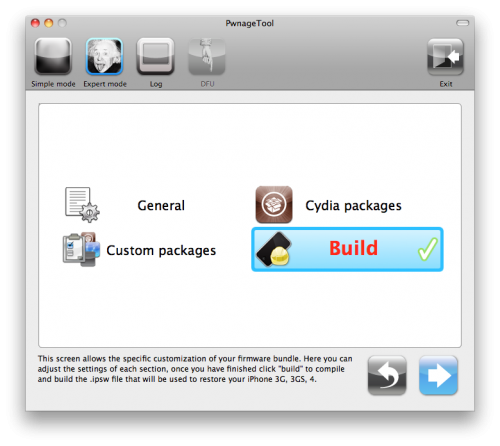
Step 7: You are now ready to begin the pwnage process! Click the Build button to select it then click the Blue arrow button to begin.
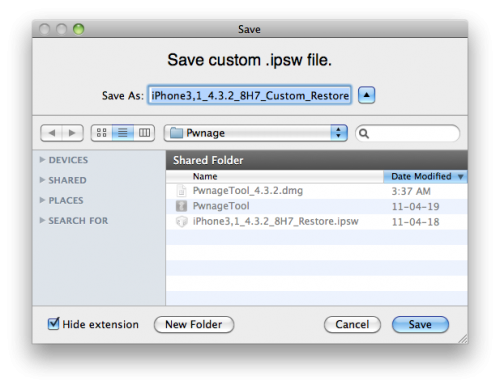
Step 8: You will be asked to save your custom .ipsw file. Save it to your Pwnage folder you created on your Desktop.
Your IPSW is now being built. Please allow up to 10 minutes.
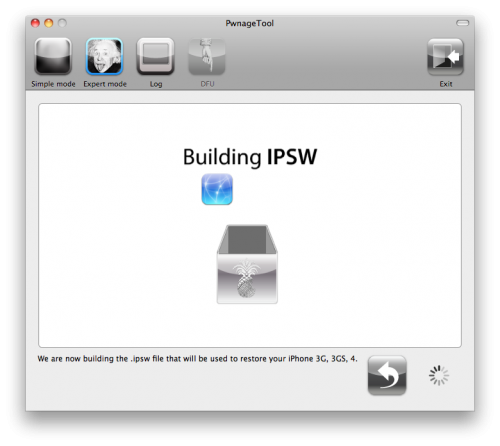
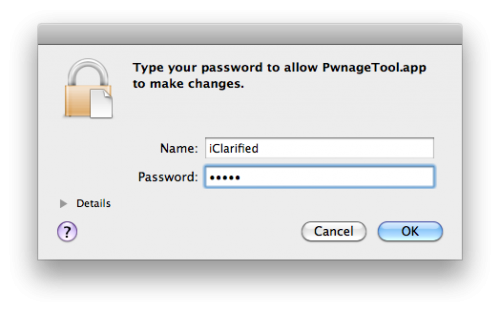
You will be asked to enter your administrator password. Do this then click the OK button.
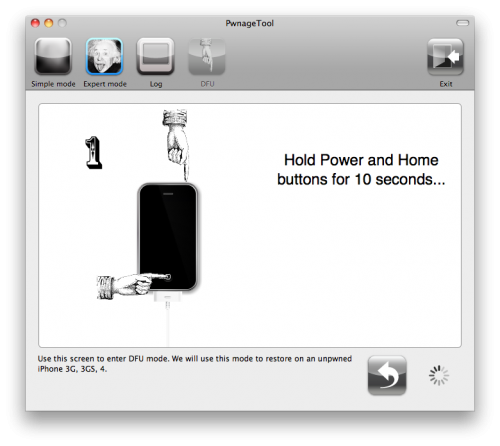
Step 9: Once your ipsw has been built you will be asked to connect your iPhone to the computer. Once it detects your device PwnageTool will guide your through the steps to putting your iPhone into DFU mode.

Press and hold the power and home buttons for 10 seconds.
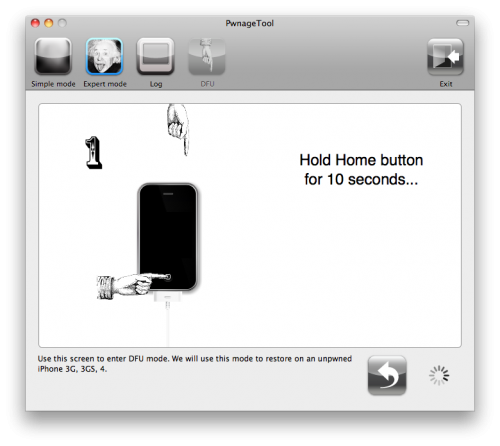
Then release the power button and continue holding the home button for 10 seconds.
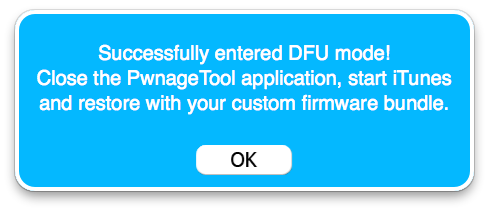
Once your iPhone is successfully in DFU mode, PwnageTool will prompt you to launch iTunes.
Step 10: Once In iTunes, hold the Alt/Option key and click Restore.
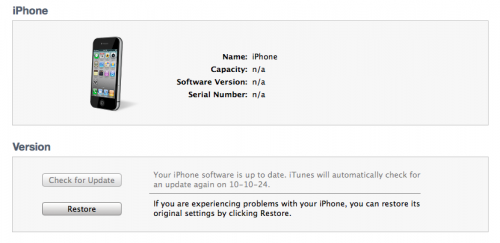
Step 11: Navigate to the Pwnage folder on your desktop using the dialog window that appears. Select the custom IPSW that was created and click the Choose button.
Step 12: iTunes will now restore the firmware on your iPhone. This can also take up to 10 minutes. Once done you will be rebooted into jailbroken iOS 4.3.2!
That’s it.
[ttjad keyword=”iphone”]
![Read more about the article Awesome iOS Notifications Conceptual Video [Very Realistic]](https://thetechjournal.com/wp-content/uploads/2011/05/Conceptual-Notification-512x428.jpg)
![Read more about the article Unlock iPhone 3GS on 3.1.3 and Then Upgrade To iOS 4.0 [Best Process]](https://thetechjournal.com/wp-content/uploads/iPhone-3GS-Unlock-3.1.3-282x300.jpg)