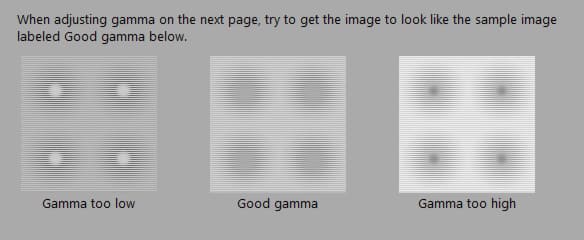
Adjusting the screen is an essential procedure to make the most of Windows 7 capabilities, especially if you bought a new monitor which is not good calibrated. The calibration will help you to adjust the screen for optimal management of the brightness, colors and text. In this tutorial, I will show you how to use integrated Windows 7 tools to calibrate your screen color for best performance.
To get started with screen calibration follows steps below
Step 1: Right click on your empty desktop space and choose Personalize.
Step 2: When new window open, from bottom left corner of your window click on Display
Step 3: Again, from new window on the left side choose Calibrate Color
Step 4: Now, when new window open you will see some introductions. If you are not familiar with screen color managements you can read that otherwise you can skip all by clicking three times Next button located at the bottom right.
Step 5: Once we skipped all introductions the first step is to manage the screen brightness. Use a slider to adjust your screen brightness. Once you are satisfied with the results click Next
Step 6: Again click Next three times to skip introductions.
Step 7: Now we need to adjust the RGB color balance by removing all the shades in the gray bars. Move the slider until you get a correct result. Once you are satisfied with the results click Next
Step 8: The calibration procedure is almost complete. You can compare your results with previous ones. Remember to check the Start Clear Type Tuner before clicking Finish.
Step 9: The final step is to optimize the display of text. Just follow the various proposals and choose the text you see the best. Then click Finish and you’re done, your screen is calibrated!
[ttjad keyword=”microsoft”]


![Read more about the article [Tutorial] How To Pin Your Favorite Web Sites To Windows 8 Start Screen](https://thetechjournal.com/wp-content/uploads/2012/11/ie-search-as56d465s7re89765s4f6s57f.jpg)

![Read more about the article [Tutorial] How To Enable And Set Up Google Docs Offline](https://thetechjournal.com/wp-content/uploads/2012/07/setup-offline-gogole-docs-menu.jpg)