
Do you want to have quicker access to your system drive (or partitions), USB Drive or SD Card directly from your desktop? In this tutorial I will show you how to use a small Windows application to show fixed drives (such as C: drive) as well as removal drives (such as a USB drive or SD card) on your desktop.
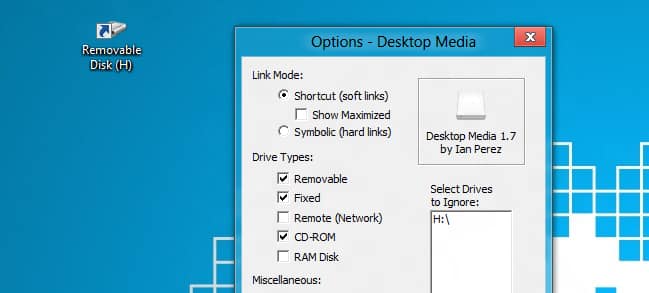
To get started follow the steps below.
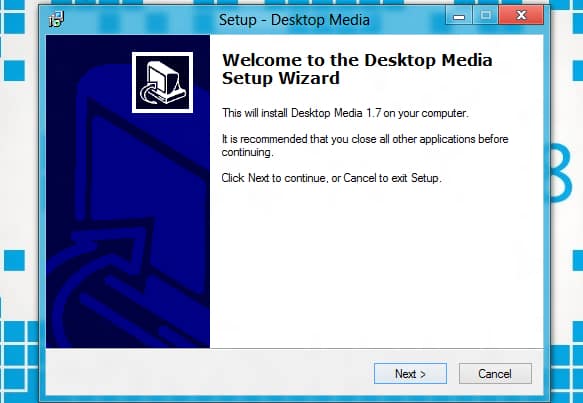
Step 1: First, download Desktop Media 1.7 from the publisher website. Once the download is complete, unpack the file somewhere in your computer and install it.
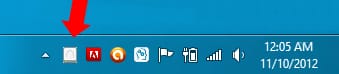
Step 2: Once the installation is finished, a Desktop Media icon will appear in your system tray.
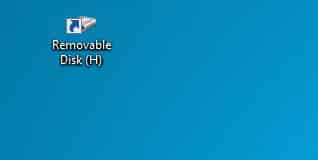
Step 3: Once you insert a USB drive, SD Card, CD/DVD disk, network drives, etc… an icon of that drive will automatically appear on your desktop. Double click on that icon and the drive will open.
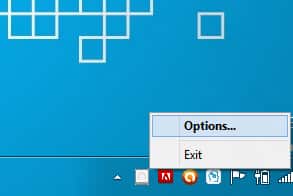
Step 4: If you wish to customize Desktop Media, right click on its icon located in the Windows system tray, and from the context menu choose Options.
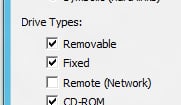
Step 5: When new window opens up select Fixed which will also show icons of your fixed drives, such as your C:/ drive.
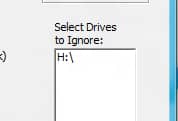
Step 6: You can also Select drives which you want to ignore.
Step 7: Once you are done with customization’s click OK to save your changes.

Hope you found this tutorial helpful.
[ttjad keyword=”windows-tablet”]

![Read more about the article [Tutorial] How To Recover Password Of Your Wi-Fi Network In Windows](https://thetechjournal.com/wp-content/uploads/2012/11/control-panel-sd87987i9o87p.webp)
![Read more about the article [Tutorial] How To Save And Re-Install All Hardware Drivers – Easy Way](https://thetechjournal.com/wp-content/uploads/2012/07/drivermax-menu.webp)
![Read more about the article [Tutorial] How To Test All Functionality Of Your Samsung Galaxy S3](https://thetechjournal.com/wp-content/uploads/2012/10/galaxy-lcd-test-ttj-logo.webp)