You have probably noticed that many of older programs, when you try to install them under Windows 8 require previous versions of .NET Framework. In order to make their installation possible you will need to enable .NET Framework 2.0 and 3.5 inside Windows 8 and in this tutorial, I will show you how to do that.
To get started follow steps below:
Step 1: First bring up the Charm menu by pressing Win+C on your keyboard.
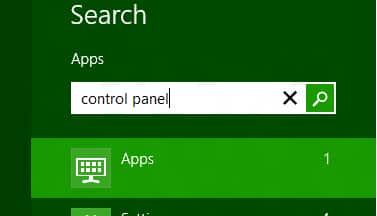
Step 2: Choose Search, then type control panel and open Control Panel from search results.
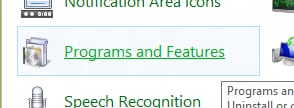
Step 3: From Control Panel window choose large icon view and open Programs and Features.
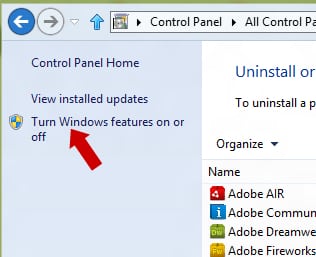
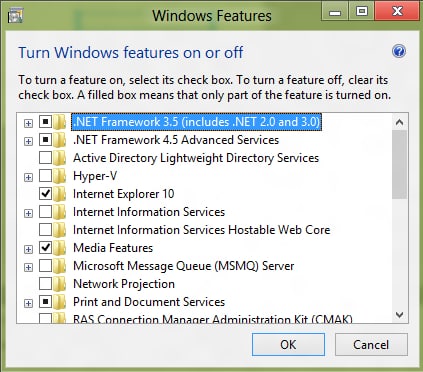
Step 4: From left panel choose Turn Windows features on or off.
Step 5: Now make sure that the option .NET Framework 3.5 (includes .NET 2.0 and 3.0) is checked. Click OK to save changes.
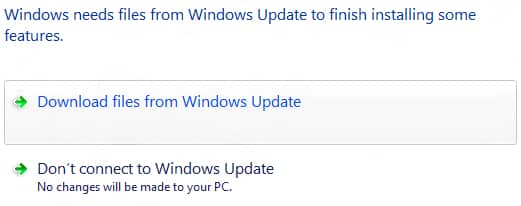
Step 6: Windows will now ask you to downloaded files from Windows Update. Choose that and wait untill update is finished.
Step 7: Once the update process is finished make sure you restart your computer in order to .NET Framework installation take effect.
[ttjad keyword=”windows-tablet”]

![Read more about the article [Tutorial] How To Share Live Video On Facebook From Android & iOS](https://thetechjournal.com/wp-content/uploads/2016/05/live-reactions-android-512x336.png)
![Read more about the article [Tutorial] How To Change A Computer’s Mac Address In Windows](https://thetechjournal.com/wp-content/uploads/2012/02/mac-adress-512x269.jpg)
![Read more about the article [Tutorial] How To Block All Scripts Executions In Firefox](https://thetechjournal.com/wp-content/uploads/2012/02/allow-techjournal-noscript-ff.jpg)
First bring up the Charm menu by pressing Win+C on your keyboard.
http://www.installerparts.com/network-it/464-66-punch-down-blocks.html