Achieving a panorama by combining several photos seems inaccessible to many people. However, the assembly of several panoramic photographs of a field in one is extremely simple, thanks to the software AutoStitch. If your photos were taken at different heights, the lighting is different, there are discrepancies, AutoStitch were amenable perfectly and makes it easy to create a convincing picture. A simple crop will then allow you to delete unwanted parts of your picture that you can then share on internet or send to friends. In this tutorial I will show you how to use this free app and create your panorama photograph.
For this purpose you are gone need two different applications for Windows. If you don’t have them already download and install PhotoFilter. However AutoStitch don’t require installation and you can download it from here. Once you have both app up and running on your computer continue following steps below
AutoStitch Configuration
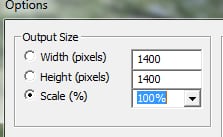
By default, AutoStitch reduces the size of panoramas at 1400 pixels wide and compress JPEG images with a quality of only 75%. To get a better result, I advise you not to resize the final image or compress it. Follow below steps to find out how to adjust these settings inside AutoStitch.
Step 1: Double click the shortcut that you previously created or the file autostitch.exe to launch the software.
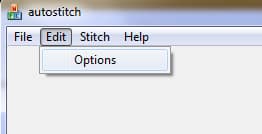
Step 2: In the main AutoStitch window, click the Edit menu and click Options.
Step 3: In the Output Size, select Scale.
Step 4: Change size from 10% to 100%.
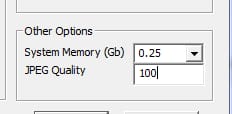
Step 5: In the Other Options, click in the JPEG Quality field and enter 100 instead of 75.
Step 6: Then click the OK button.
Create The Panorama
Now when we have adjusted AutoStitch settings lets create your first panorama.
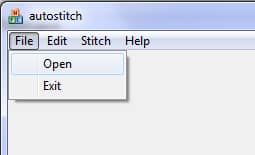
Step 1: In the AutoStitch main window, click the File menu and then click Open.
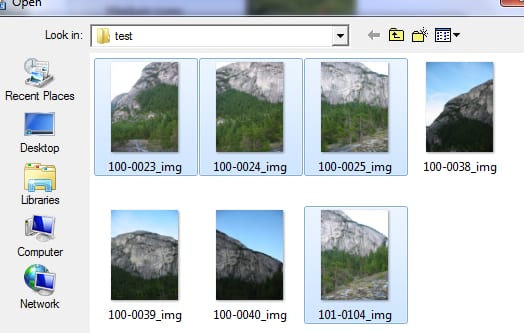
Step 2: In the explorer window, go to the folder where the photos which you want to combine into panorama are located.
Step 3: To have a better view of pictures which you want to combine, you can view thumbnails of the images by clicking on the View Menu and then from drop down menu click Large Icons
Step 4: Then select all images to combine (hold CTRL on your keyboard and then left mouse click on all images you want to combine in panorama) and click the Open button.
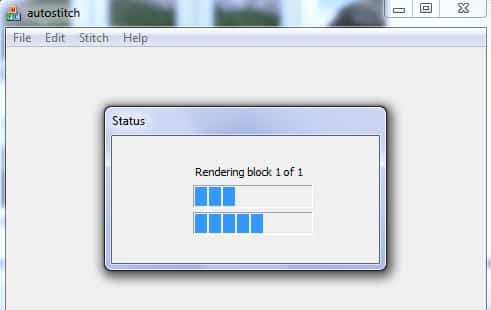
Step 5: Autostitch then automatically assemble your photos. Once finished, AutoStitch opens the result in your default image software.
Refine The Final Panorama Picture
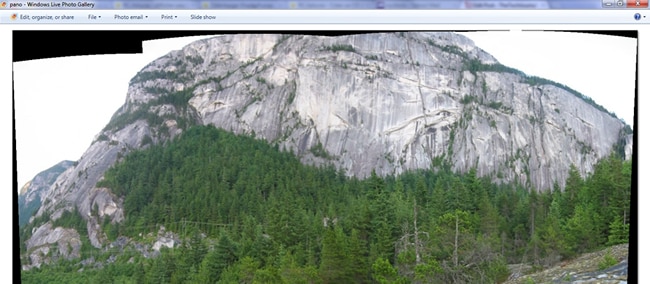
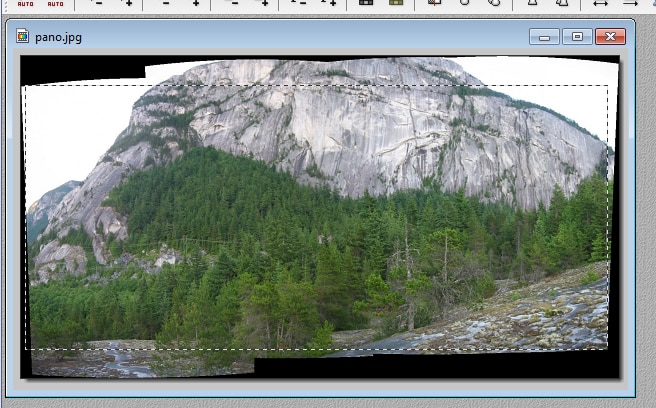
The panorama created with AutoStitch contains unnecessary parts at the edges (in black). You can remove them by cropping your image. You can do this with your usual editing software. For this purpose I will use the freeware application called PhotoFiltre. If you don’t have this app you can download it from this link and install it on your computer.
Step 1: Run PhotoFiltre by double clicking on its icon on the desktop.
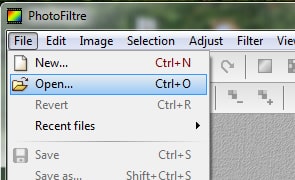
Step 2: Click the File menu and click Open.
Step 3: Select the file pano.jpg you previously created with AutoStich and click the Open button.
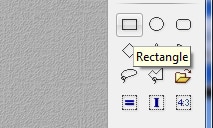
Step 4: Select Rectangle tool from bottom right and draw a rectangle around the image which parts you want to keep. By moving its borders, adjust it until it surrounds your entire picture without the black areas.
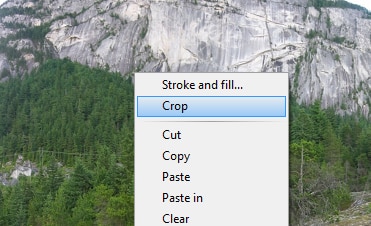
Step 6: Then click the right mouse button inside the rectangle and from context menu choose Crop.
Step 7: Your select area of panorama is then cropped
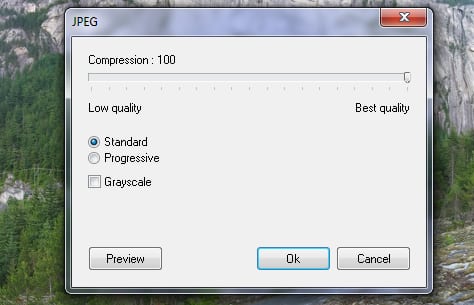
Step 8: Then you have to save your image by clicking the File menu and click Save. Change the compression to 100 and click OK.
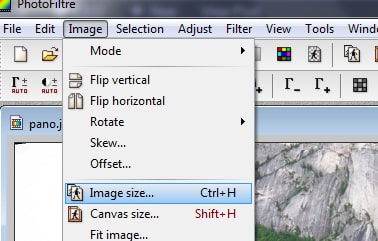
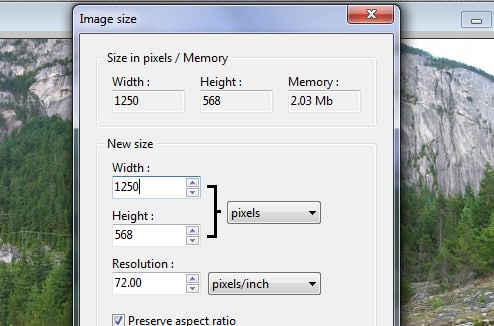
Step 9: If you want to send your picture to a friend or upload it on the Internet, you should reduce its size and weight. To do this, click the Image menu and then click Image Size.
Step 10: In the Width box, enter the new width of your image, e.g. 1250 offers a good size for display on a screen and then click OK.
Step 11: Your image is resized. Now all you have to do is save the panorama with new width and height by clicking the File menu select Save As.
Step 12: Enter a new name to your changed panorama then click the OK button.
Step 13: Now decrease the compression to 80 to make you panorama image occupy less space (much easier to upload it to internet) and then finally click the OK button.
Step 14: Now you have your panorama in a reduced size and weight. Ideal to show it to your friends via the Internet.
[ttjad keyword=”dslr-camera”]

![Read more about the article [Tutorial] How To Increase The Speed Of Wi-Fi](https://thetechjournal.com/wp-content/uploads/2012/10/wifi-signal-asda64sd46a54sd45asd.jpg)
![Read more about the article [Tutorial] How To Enable Private Browsing In Android](https://thetechjournal.com/wp-content/uploads/2012/05/android-private-browsing.jpg)
![Read more about the article [Tutorial] How To Safely Share A Password With LastPass?](https://thetechjournal.com/wp-content/uploads/2012/11/lastpass-share-password-ttj-logo-512x270.jpg)