In this tutorial I will show you how to create a Shares on your WD MyBookLive and store you content. When creating a share on MyBookLive you can grant public access and allow all users to access your content or private and limit access to only certain users.
To get started follow steps below:
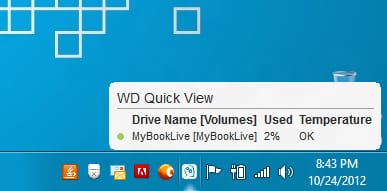
Step 1: Click on WD MyBookLive icon located in system tray.
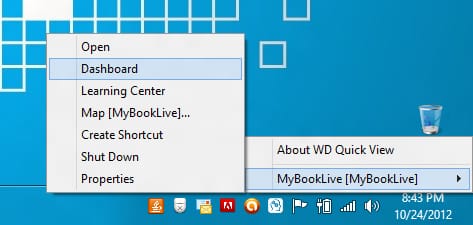
Step 2: From menu that appears hove mouse over MyBookLive and then click on Dashboard.
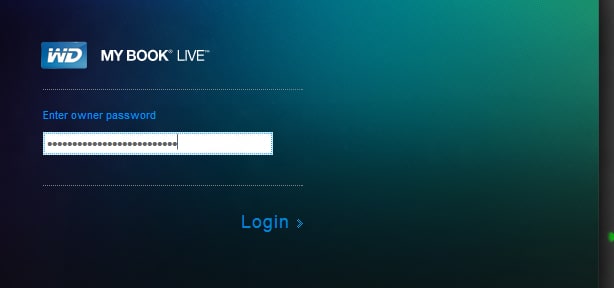
Step 3: Login into your WD MyBookLive.
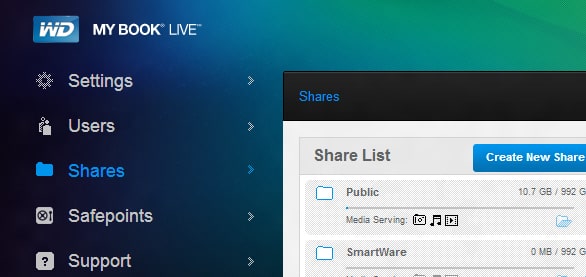
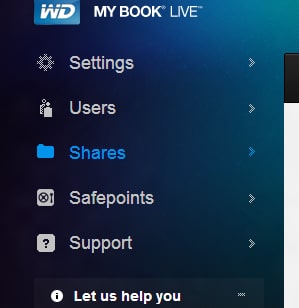
Step 4: Click in Shares in left navigation.
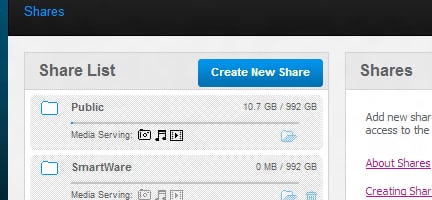
Step 5: Now inside right pane you can see a list of all folders in your MyBookLive. To create a new share click on Create New Share blue button.
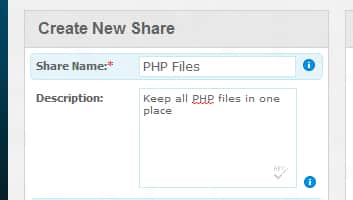
Step 6: Type in a share folder name and write a short description for it.
Step 7: Under Media Serving you need to choose which type of media you will keep inside that new share.
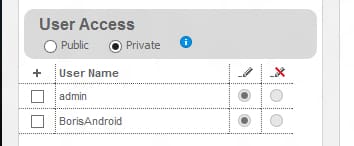
Step 8: Select the type of user access. You can grant public or private access to your new share. If you choose Private, then you need to select which users can have access to that folder and what type of access.
Step 9: Once you are done click Save button and your new share will be created.
[ttjad keyword=”cloud-storage-drive”]



![Read more about the article [Tutorial] How To Download Videos From YouTube, DailyMotion, Vimeo And More](https://thetechjournal.com/wp-content/uploads/2012/03/warning-java-512x329.jpg)
![Read more about the article [Tutorial] How To Create Encrypted Folder In Mac OS X](https://thetechjournal.com/wp-content/uploads/2013/01/name-as56d465ew4r6e5r.jpg)