When the lighting is too low or you are using a too high sensitivity, and you take a photo, digital noise can affect your image. It is possible to compensate and correct this defect and thus eliminate the pixels generated by harmful noise using the free application for Windows called Neat Image. In this tutorial I will show you all steps you need to perform inside this application in order to clean noise form your image.
Before proceeding to below steps make sure you download Neat Image by clicking here and install it on your computer.
To get started follow below steps
Step 1: Run Neat Image by double clicking on its image on the desktop or Start menu.
Step 2: On the Neat Image home screen, click the green OK button.
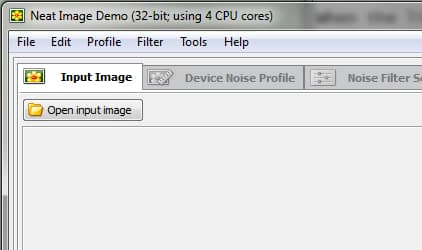
Step 3: Then click the Open input image button to open the photo on which you want to work and then from your hard drive select image and click the Open button.
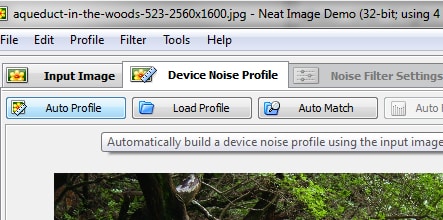
Step 4: Now open the Device Noise Profile tab and then click Auto Profile.
Step 5: The software automatically detects the location on the picture which is least affected by noise. That area is bounded by a blue square that Neat Image will make its calculations. If a popup window showed up click on Yes to continue.
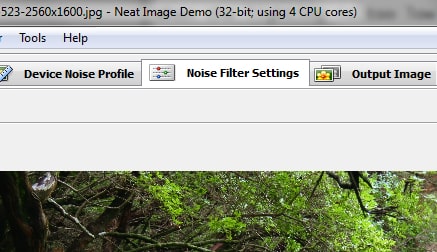
Step 6: Then open the tab Noise Filter Settings.
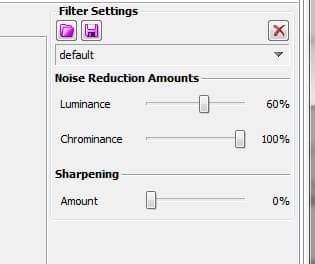
Step 7: On the right side of the window you can then set the image cleaning parameters. You can leave the default options which usually give very good results.
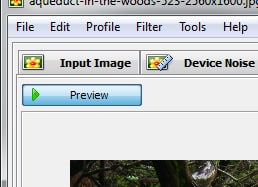
Step 8: Click the Preview button to apply filtering to a portion of your photo.
Step 9: A blue square will surround the part of the image that has been treated. You can move it around on your photo to see the improvement provided by Neat Image.
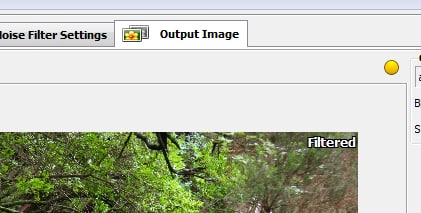
Step 10: To save the image you just cleared and apply the filter permanently, open the Output Image tab
Step 11: Then click the Apply button.
Step 12: After a few seconds, the noise is removed from your image and all you have to do is click on the Save Output Image.
Step 13: Click OK. Then give a name for your edited photo and click the Save button.
There you go, you image is now cleared from noise and ready further use. Stay tuned for more image editing tutorials that come at TheTechJournal How-To Guide.
[ttjad keyword=”all-in-one-desktops”]




![Read more about the article [Tutorial] How To Update OCZ SSD Firmware](https://thetechjournal.com/wp-content/uploads/2013/01/ocz-drive-as65d46w5e4r6w5e4re65w-512x235.jpg)
![Read more about the article [Tutorial] How To Fake Your Application UDID On iPhone](https://thetechjournal.com/wp-content/uploads/2012/02/idfaker.jpg)