Like many other SSD vendors, OCZ is regularly updating its SSD firmware across multiple lines of their SSDs. Most of these updates are quite minor but at certain occasions OCZ release a firmware update that most SSD owners should install on their drives because it brings improvements in terms of performance, compatibility and reliability. Upgrading SSD is different from one manufacture to another, and when it comes to OCZ SSDs this task is quite simple, but it’s not the case with all manufactures. In this tutorial I will show you how to perform firmware update on OCZ SSD.
In order to download the latest firmware for your OCZ SSD you need to visit OCZ’s support page and download OCZ Toolbox for your drive. Generally speaking, if you download the latest version of this toolbox it will handle all the OCZ SSDs; unfortunately, the Toolbox supports Windows only. Once you download and install OCZ toolbox on your computer continue to the steps below.
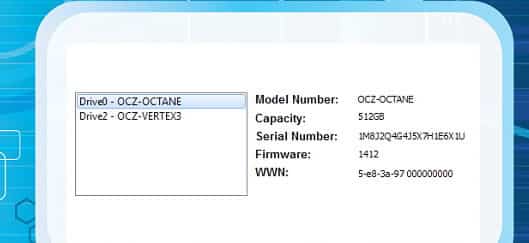
Step 1: Launch OCZ Toolbox; once it’s loaded, select the drive who’s firmware you want to update.
Step 2: Click Tools tab located at the top of the window.
Step 3: Select Update Firmware; a small progress message will show up in lower left side of the window letting you know what is going on in the background.
Step 4: Once this process is finished, it will prompt you with a message to restart your computer.
From this moment your OCZ SSD firmware is updated and I suggest you to check for newest updates every month.
[ttjad keyword=”ssd”]


![Read more about the article [Tutorial] How To Enable Delete Confirmation Dialog Box In Windows 8](https://thetechjournal.com/wp-content/uploads/2012/11/recycle-bin-propertiese-as56d4987yu64ip34654fd.jpg)
![Read more about the article [Tutorial] How To Disable Auto-Play Of Facebook Videos In Android](https://thetechjournal.com/wp-content/uploads/2014/11/FA-432x768.png)
![Read more about the article [Tutorial] How To Schedule Windows 7 To Automatically Clean Your Hard Disk](https://thetechjournal.com/wp-content/uploads/2012/03/task-schedule-512x226.jpg)