If you love playing computer video games you probably want to keep your “Saved Game Data” and “Game Profiles” safe and secure in case of system crash because in games, backups can record the position, health and equipment of a player in one or more special files. Generally, these files are lost in the maze of games files on your hard drive and it’s not quite easy to find them. To make this process easier you can use free application called GameSave Manager which will allow you to backup, restore and easily transfer your “Saved Game Data” and in this tutorial I will show you how to do that.
GameSave Manager supports over 500 games and you can manually configure the backup sets that are predefined to use the software with any game. Before proceeding to steps below make sure you download GameSave Manager from this link and then unpack it on your computer. No installation is required, simply double-click on gs_mngr_3.exe file to start the application.
Step 1: Once you start the application, first thing what we gone do is analyze your hard disk to find the installed games as well as your existing backups.
Step 2: The program then analyzes your hard drive for games backups.
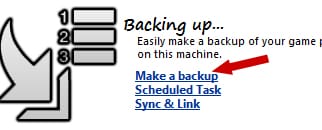
Step 3: Then click Make a backup.
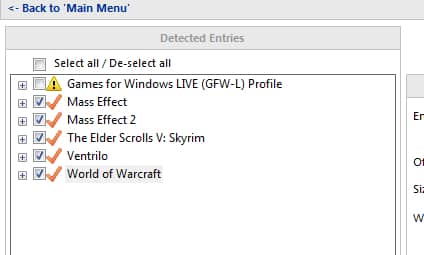
Step 4: The list of games found by GameSave Manager on your computer is displayed in the left pane. Select all games which you want to backup by selecting checkbox in front of their names
Step 5: At any time, you can repeat the search for games by clicking the Rescan button located in top right corner of your window.
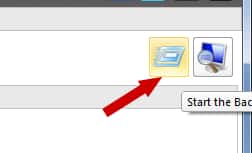
Step 6: To backup those games which you have selected in step 4 click on Start the backup Task now button located at top right
Step 7: If GameSave Manager found no backups of your games, you can manually specify their location. For that, under Customize section click Custom GameSave Entries.
Step 8: Click the Add button.
Step 9: Enter the name of the game and double click on Next.
Step 10: In the Files & directories to backup section, click the Add button.
Step 11: In new window click Next and then click Browse button
Step 12: Now find the location of backup files for your specific game. Typically, backups are in folders named PROFILE, SAVE, SAVEGAME, SAVEDATA,
Step 13: Once you locate the folder, select it and click OK
Step 14: Finally you have to specify what files you want to backup. Follow the instruction inside a window, however I suggest you to not make any changes since the current configuration will work ok.
Step 15: Now click Finish and you have manually added the game whos “Saved Game Data” and “Game Profiles” will be backed up
Schedule Automatic Backup
To find out how to schedule your “Saved Game Data” backups follow steps below
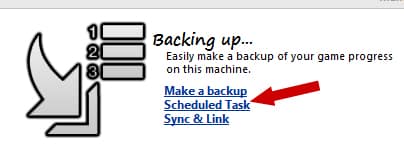
Step 1: From the Main menu, under Backing up click Schedule Tasks.
Step 2: Click the Add button.
Step 3: Enter a name for the scheduled task and click Next.
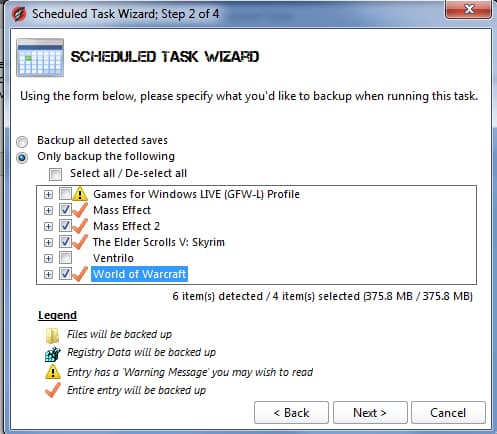
Step 4: Select the checkbox in front of game for which you want to setup automatic backups. Click Next.
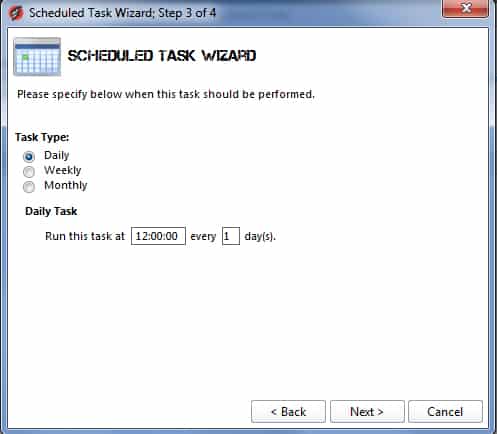
Step 5: Then select the desired frequency of backups and the date and time. By default the backup will take place daily at 12am.
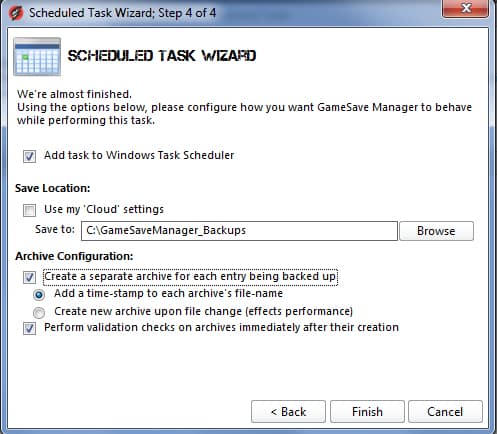
Step 6: Click Browse and select the drive and folder where you want to place your backups
Step 7: Check the box Create separate archive for each entry beaning backed up and then select Add time-stamp to each archive’s filename that is created and click Next.
Step 8: Click on Finish and then OK
Step 9: The scheduled task was created. You can find it in the Windows task scheduler under the heading GSM.
Restore a backup
Step 1: Start GameSave Manager and from Main menu under Restoring data click on Open Archive.
Step 2: Select the backup to restore to the specified folder for backup. Click the Open button and follow instructions on the screen to Restore your backups.
[ttjad keyword=”pc-game”]







![Read more about the article [Tutorial] How To Use Chrome OS Without Buying A Chromebook](https://thetechjournal.com/wp-content/uploads/2012/11/chrome-os-ttj-logo-512x224.jpg)
![Read more about the article [Tutorial] How To Add Vertical Mozilla Firefox Bookmarks Bar](https://thetechjournal.com/wp-content/uploads/2012/05/ff-option-addons.jpg)
![Read more about the article [Tutorial] How To Automatically Share Updates From Pinterest On Facebook](https://thetechjournal.com/wp-content/uploads/2012/05/pinn-facebook-512x273.jpg)