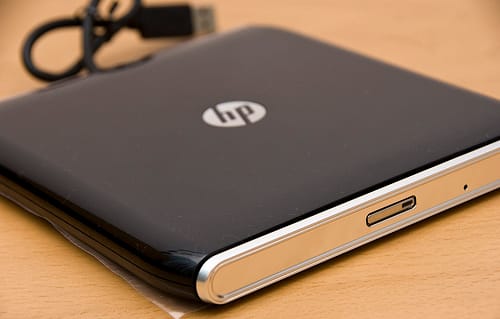
You just bought a DVD Burner that supports LightScribe technology but you can not activate this function in Nero or your favorite burning software? Do not worry it is perfectly “normal”, in fact it is necessary to install on your computer a driver for LightScribe technology that is enabled on your system. Follow this tutorial to find out how to enable LightScribe on your computer.
First download LightScribe driver by visiting this page. When the driver is installed, restart Nero and you will find a new icon has appeared in your Nero toolbar. This proves that the LightScribe technology is now enabled.
Note that it may happen that the LightScribe icon is grayed in Nero. If this is the case, follow below steps to activate it in Windows:
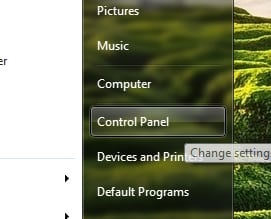
Step 1: Click Start menu and then choose Control Panel.
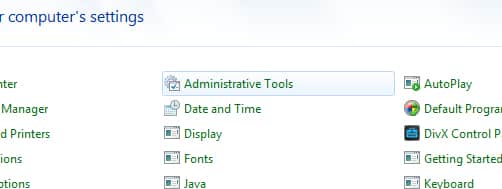
Step 1: From Control Panel window select Administrative Tools.
Step 3: Inside right pane double-click on Services.
Step 4: Click the right mouse button on LightScribeService Direct Disc Labeling Service and from context menu choose Properties.
Step 5: Go to Startup Type and select Automatic. The display under Service status must be set to Started.
Step 6: Go back to Administrative Tools window you opened in Step 2 and from there open Local Security Policy.
Step 7: Double click on Local Policies.
Step 8: In right pane double-click on Security Options.
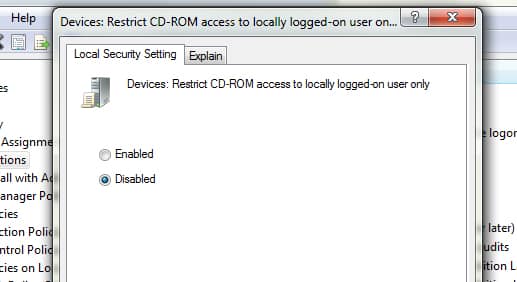
Step 9: Double-click the entry Devices: Restrict CD-ROM access to locally logged-on user only.
Step 10: From window that opens up select the Disabled option. Confirm this change by clicking Apply and then click OK.
From this moment you should be able to use LightScribe on your computer in burning software without any problems.
[ttjad keyword=”all-in-one-desktops”]






![Read more about the article [Tutorial] How To Convert Text To Audio MP3](https://thetechjournal.com/wp-content/uploads/2012/10/file-open-as8d7d8y7iu98yuo798up.jpg)
![Read more about the article [Tutorial] How To Take Screenshot Of An Android Phone In Windows 7](https://thetechjournal.com/wp-content/uploads/2012/05/android-windows-logo-512x268.jpg)
![Read more about the article [Tutorial] How To Send Contacts From One iPhone To Another](https://thetechjournal.com/wp-content/uploads/2012/03/iphone-contacts-share.jpg)