In latest version of iOS 5 Apple have added new enhancements to its email app. To be able to use them you will need to setup your email first. In this tutorial I will show you all steps that your need to perform on your iPad to setup your mail under iOS 5.
For this purpose I will be using iOS 5 on iPad, so to get started follow steps below
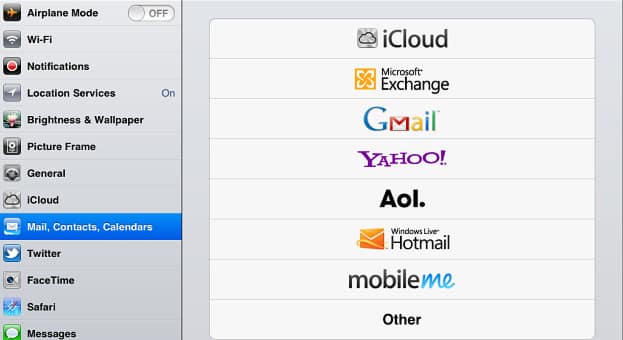
Step 1: On your iPad go to Settings menu and then select Mail, Contacts, Calendars
Step 2: From right side of window tap on Add Account
Step 3: Here you will see many different email services, tap on the one whose email services you are using
Step 4: Once you have choose the email services, you will be prompted to enter your email address, password and a short description for this account. After that tap on Next
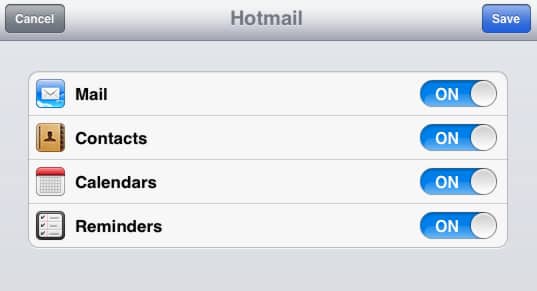
Step 5: Now simply turn on the features you want to have your iPad check and then tap Save.
Step 6: You will be taken to Mail, Contact, Calendars screen. Now you should notice that above Add Account option you newly added email account. To change options related to that account tap on its name
Step 7: Once you have opened account settings you have many options in here which you can change, or you even delete this account
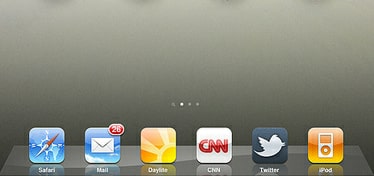
Step 8: Now if you go back to your iPad home screen, on bottom task bar you will see a red notifications with number of new email your have. To open your emails simply tap on Mail icon
Step 9: There you go, your email account is now enabled on iPad. If you decide to enable iCloud, you will be able to sync your messages, calendar and contacts between all your iOS devices and Mac.
[ttjad keyword=”ipod-touch”]



![Read more about the article [Tutorial] How To Enable Delete Confirmation Dialog Box In Windows 8](https://thetechjournal.com/wp-content/uploads/2012/11/recycle-bin-propertiese-as56d4987yu64ip34654fd.jpg)
![Read more about the article [Tutorial] How To Create Custom Vibration Alerts on Your iPhone With iOS 6](https://thetechjournal.com/wp-content/uploads/2012/11/sounds-ios-as56d48e97w98e7.jpg)