Windows 8 is finally available and many users will install it on their computer. In this tutorial I will show you how to upgrade from Windows 7 to Windows 8 and keep all your files intact. However there are few things you need to pay attention on before you start the installation because both Windows versions must be the same in order to upgrade. For example you can upgrade from Windows 7 Ultimate 32-bits to Windows 8 Pro 32-bits, but you can’t upgrade from Windows 7 Start to Windows 8 Pro or from Windows 7 32-bit to Windows 8 64-bit, so keep these things in mind before you start the upgrade process.
Now I already expect that you have order and downloaded Windows 8 installation file from Microsoft Store.
Step 1: Now when you have Windows 8 installation files on your computer burn them on empty DVD or USB drive.
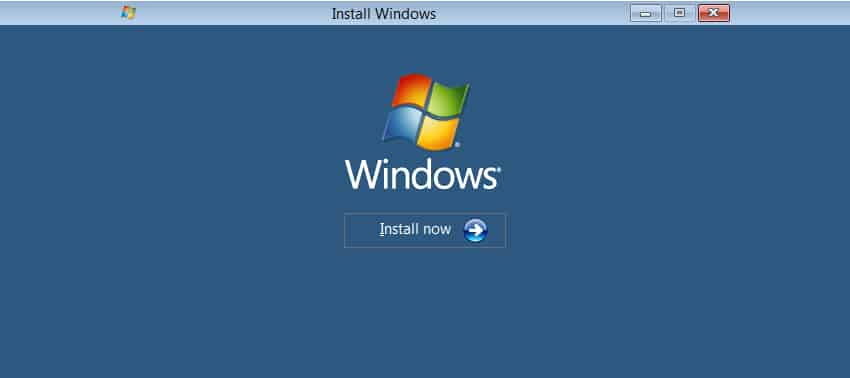
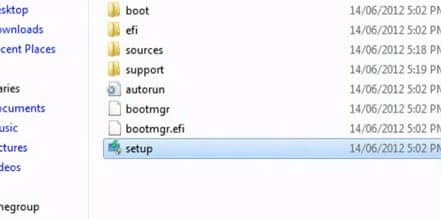
Step 2: Launch Windows 8 from USB drive or your DVD disk you have created in Step 1 and launch the setup.exe file.
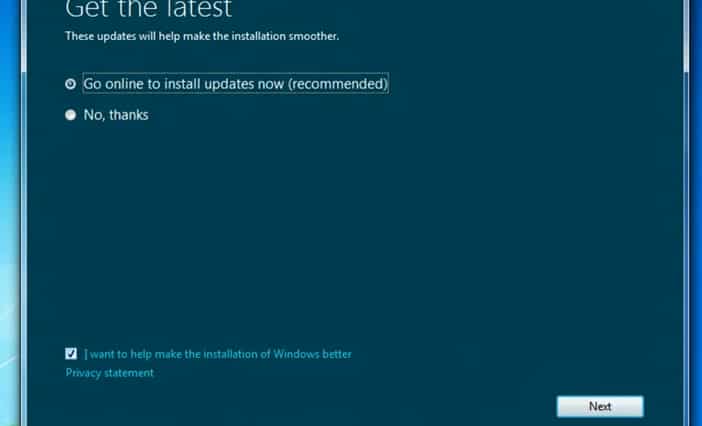
Step 3: Wait until Windows 8 is prepared. From window that appears choose Go online to install updates now and click Next.
Step 4: Now type in your Product key if necessary and click Next.
Step 5: Select a check box in front of I accept the license terms and click Next button.
Step 6: Now it comes most important part. Depending of from which version of Windows you are upgrading to Windows 8 you will have different options offered:
- If you are upgrading from Windows XP with Service Pack 3 to Windows 8 Core or Pro, you can only keep personal files.
- If you are upgrading from Windows Vista with Service Pack 1 to Windows 8 Core or Pro, you can keep your personal files and system settings.
- If you are upgrading from Windows Vista RTM to Windows 8 Core or Pro, you can only keep your personal files.
- If you are upgrading from Windows 7 Professional and Enterprise to Windows 8 Enterprise, you can keep your settings, personal files, and applications.
- If you are upgrading from Windows 7 Starter, Home Basic, Home Premium, Professional and Ultimate to Windows 8 Pro, you can keep your settings, personal files, and applications.
- If you are upgrading from Windows 7 Starter, Home Basic, and Home Premium to Windows 8 Core, you can keep all Windows settings, personal files, and apps.
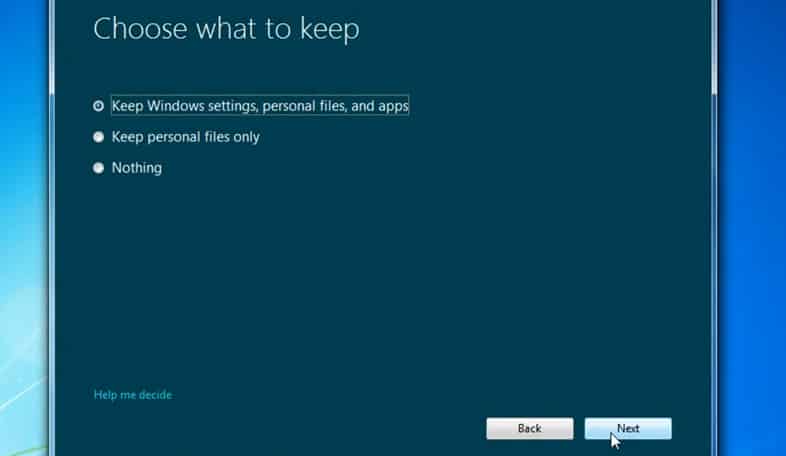
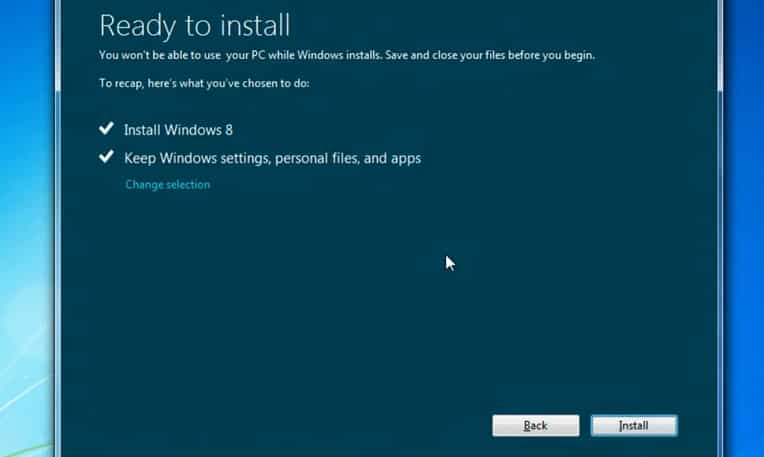
In my case, since I am upgrading from Windows 7 Professional to Windows 8 Pro. I selected the option Keep Windows settings, personal files, and apps. Click Next to continue with installation.
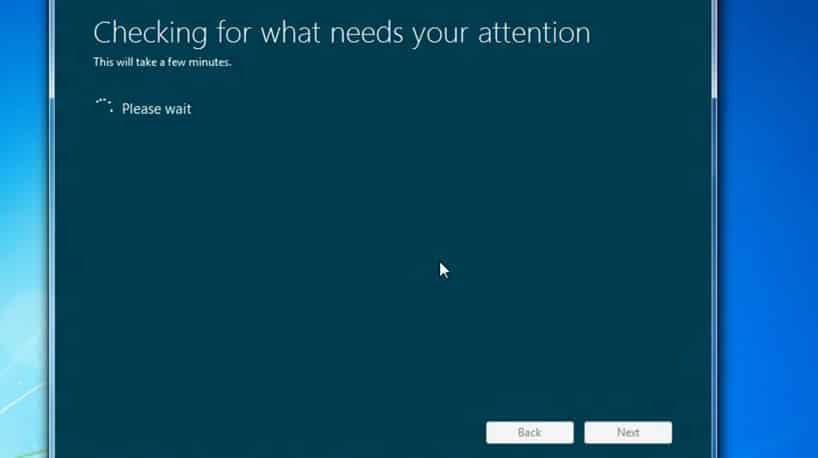
Step 7: Now wait for few minutes until it’s checked if certain apps will be incompatible with Windows 8. Once this process is done click Next button.
Step 8: Now you are ready to start Windows 8 installation. Click Install button in bottom right corner of your installation window.
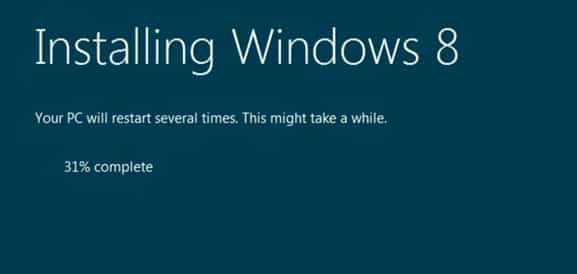
Step 9: The installation process may take a while (around 30-45 minutes) and your computer will restart few times during installation, so make a short break while it’s installed.
Step 10: Once Windows is installed, you can personalize your Windows 8 environment setup wireless, sign-in with your Microsoft account, etc…
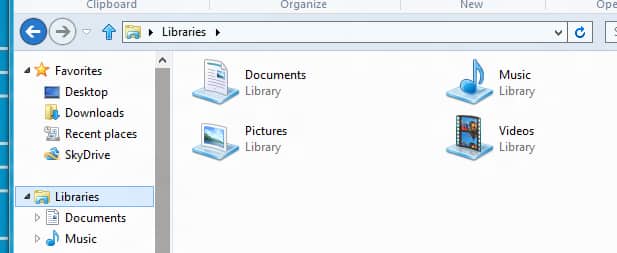
Step 11: Now depending from which Windows version you upgraded, if you go to Windows Explorer you can see that all your Windows settings, files and apps are saved and you can continue your work without any additional changes in your Windows 8.
I hope this tutorial was helpful for you during Windows 8 upgrade. If you want to share your experience about Windows 8 you are most welcome to leave it in comment section below.





![Read more about the article [Tutorial] How To Search In All New iOS 7](https://thetechjournal.com/wp-content/uploads/2013/09/Photo-Sep-19-2-46-10-AM-433x768.png)
![Read more about the article [Tutorial] Edit Your Facebook Look Back Movie](https://thetechjournal.com/wp-content/uploads/2014/02/Edit-button-On-Facebook-Look-Back-512x390.jpg)