Apple has already released an update version of iOS, iOS 4.3.1 for iPhone 4, iPhone 3GS, iPad 2, Original iPad, iPod touch 4G/3G. The latest update is meant to fix some minor bugs, exploits and battery life issues on all iOS devices. You can use this bundle with PwnageTool 4.2 to create custom jailbroken 4.3.1 firmware files.
PwnageTool didn’t leave the iPad owners behind. It is also applicable on iPad running on iOS 4.3.1. The guide is given below.
Requirements:
* PwnageTool 4.2
* iOS 4.3.1 firmware
* iTunes 10.2.1
* Mac OS X
* PwnageTool bundle for iOS 4.3.1
* Universal Ramdisk Fixer
* tetheredboot utility
Step 1: Download PwnageTool bundle for iOS 4.3.1 and extract the content into a folder.
Step 2: Because this guide is geared towards iPad we will be using iPad bundle file named “iPad1,1_4.3.1_8G4.bundle”. Copy this file to your desktop.
Step 3: Next download the PwnageTool 4.2.
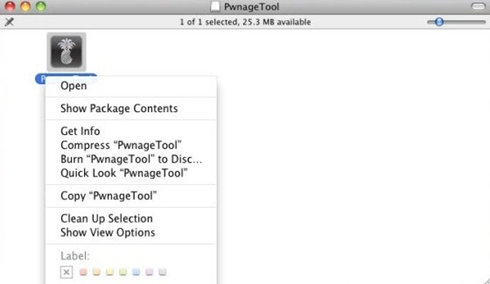
Step 4: Copy PwnageTool 4.2 in Application folder. Right click on the PwnageTool icon and click on “show Package Contents”.
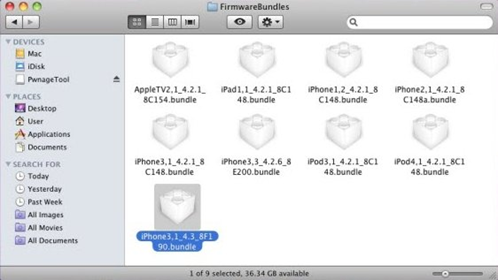
Step 5: Step 5: Now you need to browse to Contents/Resources/FirmwareBundles/ and paste the iPad1,1_4.3.1_8G4.bundle file.
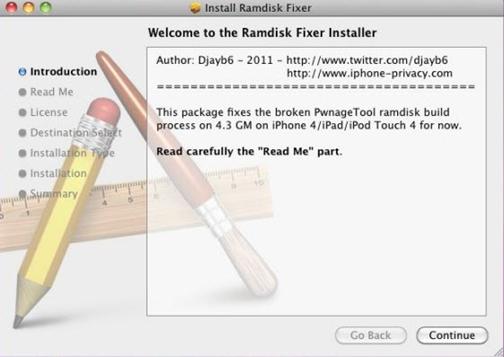
Step 6: Use Ramdisk Fixer to create custom Ramdisk for iOS 4.3.1. You can download Universal Ramdisk Fixer using the above given links and install it.
Step 7: Now build iOS 4.3.1 custom firmware for which you need to download iOS 4.3.1 firmware (from the link mentioned in the start).
Step 8: Place iOS 4.3.1 firmware on your desktop.
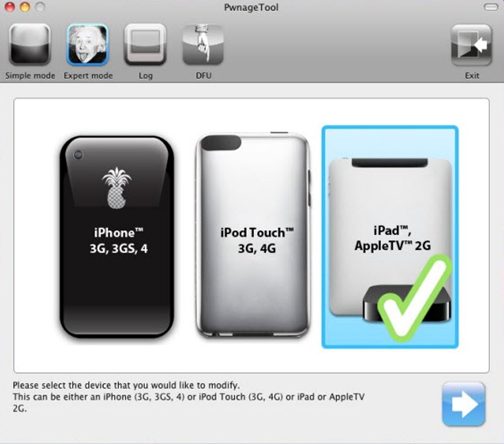
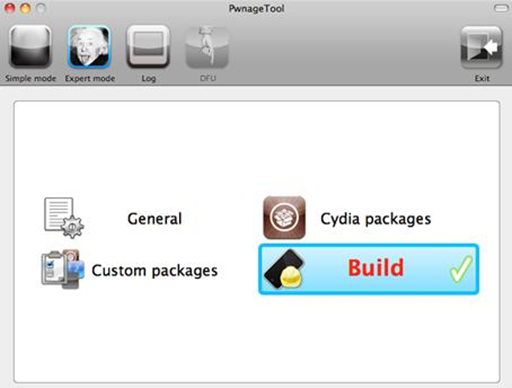
Step 9: Launch PwnageTool in “expert mode” and select your device which in our case is iPad.
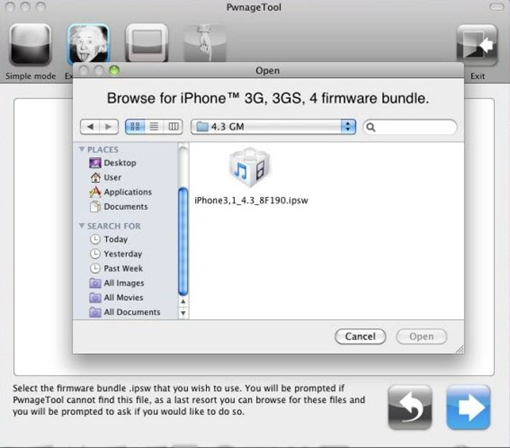
Step 10: Locate iOS 4.3.1 which we copied on the desktop in step 8.
Step 11: After selecting iOS 4.3.1 click on “Build” button to produce jailbroken custom iOS 4.3.1 jpsw file.
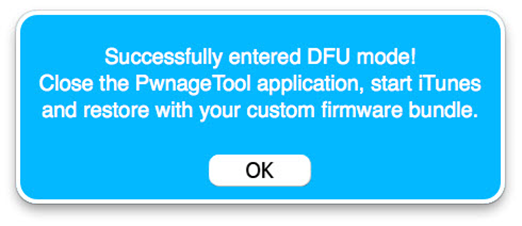
Step 12: Once the custom firmware has been produced you need to go into DFU mode by clicking on DFU button on the Pwnage Tool.
Step 13: Follow the following steps to enter DFU mode using PwnageTool:
* Hold Power and Home buttons for 10 seconds
* Now release the Power button but continue holding the Home button for 10 more seconds
* You device should now be in DFU mode
Step 14: Launch iTunes application and select iPhone iOS device from the sidebar.
Step 15: For Windows users press and hold left shift button and for Mac users press and hold “Alt” button on the key while clicking on “restore” button and select Custom iOS 4.3.1 jpsw file which we created in step 11.
Step 16: Just wait till iTunes finish installing custom firmware on your iPad.
Tethered Boot Guide:
1. Download tetheredboot.zip utility for Mac OS X and extract the .zip file.
2. First, we will need two files from the custom iOS 4.3.1 firmware namely: kernelcache.release.n90 and iBSS.n90ap.RELEASE.dfu. To do this, make a copy of your custom iOS 4.3.1 file that you created above, change the extension of this file from .ipsw to .zip, and then extract this .zip file.
Now copy kernelcache.release.n90 file, and then copy iBSS.n90ap.RELEASE.dfu files which are found under /Firmware/dfu/.
Move all these files, and tetheredboot utility to a new folder named “tetheredboot” on the desktop.
3. Turn off your iOS device, and start Terminal on OS X and run the following commands:
sudo -s
enter your administrator password, then:
/Users/TaimurAsad/Downloads/tetheredboot/tetheredboot
/Users/TaimurAsad/Downloads/tetheredboot/iBSS.n90ap.RELEASE.dfu
/Users/TaimurAsad/Downloads/tetheredboot/kernelcache.release.n90
You will have to of course replace “TaimurAsad” with the name of the directory on your computer.
now press enter.
You should now see some code running in the Terminal window, at some point, it will ask you to enter DFU mode. Now follow the following steps to enter DFU mode:
* Hold Power and Home buttons for 10 seconds
* Now release the Power button but continue holding the Home button for 10 more seconds
* You device should now be in DFU mode
Now wait for your device to boot, Terminal at this point will be showing “Exiting libpois0n” message. After a short while, your iPhone, iPad or iPod touch will be booted in a jailbroken tethered mode !
[ttjad keyword=”iphone”]


