As you probably sow in many of our previous tutorials, any free online services allow you to make edits and apply effects to your photos right from your web browser. With the free service called Photovisi, you can create photo collages by simply choosing a preset, adding your photos, customizing the effects and once its done you can watch, download, print or share the results with your friends! In this tutorial I will guide you trough entire process of creating your collage with this services.
To get started follow steps below
Step 1: In your Web browser, go to this web address
Step 2: Click Click here to start button
Step 3: Then choose the model you want to create and then register/login to this web site
Step 4: Now we are ready to add the photos that will make up your collage. You can then arrange them as you like, crop, rotate etc… For that click the Add items button located at the top left corner
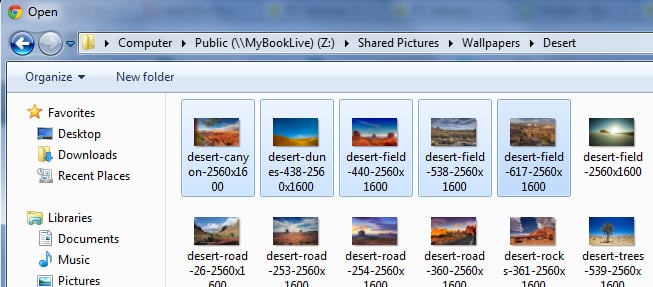
Step 5: From your hard drive select the photos which you want to added and click the Open button. To select multiple photos at once, hold down Ctrl on your keyboard and left mouse click on the images which you want to add.
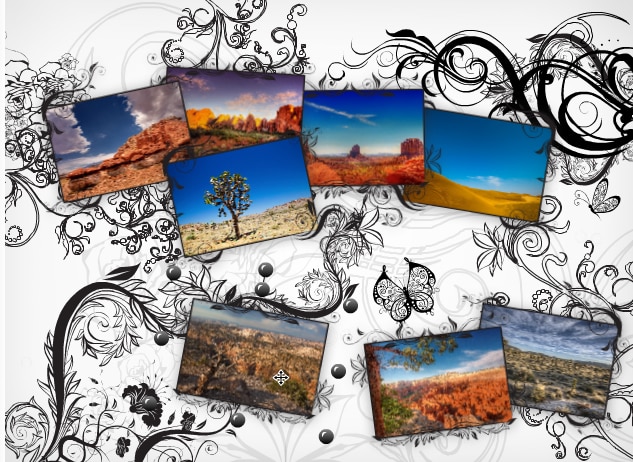
Step 6: Photovisi then automatically creates your photos as a collage.
Step 7: If the arrangement of pictures does not suit you, you can move, rotate, enlarge or reduce them by clicking and playing with the handles that appear.
Step 8: To place a picture obscured by another in the foreground, simply double click on it.
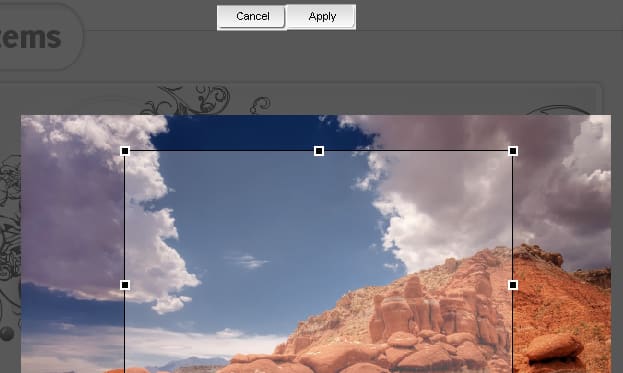
Step 9: If a thumbnail does not display properly you can just crop it. To do that select picture and click the Crop button located at the right side
Step 10: Once you have properly cropped the picture simply click the Apply button located at the top and the thumbnail is automatically updated.
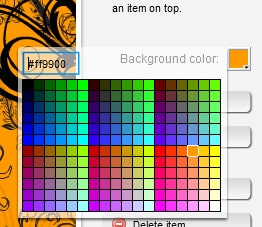
Step 11: To change the background color, click Background Color and choose the color from the palette that appears.
Step 12: You can also use an image in the background. Just click on Add background and then on your computer select the image which you want to use and click Open. It is applied automatically in the background of the collage.
Step 13: Once you are done with editing your collage, click the Finish button located at top right
Step 14: Click the Select download resolution and select 1600×1200. Your image will be larger and of sufficient quality to be printed, displayed on the screen or sent to friends.
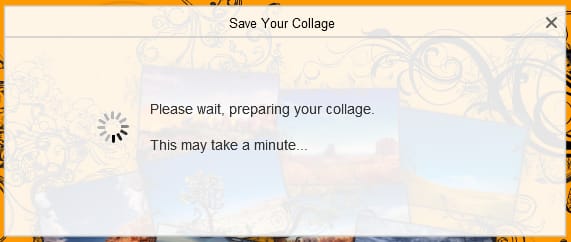
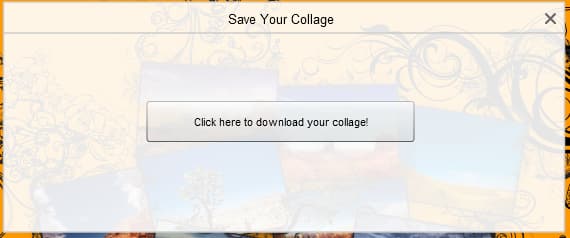
Step 15: Now click the Continue button and once your collage Photovisi generated, which can take about 1 minute, click Click here to download your collage!
Step 16: The preview of your collage is displayed in reduced size. Click on the link Click here to download your collage and your collage will be downloaded on your computer
You are done. Your collage is now finished and ready to be printed or shared with your friends. If you have any questions or suggestions leave them in comment section below.
Follow us on Twitter or be a Fan on Facebook or Subscribe On our News Feed for free to get regular update.
[ttjad keyword=”all-in-one-desktops”]








![Read more about the article [Tutorial] How To Convert PDF To Word Document](https://thetechjournal.com/wp-content/uploads/2012/02/pdf-online-converter-512x262.jpg)
![Read more about the article [Tutorial] How To Re-Restore Your iPad From iOS 5.x To iOS 5.x Using Windows](https://thetechjournal.com/wp-content/uploads/2013/01/11111111111.jpg)
![Read more about the article [Tutorial] How to Run Windows 8 Desktop On A Second Monitor](https://thetechjournal.com/wp-content/uploads/2012/10/win8-extend-screen-view-ttj-logo-512x290.jpg)