In this tutorial I will show you how to install nitoTV and XBMC on your Apple TV 2 using nitoTV Installer. In order to perform this procedure your Apple TV 2 needs to be jailbroken. For those who don’t know nitoTV popular media player for Apple TV, which you can use to create playlists and add files or folder. The good thing about this player is that it supports almost any media format.
To get started follow steps below:
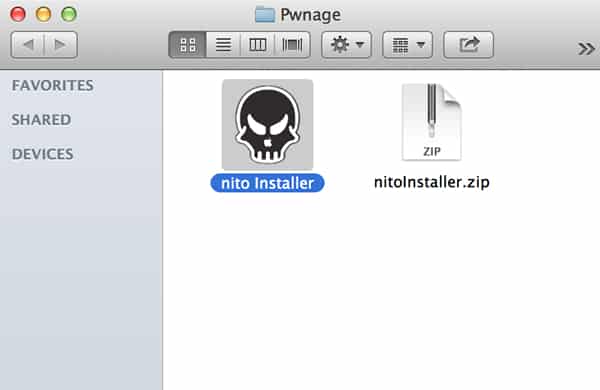
Step 1: Go to your desktop and create Pwnage folder.
Step 2: Use this link to download the latest nitoTV version and save it in Pwnage folder that we created in beginning.
Step 3: Now open Pwnage folder and extract archive that you just downloaded.
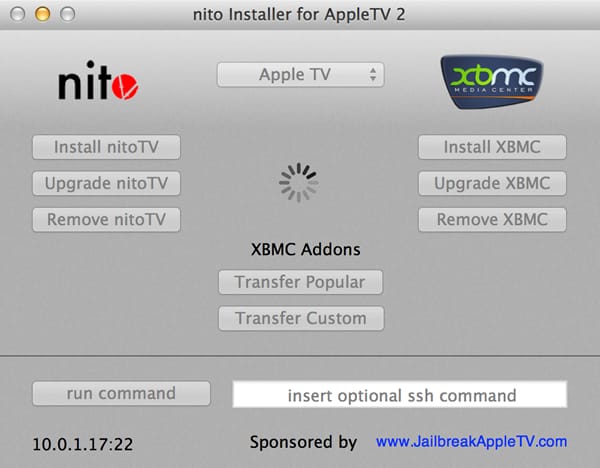
Step 4: Double click on the extracted nitoTV installer to launch the application.
Step 5: From the drop down menu select your Apple TV.
Step 6: At the bottom left corner of the window you will see your Apple TV’s IP address.
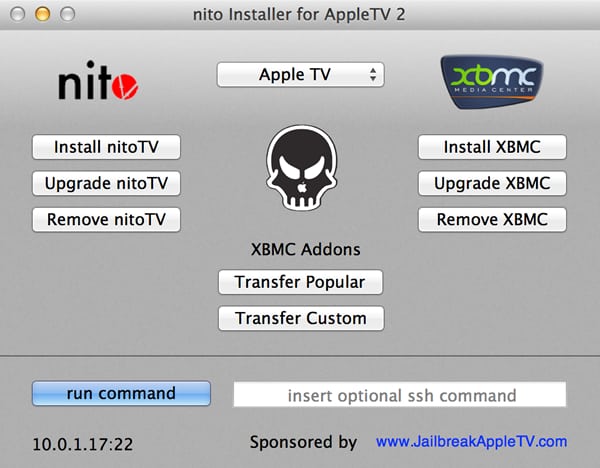
Step 7: On the left side click on Install nitoTV to install the application. After that you will be asked to enter your password for Apple TV. If you haven’t changed the default password input front row in the empty field.
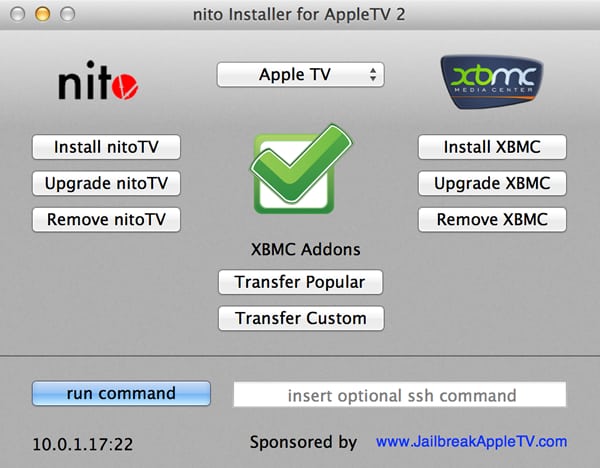
Step 8: After a few moments at the center of the window a green check mark will appear to indicate that installation was successful.
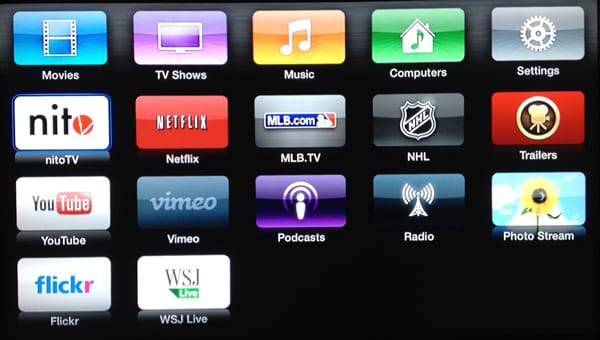
Step 9: If you go on your Apple TV launcher you will notice that nitoTV application has appeared.
Step 10: Launch the app you used in Step 4 and click Install XBMC button to install on the right side of the window. After a few moments a green check mark will appear on the center of the window to indicate that installation was successful.
Step 11: When you go on your Apple TV launcher you will also notice that XBMC application has appeared.
[ttjad keyword=”apple-tv”]


![Read more about the article [Tutorial] How To Encrypt Files and Folders in Windows 8](https://thetechjournal.com/wp-content/uploads/2012/09/right-click-s67448sd32a14h6545s4d56f.jpg)
![Read more about the article [Tutorial] How To Back Up And Delete Your Google Profile](https://thetechjournal.com/wp-content/uploads/2012/03/google-logo-512x285.jpg)