If you don’t have a DVD ROM on your home server and you want to install Windows Home Server there is a solution by using USB. Rather than wasting your money buying one and your time to install it you can simply create a bootable Windows Home Server on your USB drive and do the installation from that. In this tutorial I will show you how to do that.
Before you get started with this process make sure you have a USB drive with at least 8GB space and that it’s empty because it will be formatted during this process and you will lose all data that was previously on USB. Once you pass previous requirements you can continue following below steps.
Step 1: To get started Download and install Windows 7 USB/DVD Download tool
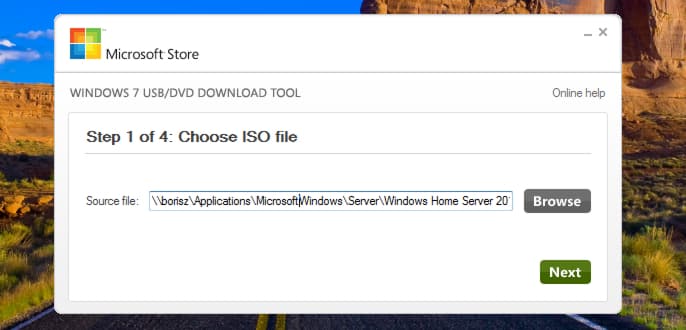
Step 2: Once installation is finished start Windows 7 USB/DVD Download tool, click Browse and locate your Windows Home Server 2011 .iso file. Click Next to continue
Step 3: In next window from bottom right corner choose USB device
Step 4: Now from drop down menu choose your USB drive. If you don’t see your USB inside dropdown menu click Refresh button and it should show up.
Step 5: Once you have selected USB click Begin copying
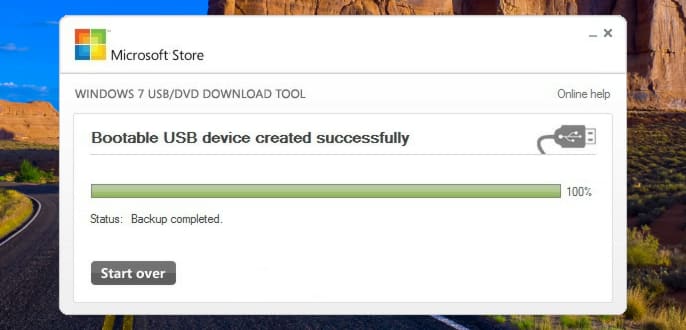
Step 6: USB/DVD Download tool will now format your USB drive and copy ISO file. Depending of your system speed it may take few minutes for this process to finish
Step 7: Once the process is finished simply close the window
Step 8: Now unplug the Windows Home Server 2011 bootable USB drive we just created from your desktop computer and plug it into your Home Server
Step 9: Turn on your Home Server and go into BIOS making sure its set to boot from USB drive.
Step 10: Start your server and install Windows Home Server 2011
[ttjad keyword=”portable-hard-drive”]


![Read more about the article [Tutorial] How To Share Your Computer Screen On Easy Way](https://thetechjournal.com/wp-content/uploads/2012/03/share-screen-logo-512x198.jpg)
![Read more about the article [Tutorial] How To Setup iMessage On Your New iPad](https://thetechjournal.com/wp-content/uploads/2012/03/imessage-ipad-logo-512x275.jpg)
