The new version of iOS has brought a lot of new features to our iDevices. In the process, it has also changed the locations of some old one’s making those more accessible. One of those features is an ability to create custom vibration alerts. In older iOS versions (before iOS 6), the option to create custom vibration alerts was hidden deep inside the Accessibility menu. But with iOS 6 it has moved to a more accessible location. Follow this tutorial to find out where to find this option now, and how to create a custom vibration alert using it.
To get started follow the steps below.
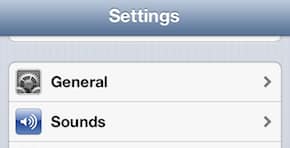
Step 1: From your iPhone home screen go to Settings and then choose Sounds, where you will see a list of individual sounds and alerts which you can configure.
Step 2: If you want to configure vibration, tap on Ringtones and then choose Vibration.
Step 3: In here you will see a list of different vibration alerts available in your iPhone. Tap on any of them to try them out.
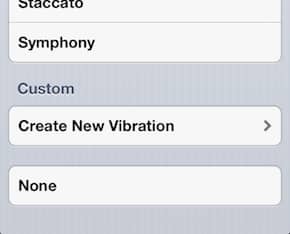
Step 4: When you are inside Vibration menu, scroll down the page and under Custom section tap on Create New Vibration.
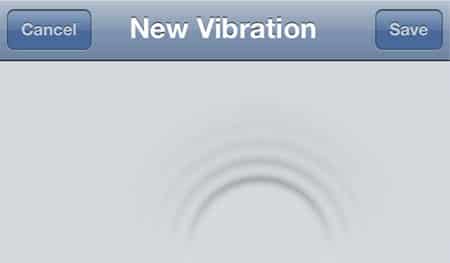
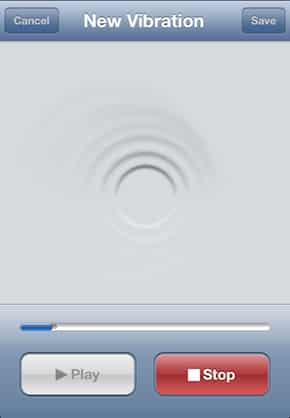
Step 5: A recording screen will appear where you will be able to record your custom vibration alerts.
Step 6: In order to create your custom vibration alert tap in the middle of the screen. If you hold your finger down long enough, you will create a longer vibration. If you want to create shorter vibration, slightly tap on your screen.
Step 7: Once you are done, tap on Play button to test the vibration you just created.
Step 8: If your newly created vibration match your needs, tap on Save button located in the top right corner of your screen.
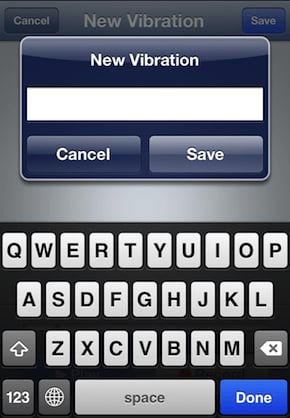
Step 9: Give a name to your new vibration and tap Save. You new custom iPhone vibration is created, and you can use it now.
Let us know, if you found this tutorial useful.
[ttjad keyword=”iphone”]





![Read more about the article [Tutorial] How To Show Your Downloads On Windows 7 Start Menu](https://thetechjournal.com/wp-content/uploads/2012/02/start-menu-downloads-512x306.jpg)
![Read more about the article [Tutorial] How To Export or Import Your Contacts From Gmail](https://thetechjournal.com/wp-content/uploads/2012/10/contacts-gmail-asd798as7da3a213465s4df.jpg)
Wow. Amazing tutorial. Now You could make your own Vibration Alert on iPhone even without Jailbreak or any apps. Its built-in feature.