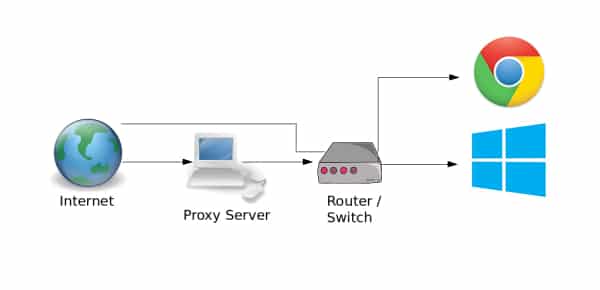
When using proxies you are hiding your actual IP address, and the web sites you are visiting see the proxy’s address instead. With Windows you can configure proxy address for use when you are browsing websites and although some web browsers use their own settings for proxies, Google Chrome relies on the proxy settings that Windows has. As you can see, in order to disable proxy in Google Chrome you need to disable it in entire Windows, however I will show you a simple solution you can perform and disable it only in Google Chrome.
To get started follow steps below:
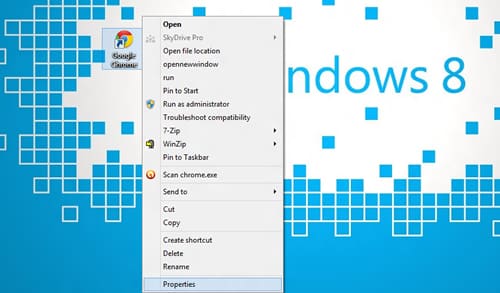
Step 1: Right mouse click on your Google Chrome icon on desktop or Start menu and from context menu choose Properties.
Step 2: In new window that opens up select Shortcut tab.
Step 3: Now at the very end of Target field and outside question marks type –no-proxy-server leaving one empty space before dashes.
Step 4: Click OK to save your changes and close the window.
Step 5: Next time when you run Google Chrome from the icon on which you just made changes it will be started with proxies disabled.
[ttjad keyword=”cloud-storage-drive”]


![Read more about the article [Tutorial] How To Jailbreak Your 2nd Generation Apple TV For Extra Functionality](https://thetechjournal.com/wp-content/uploads/2012/02/apple-tv-512x285.jpg)
![Read more about the article [Tutorial] How To Create Encrypted Folder In Mac OS X](https://thetechjournal.com/wp-content/uploads/2013/01/name-as56d465ew4r6e5r.jpg)
![Read more about the article [Tutorial] How To Download YouTube Video Using VLC Player](https://thetechjournal.com/wp-content/uploads/2013/01/copy-url-as8d9we98r79ew8.jpg)