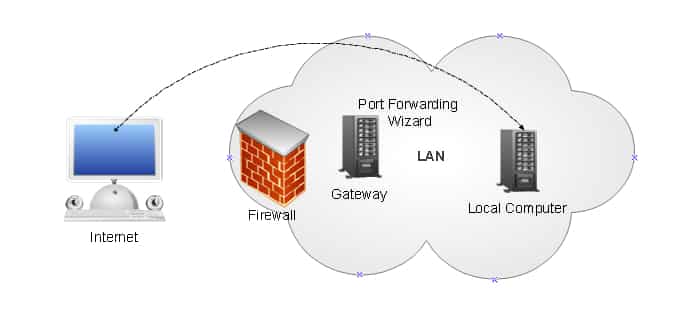
UPnP allows compatible applications to automatically change the settings on your router to add a port redirect. Unfortunately, some applications do not support UPnP and can not automatically redirect a port in your router. It is then up to you to connect to your router and manually add the port to redirect. For some users this may look like complicated and risky procedure but to make everything simple and easy we will be using a free app for Windows called UPnP Port Mapper which allows you to automatically manage your port forwarding from your desktop without having to connect to your router.
Before proceeding to below steps make sure you download UpnP Port Mapper from this link and install it. UpnP Port Mapper requires Java to work, so if you don’t have it already, you need to download it from this link and install it on your computer.
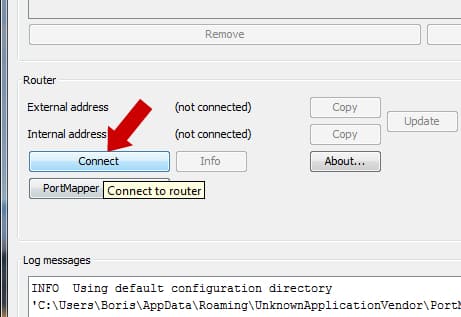
Step 1: Lunch the UpnP Port Mapper app and click the Connect button.
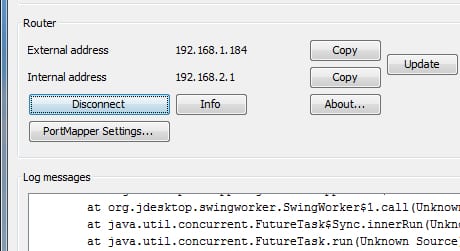
Step 2: Your router is automatically detected. If this is not the case, check that your firewall or antivirus is not blocking the connection.
Step 3: The list of all redirects ports in your router is displayed.
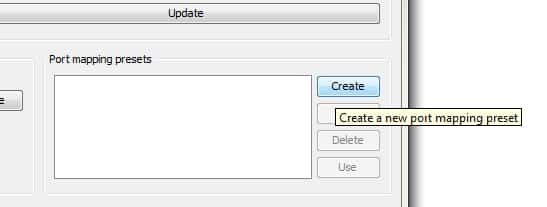
Step 4: To create a new redirect, click the Create button.
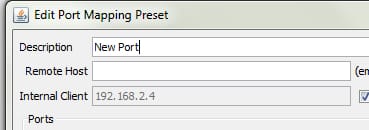
Step 5: Describe your port forwarding. Note that here you can define multiple ports to redirect at the same time.
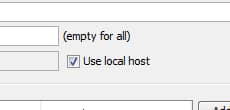
Step 6: Use Local Host checkbox is checked by default which means that your IP address is automatically filled. If you want to add a rule to another computer, uncheck the box and enter the IP address.
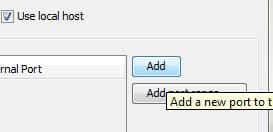
Step 7: Click the Add button.
Step 8: A new entry is added to the list. Click in the Protocol column and set the protocol used by your application, e.g. TCP.
Step 9: Then inside fields External Port and Internal Port enter the number of the port to open.
Step 10: Repeat for above steps for other ports which you want to open. Once done click the Save button.
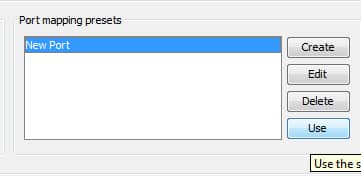
Step 11: Then select your preset redirection and click Use.
Step 12: Redirects are added to the router and are displayed in the list.
Step 13: If you go into the settings of your router, you notice that the redirect is effective.
[ttjad keyword=”wireless-router”]



![Read more about the article [Tutorial] How To Share Your Internet Connection On iOS 5 With MyWi 5](https://thetechjournal.com/wp-content/uploads/2012/02/personal-hotspot-iphone.jpg)
![Read more about the article [Tutorial] How To Install and Use Winapp2.ini In Windows](https://thetechjournal.com/wp-content/uploads/2013/02/ccleaner-winapp-ttj-logo-512x219.jpg)
