If you have a digital camera which don’t have Geotagging feature built-in, you can easily geotag your photos from your computer. In this tutorial, I will show you how to geotag photos using two apps – Google Earth and Geotagger. This procedure will for Mac users only.
To get started follow the steps below.
Step 1: To carry out the procedure we need two software – first one is Google Earth and second one is Geotagger. If you don’t have these then download Google Earth and Geotagger.
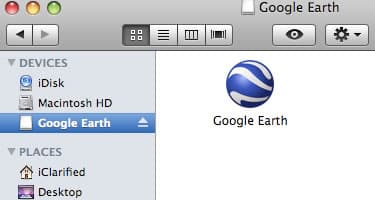
Step 2: Once both the apps are downloaded, double-click on Google Earth dmg file to mount it and drag its icon into the Applications folder.
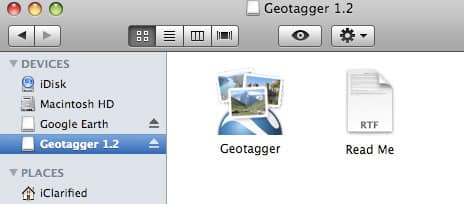
Step 3: Do the same for Geotagger, as you did for Google Earth in Step 2.
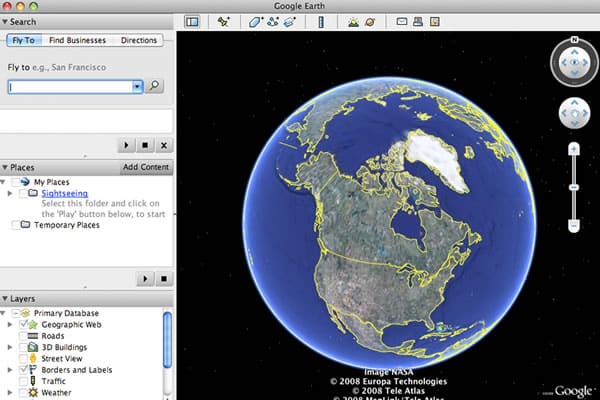
Step 4: Now, launch Google Earth app.
Step 5: When Google Earth opens up, navigate to the location where you took your photo making sure that the exact location is centered inside your window.
Step 6: Launch Geotagger inside your dock.
Step 7: Now, drag your photo onto Geotagger icon inside dock. The GPS co-ordinates will be automatically applied to your photo (remember that the co-ordinates which will be used are those you open in Google Earth in Step 5).
Step 8: Again drag the same photo to your iPhoto icon located in dock in order to import it into your iPhoto Library.
Step 9: Launch the iPhoto app, select the imported image and then press Command+I on keyboard. You will be able to see GPS co-ordinates you have previously applied.
Visit our Mac tutorial section for more.
[ttjad keyword=”mac”]


![Read more about the article [Tutorial] How To Encrypt iPhone Backups](https://thetechjournal.com/wp-content/uploads/2012/03/add-password-itunes-iphone.jpg)
![Read more about the article [Tutorial] How To Get Desktop Notifications When You Receive Updates On Google+](https://thetechjournal.com/wp-content/uploads/2012/03/google+-512x239.jpg)
![Read more about the article [Tutorial] How To Bypass the Pattern Lock on Any Android Device](https://thetechjournal.com/wp-content/uploads/2012/12/android-pattern-lock-bypass-ttj-logo-512x267.jpg)