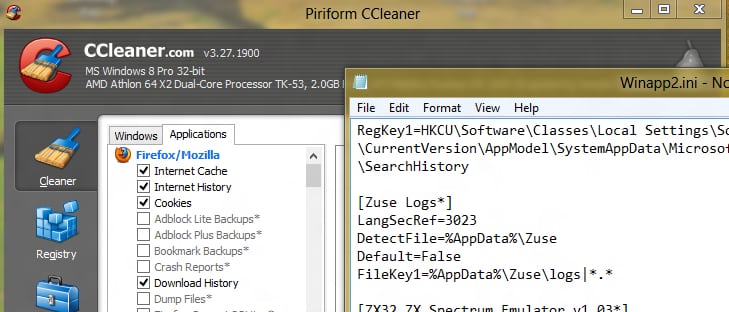
For those who are not familiar with Winapp2.ini – it is a file which is compatible with three different apps: CCleaner, BleachBit and System Ninja. This file was initially added by Piriform inside CCleaner to allow their users to make their own custom tailored entries, so user will be able to clean better and more application. This tutorial will show you how to add the Winapp2.ini with CCleaner installation and how to use it.
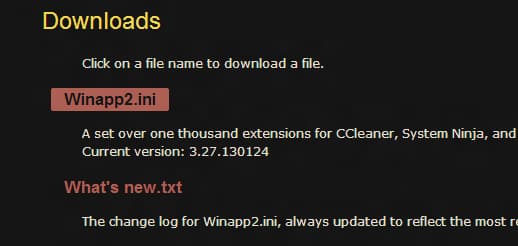
Step 1: First visit this web page and click on Winapp2.ini title.
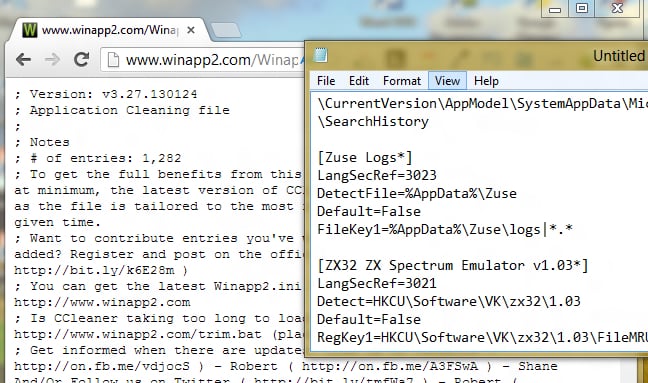
Step 2: When new page loads, select the entire code you see on that page and press Ctrl+C to copy it to your clipboard.
Step 3: If you didn’t do this already, download CCleaner from this link and install it on your computer.
Step 4: Open new Notepad file, and paste the code you copied in Step 2 (press Ctrl+V on keyboard to do it). Click File -> Save As and then save the file with name Winapp2.ini inside CCleaner root folder usually located at C:\Program Files\CCleaner\.
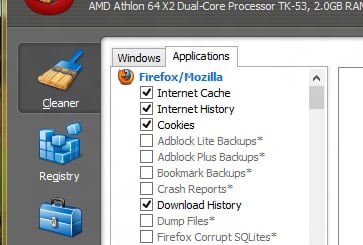
Step 5: Now launch the CCleaner app you installed in Step 3 and then click on Applications tab located in top left corner. In here you will see many new options have appeared.
Pay attention when selecting new options because some of them can be volatile.
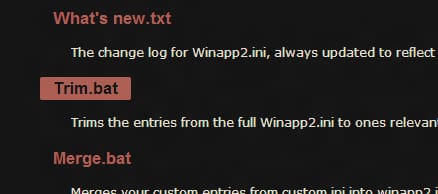
Step 6: Additionally, you can also trim the file for your computer which will result in much faster load time. In order to do this, download Trim.bat file from this link.
Step 7: As previously done in Step 4, place you Trim.bat file inside CCleaner root folder and launch it.
Step 8: When command line window appears, simply follow the instructions and enjoy your trimmed file.
Visit our Windows Tutorial section for more such tutorials.
[ttjad keyword=”all-in-one-desktops”]


![Read more about the article [Tutorial] How To Quickly Remove Entire Contents Of A Folder – Windows](https://thetechjournal.com/wp-content/uploads/2012/10/empty-folder-8a9777a9sf464hy6464yhuffg.jpg)
![Read more about the article [Tips] How To Take Better Photos With Your Smartphone](https://thetechjournal.com/wp-content/uploads/2012/07/sp-camera-logo-512x340.jpg)
![Read more about the article [Tutorial] How To Share A Printer Under Windows 7](https://thetechjournal.com/wp-content/uploads/2012/02/printer-share-windows-7-512x238.jpg)
Hiya! Thanks for the mention!
You can also save winapp2.ini to your CCleaner directory by right clicking on the winapp2.ini title and selecting “save link as”
Admin user in win7 home premium 64 sp1…., but cannot paste: “you do not have enough permission to paste in this folder” program files(x86)ccleaner….
i know i can probably boot into safe mode and accomplish this….
save to desktop, then drag into the folder works…just click Next / Continue in the warning popup…
Yes saving the file anywhere and moving it in afterwards should work if you have the User Account Control enabled.