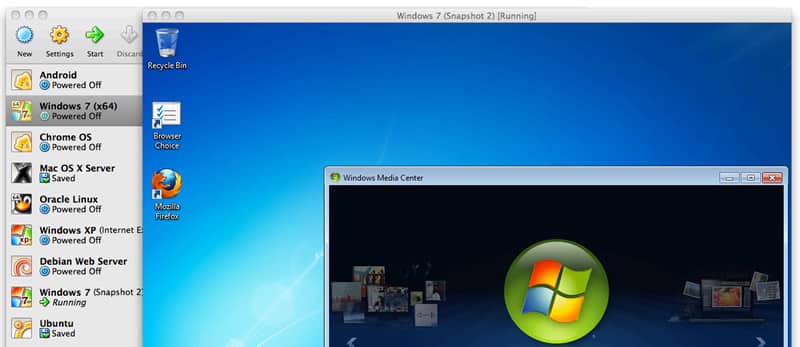
Have you ever tried to attach any USB device to your VirtualBox virtual Machine and found it was unable to recognize the USB device? If yes, then you have probably looked for solutions. Don’t be pessimistic, because this is a very common issue on VirtualBox and it occur because the virtual machine is unable to figure out which driver the USB device supports. The best way to bypass/fix this problem is to set a proper filter inside VirtualBox settings; in this tutorial I will show you how to do that.
To get started follow the steps below.
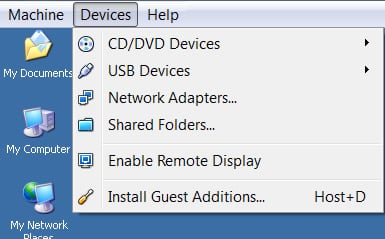
Step 1: First, we need to make sure that Guest Additions is installed. To install them all you have to do is go to Virtual Machine and then from host window select Device and from drop-down menu choose Install Guest Additions. After this, Virtual Box will load a virtual disk with the guest addition setup.
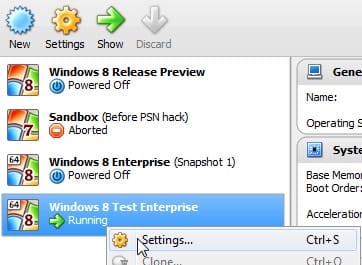
Step 2: Once Step 1 is finished, go back to VirtualBox manager and right-click on Virtual Machine which you want to use with your USB device. From context menu that shows up choose Settings.
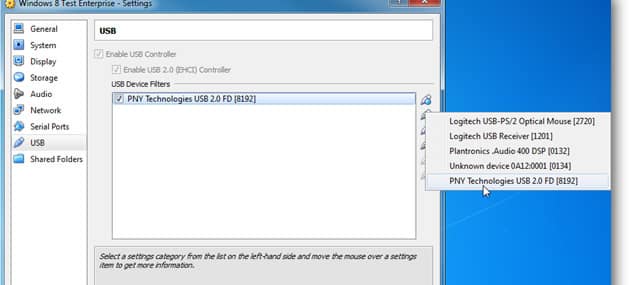
Step 3: When Settings window opens up, from left pane click on USB tab and then click Add button located on the right side of the window.
Step 4: From the context menu that shows up click on the USB device that you wish to use on your Virtual Machine, and then click OK to save changes. You can now close this window.
Step 5: Now, you need to go back into your Virtual Machine window, and from Host options click on Device.
Step 6: From drop down menu choose USB devices and then choose the USB device you selected in Step 4.
Step 7: You USB device should not appear just as it would in your physical computer.
[ttjad keyword=”cloud-storage-drive”]


![Read more about the article How to turn off AR+ mode in Pokemon Go [Android + Apple]](https://thetechjournal.com/wp-content/uploads/2019/01/TheTechJournal-Pokemon-Go-512x283.jpg)