Among many new features in Word 2007, the most interesting feature for me is the one that lets you publish a blog post directly to your web site blog regardless of the blogging platform you are using, whether it’s WordPress, Blogger, TypePad, etc…. In this tutorial I will use this function with a WordPress blog and show you how to create your own account and start publishing directly from Microsoft Word 2007/2010.
Step 1: Start by running Word 2007. Open the Office menu and click New.
Step 2: A window will open displaying all the available templates. In the Blank and recent section, select New blog post and click Create.
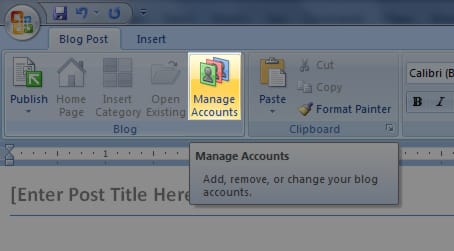
Step 3: Now we need to register our blog account to be able to publish our posts. To do this, close the pop-up window that showed up and click the Manage Accounts in the Blog Post tab.
Step 4: A window opens showing you the list of registered blog accounts. Since you are using Word for blogging for the first time this list is empty. Then click New to create one.
Step 5: A combo box then prompts you to select your blog provider. Select one and click Next.
Step 6: We must now enter the information about our blog:
- Blog Post URL: just enter your Web site;
- User Name: your username
- Password: your secret code that allows you to connect to the admin panel of your blog provider. For your convenience, check Remember password.
- Picture Options: Here you define where the images must be downloaded. In the case of a WordPress blog, it is configured to send them into the folder wp-content/uploads, according to the default options. So from dropdown menu choose My blogs provider and click OK. In case you want to set a different location, choose my own server and follow the configuration steps;
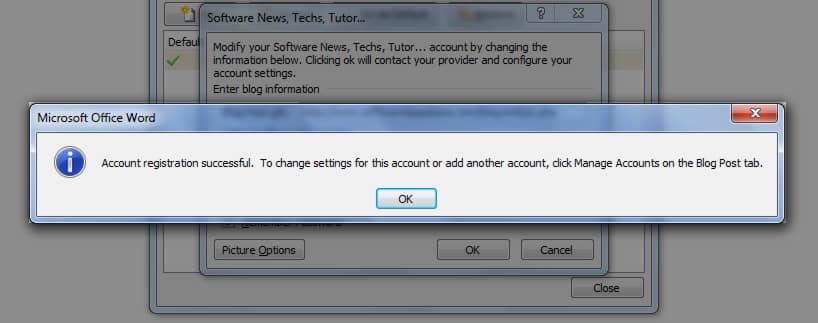
Step 7: Confirm all changes by clicking OK. If Word successfully connect to your Blog it will pop-up notification window with message Account Registration Successful. If from some reason Word did not connected double check your login information’s.
Step 8: Click Close to close Blog Account window
Now let see how to publish our first blog post from Microsoft Word.
As you probably already noticed once you are in Blogging mode, Word ribbon shows only two tabs (Blog Post, Insert) with useful features for your blogging. Use these sections to insert items and manage your blog post.
Let me note that Word is not an HTML editor; do not attempt to insert a Flash movie. However among the interesting options are:
- The tables and their associated tools such as styles or functions of sorting. You can even insert Excel spreadsheets;
- Inserting images via Windows Explorer, much easier than having to enter the URL, although it does not allow you to specify a title or description;
- Insertion of Smart Art, in other words, all kinds of Word patterns;
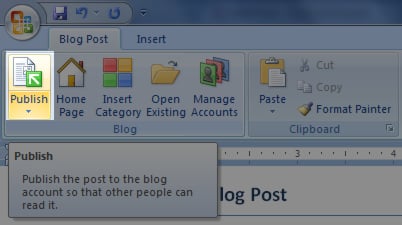
Once you are finished with writing you article, click the Publish button and your blog post will be published.
[ttjad keyword=”microsoft”]


![Read more about the article [Tutorial] How To Automate File Transfers Between Dropbox And Android Devices](https://thetechjournal.com/wp-content/uploads/2012/07/cs54546.jpg)
![Read more about the article [Tutorial] How To Install Apple watchOS 3 Beta Certificate](https://thetechjournal.com/wp-content/uploads/2016/08/chrome_2016-08-14_10-05-19-512x288.jpg)
Good stuff. Appreciable one.
http://www.wordpresstemplates.net