If your USB drive is corrupted, you will need to recreate the partition which it contains and in this tutorial I will show you how to do that on safe and secure way. Let me also note that all files on the drive will be erased during the operation so be advised before proceeding to this tutorial.
To get started follow steps below:
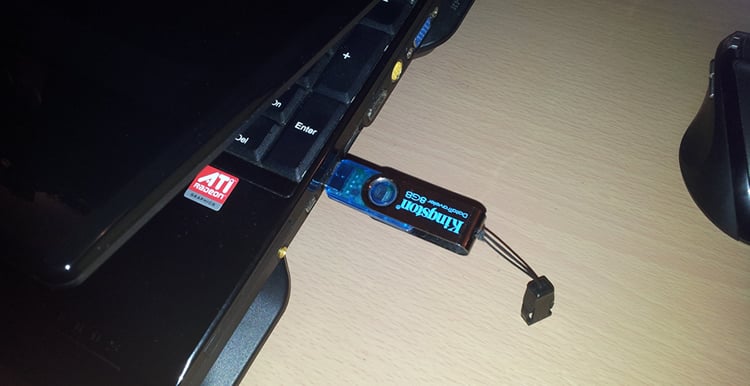
Step 1: Make sure that your USB Drive is plugged in your desktop computer or laptop.
Step 2: Click the Start button, inside search field type cmd and press Enter on your keyboard.
Step 3: In the Command Prompt window that opens, type diskpart and confirm with Enter on your keyboard.
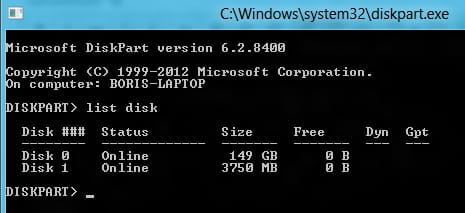
Step 4: Now enter the command list disk to show the list of all available drives on your computer.
Step 5: The list of disks is displayed. Now identified corresponding number to your USB drive. In my case USB drive is number 1 because I know its size is 8GB.
Step 6: Then enter the command select disk 1, replacing 1 by the number of your USB drive.
Step 7: Enter the command clean. Confirm with Enter on your keyboard.
Step 8: Enter the command create partition primary. Confirm with Enter on your keyboard.
Step 9: Enter the command format fs = ntfs quick. Confirm with Enter on your keyboard.
Step 10: Enter the command assign. Confirm with Enter on your keyboard.
Step 11: Now we have successively formatted our USB drive which is accessible again and new letter is also assign.
Step 12: To exit from Command Prompt window type the command exit and press Enter on your keyboard.
[ttjad keyword=”portable-hard-drive”]


![Read more about the article [Tutorial] How To Apply Polaroid Style To Your Photos](https://thetechjournal.com/wp-content/uploads/2012/04/polaroid-512x303.jpg)
![Read more about the article [Tutorial] How To Disable Auto Photo Download In Windows 8 Mail App](https://thetechjournal.com/wp-content/uploads/2012/11/settings-mail-app-asd584897ye87t.jpg)