Computer Hardware’s drivers can sometimes cause huge problems when you have to install them on your computer and especially when you decide to buy a printer, scanner, graphics card, monitor, web camera, network card, or any other hardware for your computer. No matter which hardware you buy it is usually accompanied by a CD on which the drivers are located. These drivers allow Windows to recognize and be able to interact with your hardware. So you must install them in order to properly and effectively use your newly bought hardware. The problem is in case of crash and reinstalling Windows, you need to reinstall all the drivers for your hardware too, that is to say find all the drivers CD’s or search them one by one on the Internet , hoping that they are always available. To greatly simplify the task, you can save all hardware drivers already installed on your computer. In this tutorial I will show you how to use a free tool called DriverMax which will help you to easily backup, restore and manage all your drivers.
Before proceeding to below steps make sure you download DriverMax from this link and install it on your computer. Once the installation is finished continue following steps below
Step 1: To be able to use all features that DriverMax offer but also to use DriverMax beyond 30 days, you will need to register DriverMax online. To do that start the application by double clicking its icons on Desktop or Start menu.
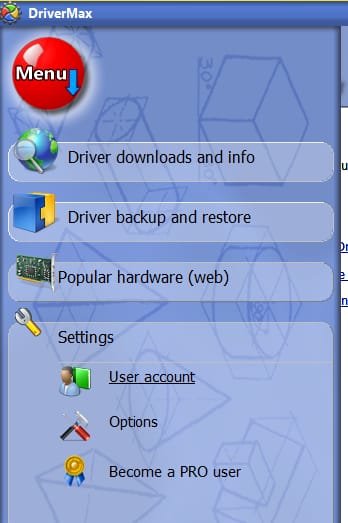
Step 2: Now click on red Menu button located at top left corner of your window and when options menu appear hover your mouse over Settings to expand it
Step 3: Click click on User account
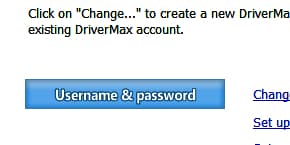
Step 4: Click on Username & password
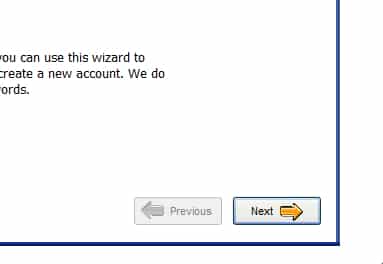
Step 5: From new window click on Next
Step 6: Now select the option I would like to create a new account. Click Next.
Step 7: Then complete the form in choosing a email, user name and then setting your password. Confirm it and click the Next button.
Step 8: Click the Finish button. An email is then sent. Open your mail and the message received from DriverMax – Innovative Solutions, and click on the link to finish validation process
Step 9: Now again go to red Menu button, then Settings and click on User account and you should see you email listed in there, which means you have registered your DriverMax.
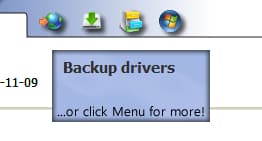
Step 10: The first thing what we gone do now is backup our current drivers. For that click on Backup driver’s icon located at the top of the window.
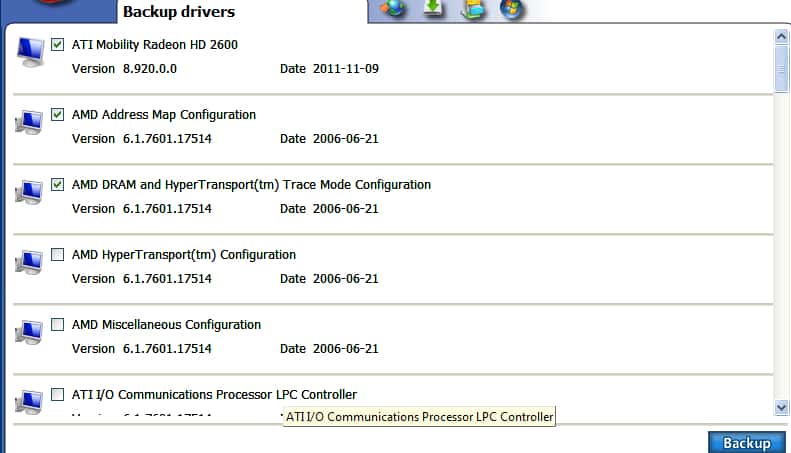
Step 11: DriverMax then list all the drivers installed on your computer. Check the boxes in front of the driver which you want to back up. Click the Backup button located in bottom right corner of your window.
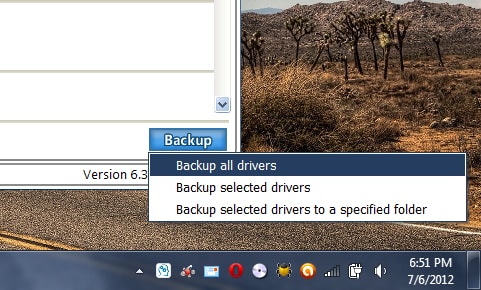
Step 12: From menu that appears choose Backup selected drivers
Step 13: Wait for few seconds or couple a minutes depending how large your drivers are and you backup will be created. Once it’s finished a new window will appear with your drivers located in My Documents folder (take a look at picture below)
Step 14: Now simply save your drivers backup on USB drive or CD in case your system crash so you backup can be safe.
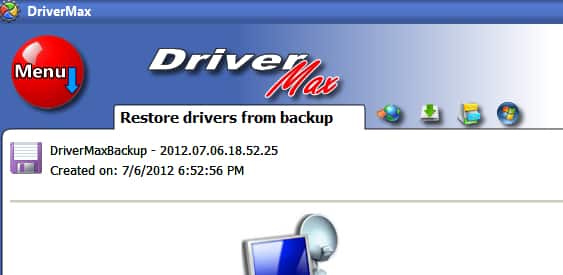
Restore drivers from backup
You have reinstalled Windows and need to install your drivers? After reinstalling DriverMax, you can restore all your drivers in just a few clicks, here is how:
Step 1: Click on red Menu button located at the top left
Step 2: Mouse over Driver backup and restore option and then click on Restore drivers from backup
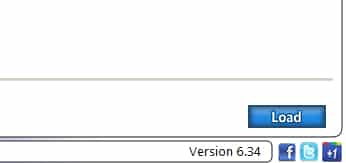
Step 3: Click Load button located at the bottom right and now locate the drivers you previously downloaded.
Step 4: Select your drivers backup and click Open. Click on Restore button located at top right
Step 5: Your drivers are now restored and ready for use, just make sure you restart your computer to complete the driver installation and support your hardware.
[ttjad keyword=”processor”]





![Read more about the article [Tutorial] How To Disable AutoPlay in Windows 8](https://thetechjournal.com/wp-content/uploads/2012/10/windows8-autoplay-ttj-logo-512x386.jpg)
![Read more about the article [Tutorial] How To Share Your Internet Connection On iOS 5 With MyWi 5](https://thetechjournal.com/wp-content/uploads/2012/02/personal-hotspot-iphone.jpg)
![Read more about the article [Tutorial] How To Track Changes Other People Make In Your Microsoft Word Document](https://thetechjournal.com/wp-content/uploads/2012/04/username-512x247.jpg)