If you want to make your computer at work go to sleep when ever you have to go home and wake up when you come back (or for any other reasons) you can schedule Windows to automatically sleep and wake and desired times and in this tutorial I will show you how to do that.
To get started follow steps below:
Step 1: First we need to create two separate files inside Notepad. One will be used to put your computer to Sleep mode and second one will be used to Wake him up.
Step 2: Open Notepad and type following commands inside it: Rundll32.exe Powrprof.dll,SetSuspendState Sleep and save it under name winsleap.bat.
Step 3: Now open another Notepad and inside it type anything you like: for example Wakeup. Save this file under name winwake.bat.
Step 4: Close all opened windows. Click Start menu, inside search field type task scheduler and press Enter on your keyboard.
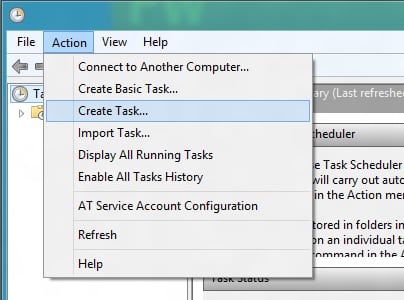
Step 5: When new window open click Action and from drop down menu click on Create Task.
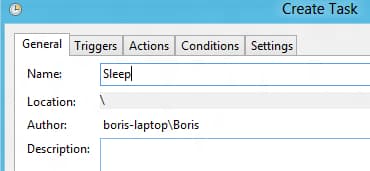
Step 6: Open General tab and then inside Name field type Sleep.
Step 7: Now choose Trigger tab and click New.
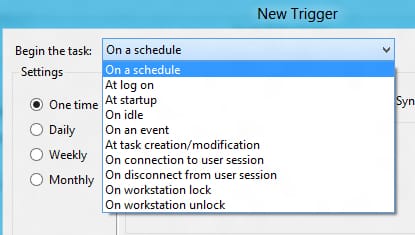
Step 8: Under Begin the task drop down menu select On a schedule.
Step 9: Under Settings choose Daily and then choose a time when you want to put your system to sleep. Click OK to save changes.
Step 10: Your trigger will now be Enabled.
Step 11: Now click Actions tab and click on New.
Step 12: Under Action drop down menu select Start a program.
Step 13: Click Browse button and open a file which you created in Step 2. Click OK to save changes.
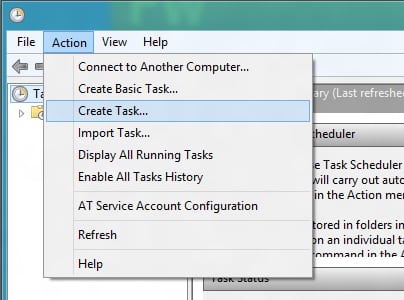
Step 14: Now we can create a Wake task. From Task Scheduler window click Action again and from drop down menu select Create Task.
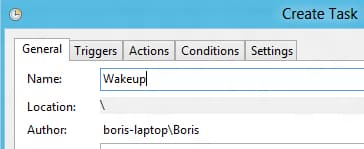
Step 15: In General tab, under Name field type Wake.
Step 16: Choose Trigger tab and click New. Then under Begin the task drop down menu select On a schedule.
Step 17: Under Settings section select Daily and choose a time when you want to wake you computer. Click OK to save your task.
Step 18: Click Action and from drop down menu select New.
Step 19: Under Action choose Start a program.
Step 20: Under Settings click Browse button and then open a file you created in Step 3. Click OK to save your action.
You are done now! Your computer will go to sleep and wake up at the scheduled times. If you wish, you can later change these settings or completely remove them if necessary.
[ttjad keyword=”all-in-one-desktops”]









![Read more about the article [Tutorial] How To Enable Or Allow JavaScript On A Mac](https://thetechjournal.com/wp-content/uploads/2012/04/mac-js-enable-logo-512x202.jpg)
![Read more about the article [Tutorial] How To Record Video Conversation In Windows](https://thetechjournal.com/wp-content/uploads/2012/07/regio-window-camstudio.jpg)
![Read more about the article [Tutorial] How To Solve The Problems With Sound In Your Windows](https://thetechjournal.com/wp-content/uploads/2012/05/find-audio-problems-tool.jpg)