In a recent update, Microsoft SkyDrive have added a new feature, offering users the option to select folders and files which they want to sync with their SkyDrive account and which they don’t want to sync. This tutorial will guide you through the process.
To get started follow the steps below.
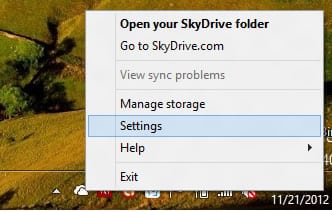
Step 1: Start SkyDrive desktop application. From your system tray, right-click on SkyDrive icon.
Step 2: From context menu that appears choose Settings.
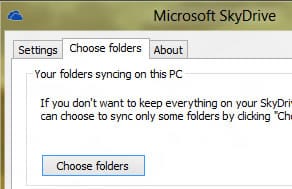
Step 3: When a new window opens up, select Choose folders tab and then click on Choose folders button.
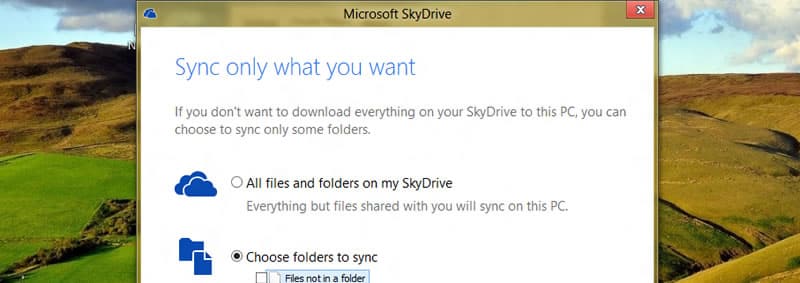
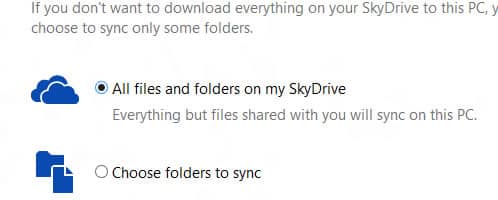
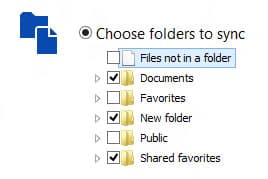
Step 4: A new window will open up, offering you two choices. You can sync All files and folder on your SkyDrive or Choose folders to sync. Select the second option.
Step 5: Now select check boxes in front of the files and folders that you wish to sync with your SkyDrive account. Make sure to un-select the files and folders you don’t want to sync with the Skydrive.
Step 6: Click OK to save your changes.
You may like to discover our tutorial section for Windows for more tutorials.
[ttjad keyword=”windows-tablet”]


![Read more about the article [Tutorial] How To Record Video Conversation In Windows](https://thetechjournal.com/wp-content/uploads/2012/07/regio-window-camstudio.jpg)
![Read more about the article [Tutorial] How To Import Your Entire Gmail Account In Outlook 2007](https://thetechjournal.com/wp-content/uploads/2012/03/gmail-settings.jpg)