Good News For Droid X Users , Your Motorola Droid X Android 2.2 Froyo Update Available For Download .Now You Can See In This Post How To Install Android 2.2 On Droid X……
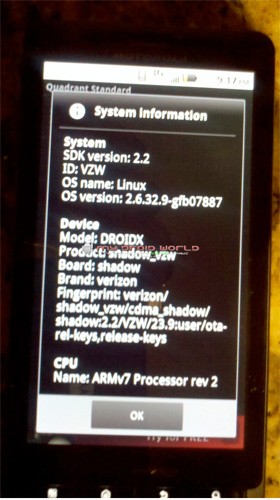
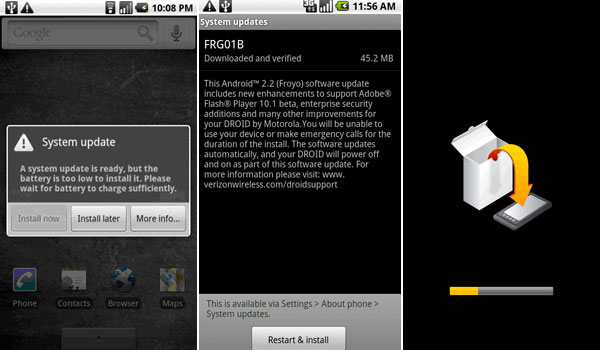
What we’re looking at here is allegedly the leaked over-the-air update to Froyo that Verizon plans on deploying to Droid X customers in the next few weeks, which means two critical things for customers: it should generally be faster all the way around, and of course you’ve got support for Flash, which was a big topic of interest at Motorola’s launch event for the phone a couple months back.
The Froyo update has been leaked ahead of launch, just as it happened with the Motorola Droid and the HTC EVO 4G so that must mean the actual OTA roll out is on its way to consumers. Of course I have plenty of reasons for arguing against inexperienced Android users to go for the download, but, as always, there are going to be plenty of folks out there not happy waiting for Big Red to offer them the latest Android 2.2 version and will update manually to Froyo.

With that in mind, I’m going to show you how it’s done, or at least how other people say it’s done, since I don’t happen to own a Droid X, nor would I be updating it manually if I did. September is almost here and that’s when we expect the Droid X to become a Froyo-running beast.
So here are the official unofficial instructions for getting your Droid X some Froyo for breakfast:
Step 1:
This is a leaked ota upgrade in the update.zip format. This is not a ROM or a port. This will upgrade both your baseband and your system. You will not need to wipe date.
1. The only way this update will work for you is if your phone is back to stock (you MUST be rooted already if you want to be rooted after the upgrade).
2. If you have themed your phone you need to convert it back to stock
3. If you have removed bloatware you must put it all back.
Step 2:
Do you want to be rooted?
1) If no skip to next step.
2) If yes and already rooted skip to next step.
3) If not go here and follow these direction. —–> how to root – thanks to Birdman/rootzwiki
STOP: YOU MUST VERIFY THAT YOUR SU IS LOCATED IN THE XBIN NOT THE BIN
I suggest using Root Explorer as it is the easiest was to do it: Get it in the MarketPlace
open rootexplorer
navigate to the /system/bin folder and hold down the su file, then select move
navigate to the /system/xbin folder and press the menu button (4 squares)
select edit and then paste.
Step 3:
So have you gotten back to stock:
If Yes proceed to step 3,
if No then proceed below.
If you don’t know which files you need or which ones to put back, you can use the sbf to put your phone back in a stock state. You can go here to get details of how to return to stock via sbf file. ——> Droid SBF
After you return your phone to its stock state go to step 3.
Step 4:
Now we need to download froyo for the Droid
Link One – Download Now (ed: there are more mirrors at the via link below)
Place the file you have downloaded on the root of your sdcard.
Step 5:
Reboot your phone in recovery mode:
1) Hold down the home button and the power button.
2) When the triangle with the android appears press the search button (far right button)
3) Select apply sdcard:update.zip
4) sit back and wait (5 – 10 minutes)
5) restart your device.
Your phone will now be running 2.2.6 (Froyo Rooted).
The update is available both in rooted and non-rooted versions, so if you’re feeling adventurous today and you enjoy the thrill of doing something that offers a remote possibility of bricking your phone, you may want to go ahead and grab it.
Resources :engadget.com,nexus404.com


