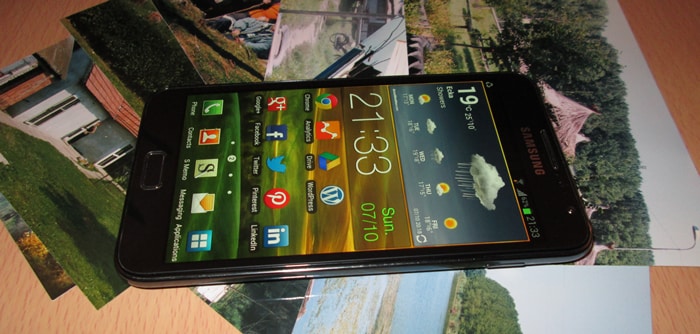
I think most of us know the horrible feeling when we realized that we accidentally deleted an important file from computer, mobile phone, tablet, etc … When this happens some run Google to seek for help, others simply face with fact that their data is lost. But, incredibly, there is a high percentage chance of recovering data that has been deleted. In this tutorial I will show you how to recover deleted images from your Android device.
To make this process possible I will be using Android app to recover deleted images from Android devices memory. This app is called DiskDigger, and can be downloaded for free from Google Play. Its operation is very simple and most important of all is that, unlike other applications available on the market, it really works. Of course it requires that the device has been rooted.
Step 1: After installing DiskDigger, you need to give root permissions to app in order to work properly.
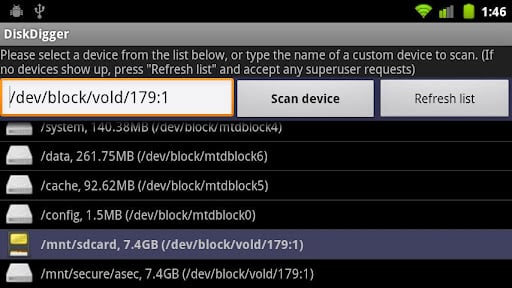
Step 2: Once you start the application you will see a list of the directories on the device, which will be scanned by the app search tool. To select a directory to scan, just tap on the name and then tap the “Scan device“.
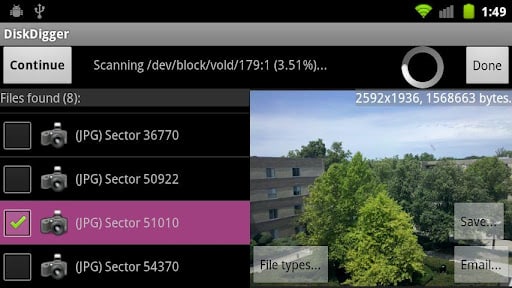
Step 3: Once the process is started, the application switches to a screen where you see the percentage that has been explored and a list of found images.
Step 4: Tapping on an item in the list on the right side you will see a preview of the corresponding image. Their names may not make much sense, so you must be patient and manually select one by one, until you find the photos you want to retrieve.
Step 5: To start the recovery process you should only select the checkbox corresponding to each of the images that you want to retrieve.
Step 6: Finally, you can restoring them to a location within the device memory or send them directly by email.
Although simple, the overall process is usually quite slow. Your time will depend on the size of the directory you have decided to review, so I would recommend having the battery fully charged or, better yet, keep the device connected to a power source.
[ttjad keyword=”android-device”]


![Read more about the article [Tutorial] How To Lock Screen Rotation On Surface with Windows RT](https://thetechjournal.com/wp-content/uploads/2013/01/choosesdasddsadssssssss6we5.jpg)
![Read more about the article [Tutorial] How To Check The Health Of Your Hard Drive In Windows](https://thetechjournal.com/wp-content/uploads/2013/04/hdd-health-monitor-ttj-logo-512x247.jpg)
![Read more about the article [Tutorial] How To Use Your iPhone As A Mouse and Keyboard](https://thetechjournal.com/wp-content/uploads/2012/03/idevice-keyboard-mouse-logo-512x240.jpg)