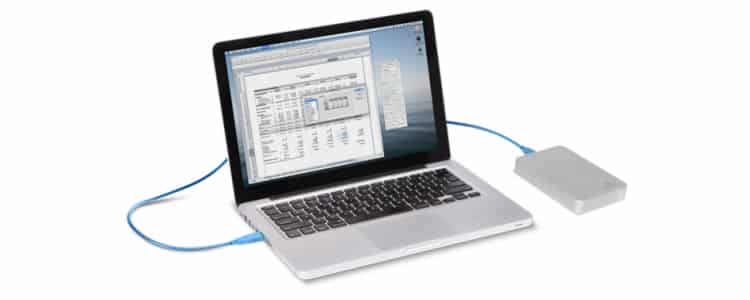
Most of us use external hard drives for backups or to store important files and it’s very important to protect that data. One of easiest ways to do that is by encrypting your external hard drive and in this tutorial I will show you how to perform this quite easy but very effective procedure under Mac OS X Lion.
Before you proceed to actual external hard disk encryption make sure you have create a backup all data from this hard disk because we will need to format it which will erase all data from the disk. Once your disk is empty proceed to below steps
Step 1: Make sure that you external hard drive is connected with your Mac computer
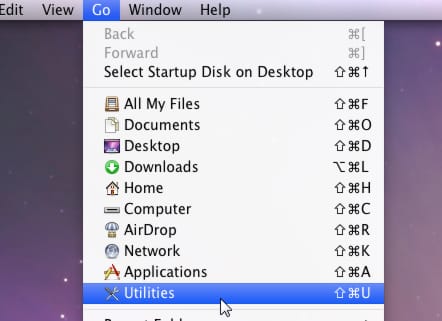
Step 2: From top toolbar in Mac choose Go and from dropdown menu choose Utilities
Step 3: From Utilities window double click on Disk Utility.app icon
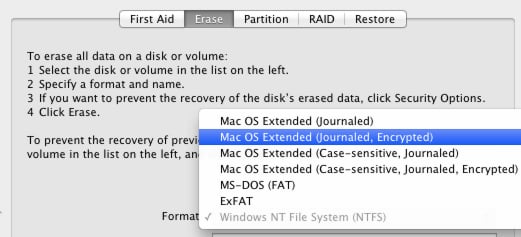
Step 4: From left hand side of Disk Utility window select/highlight your external hard drive and then choose Erase tab
Step 5: From dropdown menu choose Mac OS Extended (Journaled, Encrypted) and under Name type a name for your drive
Step 6: Click Erase button to proceed
Step 7: To start the encryption process you will need to enter a secure password and click Erase button
Step 8: Disk Utility will start formatting and encrypting your external hard drive. You will see a progress bar in lower right corner of your window.
Step 9: Once it’s done simply copy any files you like to this drive and safely eject disk. To do that go to Disk Utility again, inside right frame right click on your external hard disk and from context menu choose Eject Disk.
There you go! Your external hard disk is now encrypted, but remember that next time when you plug-in this drive it will ask you to type a password you have entered in Step 7.
[ttjad keyword=”mac”]


![Read more about the article [Tutorial] How To Dosconnect Facebook From Skype](https://thetechjournal.com/wp-content/uploads/2012/02/facebook-skype-disconnect-512x245.gif)
![Read more about the article [Tutorial] How To Find And Remove Duplicate Files In Your Computer [Windows]](https://thetechjournal.com/wp-content/uploads/2012/05/select-nextto-included-field.jpg)
![Read more about the article [Tutorial] How To Easily Rename Your Movies Or TV-Shows](https://thetechjournal.com/wp-content/uploads/2012/04/global-settings.jpg)
Thanks for the info. Well it would be usefull for a lots of users. The info is clear and precise.
http://officekey.blogspot.com/