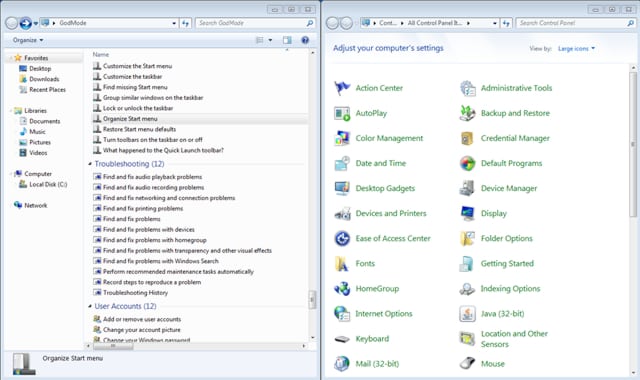
As you probably already noticed, in many TheTechJournal Windows 7 tutorial and Windows 7 customizations we did, we always rich for Control Panel where our customization starts. Although Control Panel is good tool and it help us to find other necessary Windows 7 tools it can sometimes be difficult to use. You probably ended up toggling back and forth between numerous deferent windows to find a necessary tool. This can be a real pain when you are looking for a specific setting that you want to configure in Windows 7. How about having all possible Windows 7 adjustments options in one place? If you didn’t knew something like that exist in Windows 7, in this tutorial we will show you how to create so called Windows 7 ‘God Mode’.
Since Windows 7 ‘God Mode’ is hidden and inaccessible by default follow below steps to activate it
Step 1: Right click on your desktop empty space and then choose New -> Folder
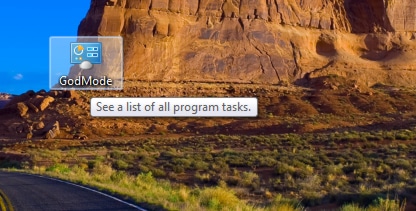
Step 2: Name or rename the folder with the following name: GodMode.{ED7BA470-8E54-465E-825C-99712043E01C}
Step 3: An icon appears in place of the folder.
Step 4: Double click the icon and navigate quietly through the options proposed by the God Mode in Windows 7!
[ttjad keyword=”microsoft”]


![Read more about the article [Tutorial] How To Protect Yourself Against Keyloggers – Windows Web Browsers](https://thetechjournal.com/wp-content/uploads/2012/07/keyloggers-ttj-logo-512x221.jpg)
![Read more about the article [Tutorial] How To Correct Files Errors On Your USB Drive](https://thetechjournal.com/wp-content/uploads/2012/10/usb-drive-file-error-check-ttj-logo-512x279.jpg)
