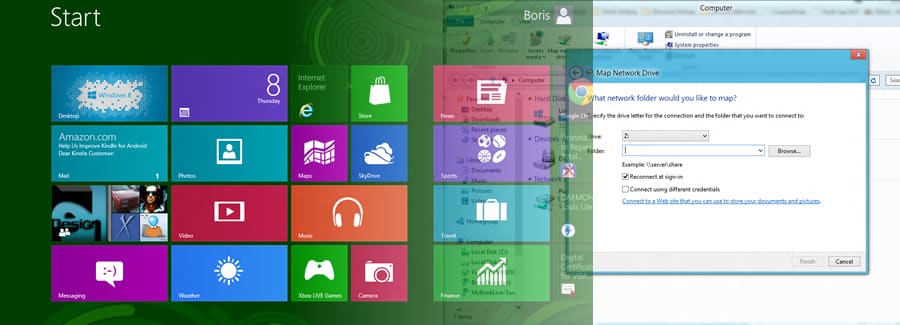
Thanks to Homegroup feature which is available in Windows we can share and access our files in network much easier. But sometimes we need to map a network drive so we can directly access into a certain folder and its contents. This process is so simplified since Windows 7 that it only requires few mouse clicks in order o set it up, and in this tutorial I will show you how to map network drive in Windows 8.
To get started follow steps below:
Step 1: Open up Computer icon from your desktop.
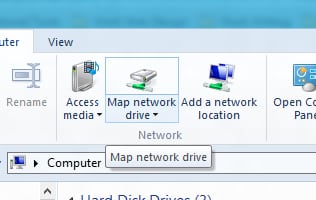
Step 2: From Computer window click on Map network drive.
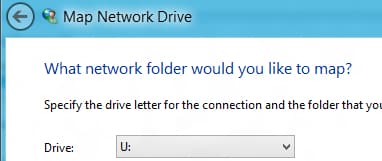
Step 3: From window that opens up select a drive letter.
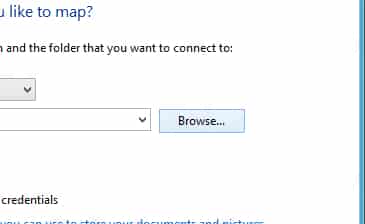
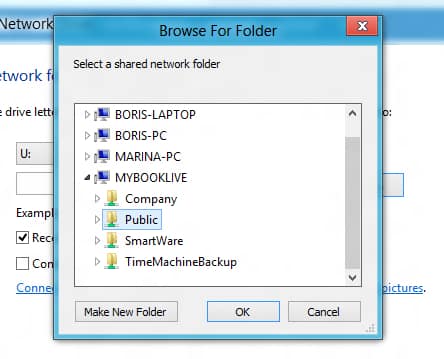
Step 4: Click Browse button and locate your external drive.
Step 5: Once you find it click OK.
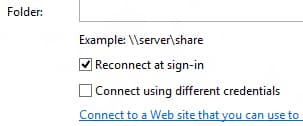
Step 6: Make sure that checkbox in front of Reconnect at sign-in.
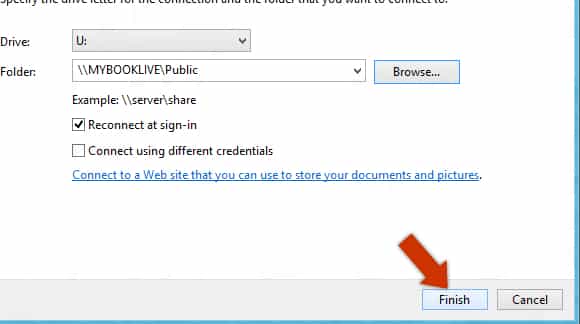
Step 7: Click Finish to map your network drive.
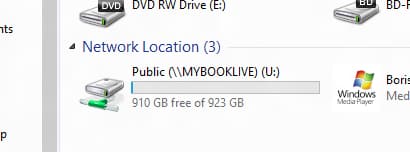
Step 8: Next time when you open Computer you will see your network drive with the letter you choose in Step 3.
[ttjad keyword=”cloud-storage-drive”]

![Read more about the article [Tutorial] How To SpeedUp Mozilla Firefox](https://thetechjournal.com/wp-content/uploads/2012/02/ff-speedup.jpg)

![Read more about the article [Tutorial] How To Disable 5% Remaining Battery Warning On Your Laptop With Windows 7](https://thetechjournal.com/wp-content/uploads/2012/04/system-security.jpg)
Umm….this is how it’s worked for some time. I have done this on my home network AND my business network. The new part is what, exactly?
dimwit.