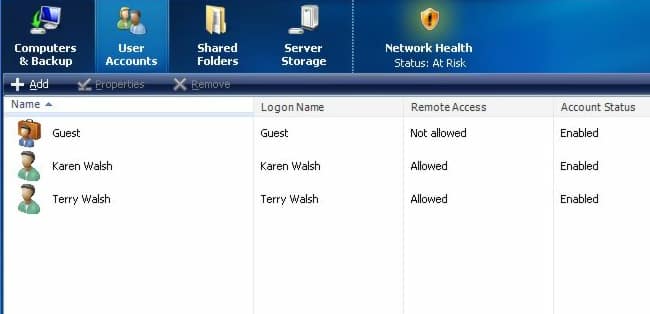
After you have successfully installed Windows Home Server 2011 (WHS) you will need to start configure it. One of first configurations you will probably perform are adding client computers and adding user accounts. In this tutorial I will show you how to add or remove user accounts and how to manage which resources they can access from Windows Home Server 2011.
To get started follow steps below
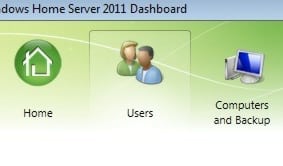
Step 1: Open Windows Home Server Dashboard from any client computer and choose User tab
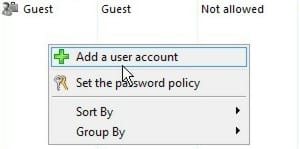
Step 2: Under the current user list right click on empty space and from context menu choose Add a User Account
Step 3: In new window that appear type new user First name, Last name, User account name, Password and click Next
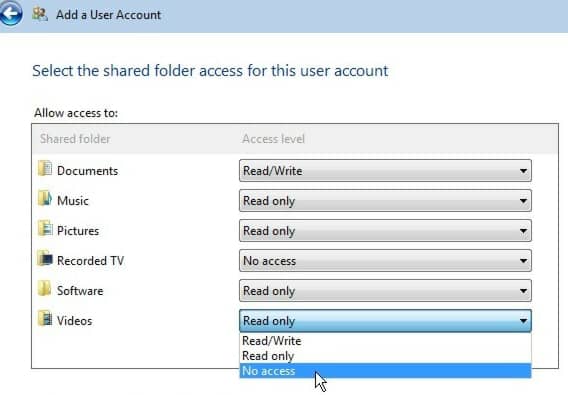
Step 4: Now you will need to choose the access level that this new user will have to each of the Shared Folders. You have three options
- Read/Write – which will give user completely control over folder, meaning he will be able to read him and make changes inside him
- Read Only – user will be only able to view the content inside file but won’t be able to make any changes
- No Access – user won’t be able to access this folder at all
Step 5: After you have configured desired selection for each folder click Next
Step 6: Now you need to select remote web access for this user account by checking box in front of links. If you don’t want the user have access to data from remove computer simply select Do not allow Remote Web Access.
Step 7: Once you have configured Remote Access click Create account
Step 8: Wait for few minutes until new user account is create. Once it’s created go back to Users tab again and you should see new user listed
Step 9: If you click on that user, from right side of window you will be able to configure additional tasks. These tasks include:
- View the account properties
- Deactivate the user account
- Remove the user account
- Change the user account password
[ttjad keyword=”all-in-one-desktops”]


![Read more about the article [Tutorial] How To Calibrate Screen Color In Windows 7](https://thetechjournal.com/wp-content/uploads/2012/02/screen-adjustements-512x210.jpg)
![Read more about the article [Tutorial] How To Activate NumLock Upon Boot In Windows 8](https://thetechjournal.com/wp-content/uploads/2013/01/2-ok-sa5d46e4r65we4r6ew.jpg)
![Read more about the article [Tutorial] How To Run Control Panel Tools Of Windows From DOS Command Prompt (cmd)](https://thetechjournal.com/wp-content/uploads/2012/02/control-panel-commands-cmd-512x259.jpg)