In this tutorial I will show you how to create mobile access to your WD MyBookLive so you can remotely access it from you Android device regardless where you can located. By enabling this feature you can easily browse and use images, music, documents and videos located on your from any locate that has internet access.
For this demonstration I will be using Android smartphone to access my WD MyBookLive, however you may use any other device such as iPhone, iPad, Android tablet, BlackBerry, etc…
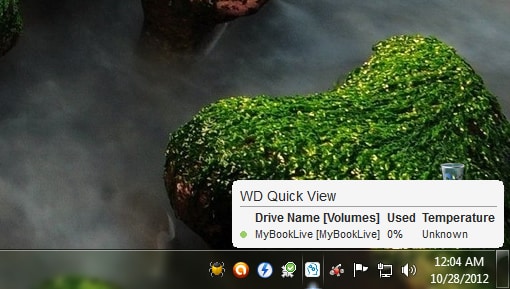
Step 1: In order to access from other devices remotely to MyBookLive, first we need to allow remote access to our MyBookLive. To do that left mouse click on MyBookLive icon in system tray.
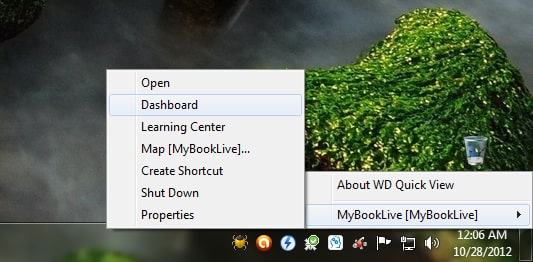
Step 2: From context menu that appear hover over MyBookLive and then click on Dashboard.
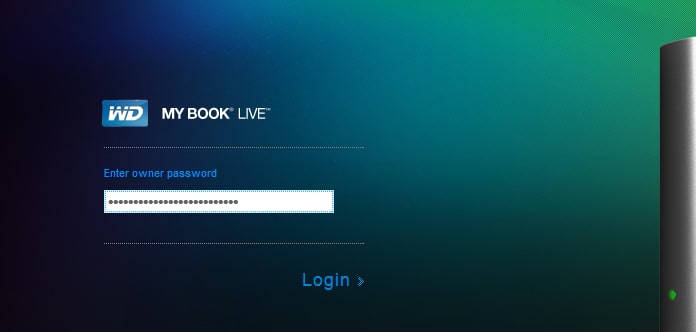
Step 3: When you web browser opens up, login into your WD MyBookLive.
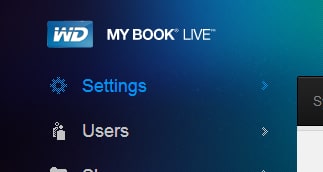
Step 4: From left navigation choose Settings.
Step 5: Click on Remote Access tab.
Step 6: Select a checkbox in front of Remove Access Enable.
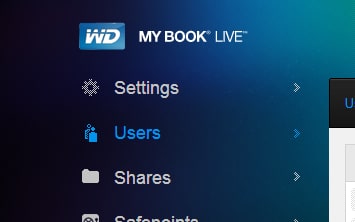
Step 7: Now from left navigation click on Users.
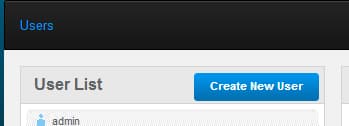
Step 8: Click Create New User blue button.
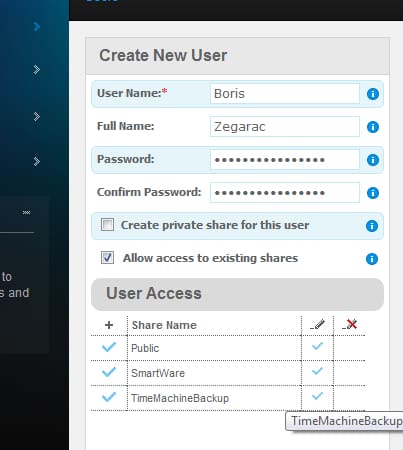
Step 9: Fill all necessary fields and select a checkbox in front of Allow access to existing shares. Click Save button.
Step 10: Go back to Settings menu (from Step 4) again, and choose Remote Access tab.
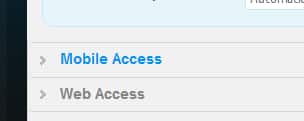
Step 11: Expand the section Mobile Access.
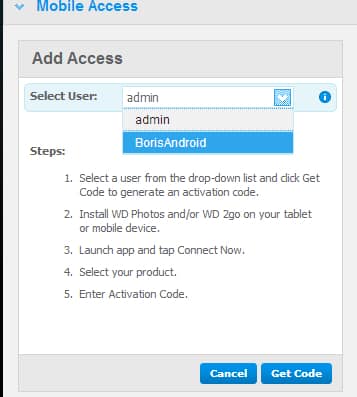
Step 12: Click on blue button Add Access.
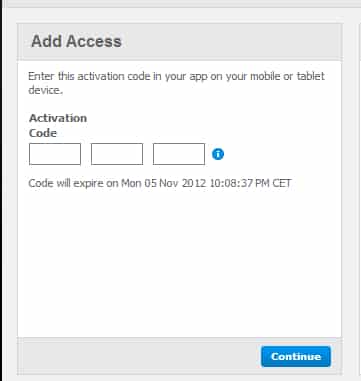
Step 13: From drop down menu select a user which you create in Step 9 and click Get Code blue button. Write this code somewhere to don’t close it until you finished with all steps below.
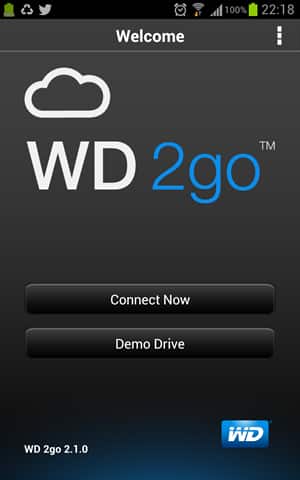
Step 14: Now take your Android device and download WD 2go app from this link.
Step 15: Once the app is installed lunch it. Tap on Connect Now.
Step 16: Enter a code you created in Step 13 and confirm.
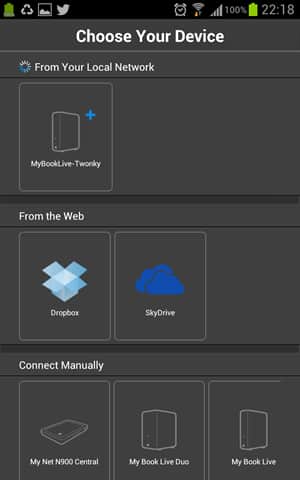
Step 17: From new screen that opens up, tap on your MyBookLive drive.
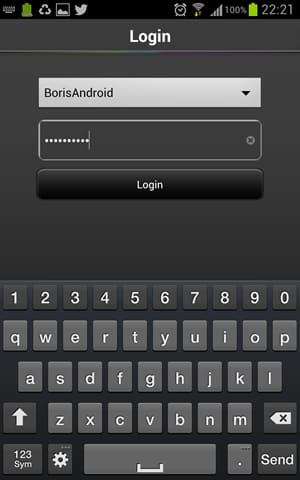
Step 18: From drop down menu select user you created in Step 9 and enter a password you created for that user name. Click Login button.
Step 19: You can now access all your files located on WD MyBookLive.
[ttjad keyword=”cloud-storage-drive”]





![Read more about the article [Tutorial] How To Network Windows 7 With Windows Vista and Windows XP](https://thetechjournal.com/wp-content/uploads/2012/04/xp7-logo-512x279.jpg)
Pingback: 2calvary