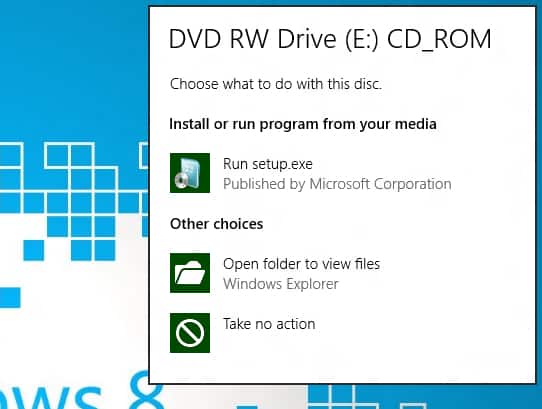
Every time you insert a disk or a USB device into your computer an AutoPlay many comes up and many users consider it completely unnecessary, so if you are one of them read this tutorial to find out how to disable it in Windows 8.
There are two possible ways to disable AutoPlay in Windows 8 and I will cover both of them in steps below.
Disable AutoPlay from Start Screen
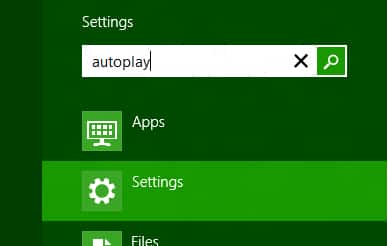
Step 1: On your keyboard press Win+W to bring up Settings Search options and inside search field type autoplay.
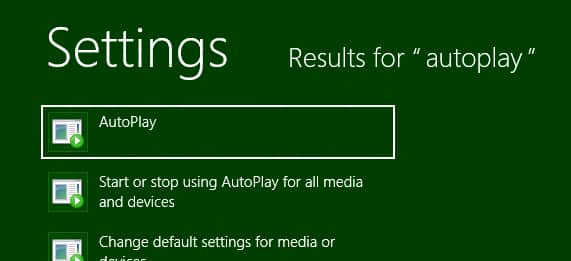
Step 2: Now in left side of window under settings search results click on AutoPlay icon.
Step 3: A new window will open. Now uncheck the field Use AutoPlay for all media and devices and click Save button.
Disable AutoPlay from Windows 8 Desktop
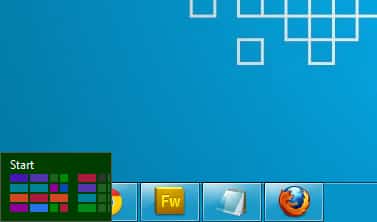
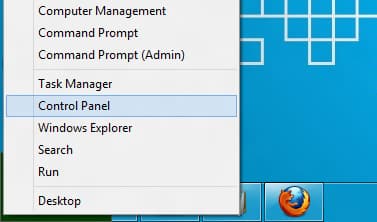
Step 1: Move your mouse all the way to bottom left of your screen to bring up “Power User” menu.
Step 2: Right mouse click and from context menu that appears choose Control Panel.
Step 3: In new window that opens click on AutoPlay option.
Step 4: Again uncheck the option Use AutoPlay for all media and services.
[ttjad keyword=”microsoft”]



![Read more about the article [Tutorial] How to Add Drive Icons In Your Windows Desktop?](https://thetechjournal.com/wp-content/uploads/2012/11/install-desktop-media-asd4a65s4d65s4a-512x354.jpg)

![Read more about the article [Tutorial] How To Create A Shortcut Which Will Delete All Your Tracks On Computer](https://thetechjournal.com/wp-content/uploads/2012/05/check-box-add-to-recycle-bin-ccleaner-512x279.jpg)