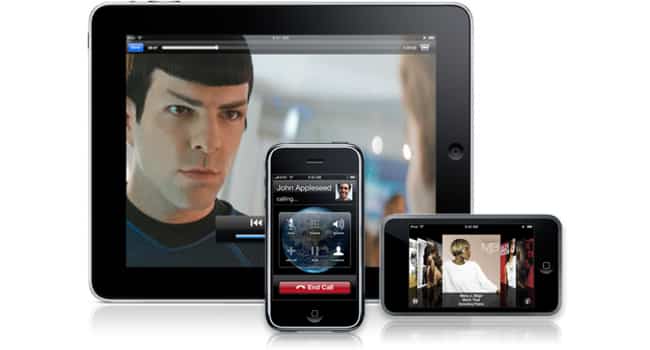
If you have an iPad, iPhone or iPod touch and share it with your kids or friends it can be very handy to add restrictions on applications or certain options and don’t allow everyone to access them. In this tutorial I will show you how easily you can add any kind of restrictions in iOS, whether those restrictions are limited only on applications or certain actions user can perform.
Depending on which iDevice you have, locations of these settings may be slightly different. In my case I did use iPad
Step 1: On your iPhone, iPad or iPod touch go to Settings menu and from there choose General
Step 2: When you choose General on the right hand side of the window you should tap on Restrictions and enable them
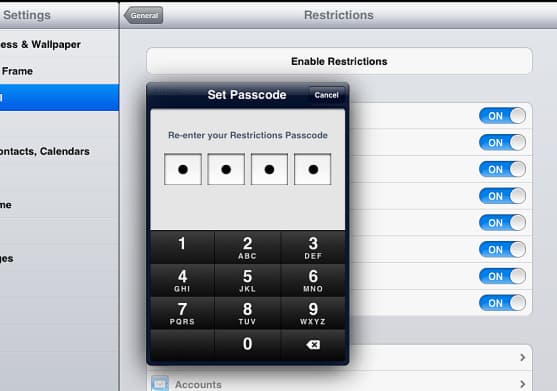
Step 3: Set passcode window will open where you need to enter your 4-digit restrictions passcode
Step 4: Now go through Restrictions window and switch slider to On for each application or option you want to set restrictions
Step 5: Under Allowed content you can restrict only certain or all TV shows, turn off links in Safari browser, disable music and in-app purchases from iTunes and many other things, which is very useful if you have small kids.
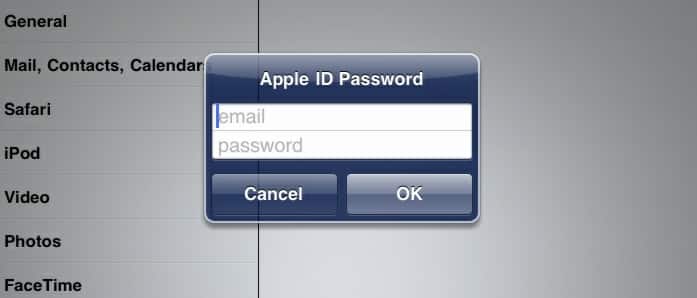
Step 6: Now if you go and test it, you can see that when you tap and try to open the app you have restricted the password protection will popup. Only if you enter a correct password that app will open, otherwise your kids or friends won’t be able to use it.
Step 7: Another very useful feature is that those apps that are restricted are no longer visible as icons on the Home Screen or Dock
There you go! You have successfully set the restrictions in iOS for your iPad, iPhone or iPod touch. If you decide to remove these restrictions for any app simply repeat above steps and inside Restrictions window and switch slider top OFF.
[ttjad keyword=”ipod-touch”]


![Read more about the article [Tutorial] How To Turn On Slow Motion Animation Effect In Windows 7](https://thetechjournal.com/wp-content/uploads/2012/02/windows-7-enviroment-512x237.jpg)
![Read more about the article [Tutorial] How To Stream Media From Any Computer/Mac In Your House To iOS iDevice](https://thetechjournal.com/wp-content/uploads/2012/03/zumocast-install-iphone.jpg)
