You downloaded or recorded a video file which contacts several pieces and you want to group them into one? No worries, it is quite easy to achieve that inside Windows 7 and its free tool called Windows Movie maker and in this tutorial I will show you how to do that. This tool is already available inside Windows XP, Windows Vista and Windows 7 however if it does not exist you can easily download him from Microsoft web site for free.
With Windows Movie Maker you can work with formats such as WMV, AVI, MPG, MP4, MOV, MKV (except in Windows XP where only the WMV format is supported) and you will get a full video in WMV format. But this should not be the problem because you can easily convert the video into a format that suits you most, such as MP4. Now to get started follow steps below
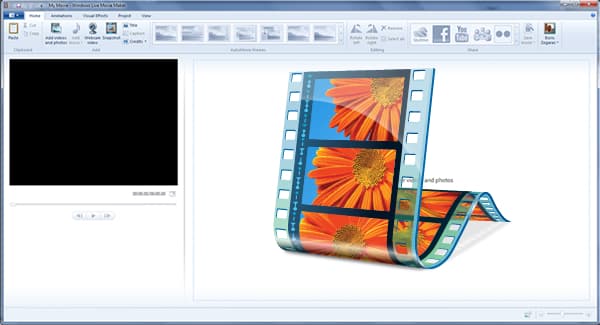
Step 1: Launch Windows Live Movie Maker by clicking its shortcut in the Start menu. If you can find it simply type movie maker inside search field
Note that if you cant find Windows Movie Maker inside your Windows you can easily install it from Windows Live suite which 17 free services, including the famous Messenger. To download this visit this web site.
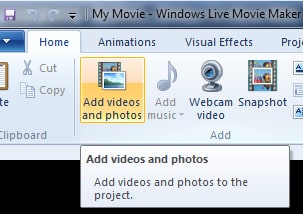
Step 2: Once you have Movie Maker up and running click the Add videos and photos.
Step 3: From your hard drive select videos which you want to assemble and click Open.
Step 4: The files are then placed, one after the other. Make sure they are in order. If this is not the case, you can easily move them by drag/drop.
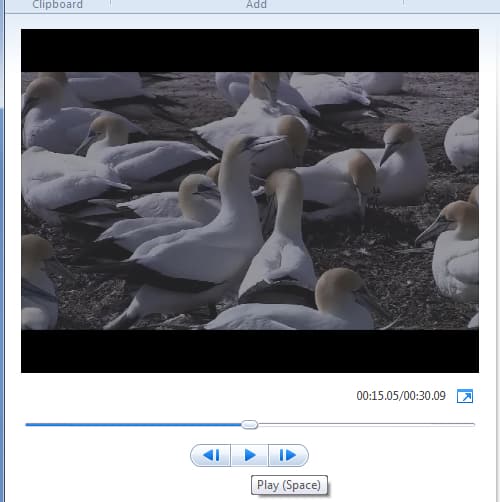
Step 5: You can see a video preview on the left. All pieces are made immediately, without cuts or transition.
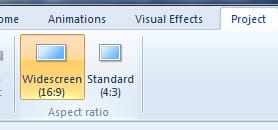
Step 6: Then open the Project tab.
Step 7: Select Widescreen 16/9 if the video is intended for a wide screen and black bands appear on your screen.
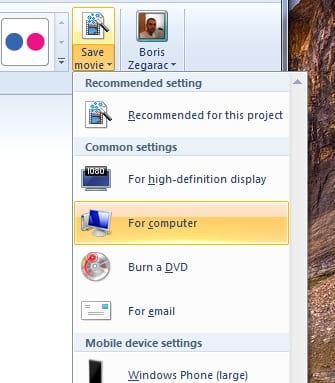
Step 8: Now that your assembly is ready, you can save it as a single WMV video. For that got to Home tab and click the Save Movie.
Step 9: From drop down menu choose the recording parameters for your video: if you want to watch on your computer, watch on high definition TV, burn on a DVD … The quality and video size will be adjusted accordingly.
Step 10: Enter a name for your video file and click Save.
Step 11: Your movie is then prepared. If you chose to burn the video onto a DVD, insert a blank disc.
Step 12: Once finished, click Open Folder.
You are done. Now you can play your video on your computer, or burn it on DVD. However if you want to convert to another format such as WMV, MP4, you can use some third part apps for that.
[ttjad keyword=”all-in-one-desktops”]




![Read more about the article [Tutorial] Download Torrents Directly With IDM](https://thetechjournal.com/wp-content/uploads/2014/12/Download-torrent-directly-with-IDM-512x239.png)

![Read more about the article [Tutorial] How To Change Windows 8 Store Apps’ Default Installation Location](https://thetechjournal.com/wp-content/uploads/2012/12/appx-a5s4d555ww5e98w7.jpg)