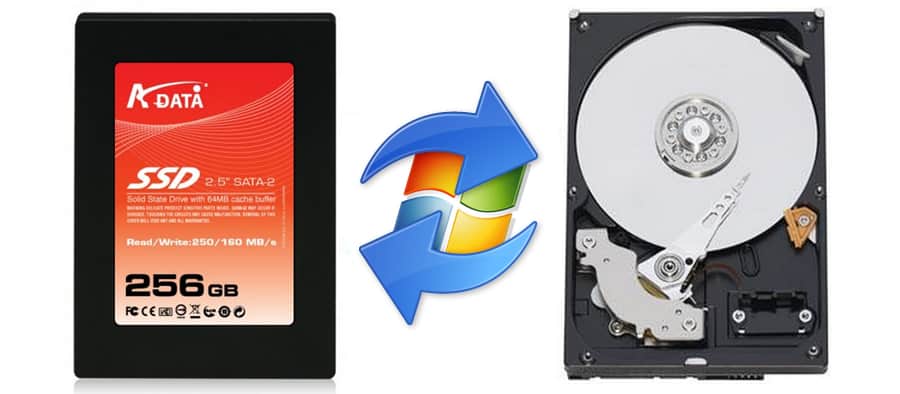
This tutorial may be quite useful for users who have installed Windows operating system on their SSD instead of HDD. As Search Index I/O service which is constantly active inside Windows can reduce the life of your SSD. So it is advisable to move your index to a separate drive and next to saving your SSD you can also increase your overall load performance of your computer and in this tutorial I will show you how to do that.
To get started follow steps below:
Step 1: Click Start menu and inside search index type index.
Step 2: From search results right mouse click on Indexing Options and from context menu choose Open.
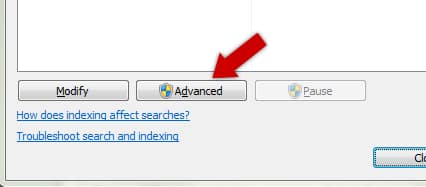
Step 3: When new window opens up click Advanced button located at the bottom of the window.
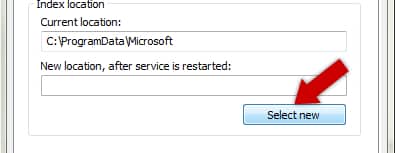
Step 4: Under Index Settings tab click on Select new button and then select a new location of a different physical hdd.
Step 5: Click OK to save that location.
Step 6: The service will restart and entire index will be move to new drive.
[ttjad keyword=”ssd”]


![Read more about the article [Tutorial] How To Do Face Swap On Snapchat](https://thetechjournal.com/wp-content/uploads/2016/05/wersm-snapchat-new-lens-swapface-657x360-512x281.png)
![Read more about the article [Tutorial] How To Share Large Files From Gmail Using Google Drive](https://thetechjournal.com/wp-content/uploads/2012/12/inset-attachment-gmail.jpg)
![Read more about the article [Tutorial] How To Root the Amazon Kindle Fire HD](https://thetechjournal.com/wp-content/uploads/2012/12/root-kindle-fire-hd7-ttj-logo-512x302.jpg)