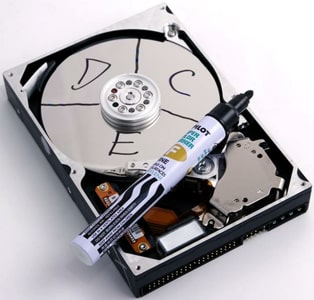
If you store a lot of files on your hard drive and it is very hard for you to keep them all organize maybe you should consider making additional partition on your hard drive. By making additional partition you will not only make your files more organized but also make your defragmentation faster and better. You can partition your hard drive in Windows 7 without using an external utility (whether free or paid) and in this tutorial we will show you how to perform this procedure in Windows 7.
Note: You must have sufficient free disk space to perform the procedure. Make sure you have at least 80GB – 100GB of free hard disk space before you continue to follow below steps.
Step 1: Click the Start menu, then make a right click on Computer and choose Manage.
Step 2: Then click in the left menu on Disk Management.
Step 3: Right-click on your drive and select Shrink Volume…
Step 4: Then choose a size for your new partition and confirm. Wait until the procedure is done and you can enjoy your new partition ready to use!
Now you know how to partition your hard disk under Windows 7!
[ttjad keyword=”portable-hard-drive”]


![Read more about the article [Tutorial] Delete Saved Usernames And Passwords In Mozilla Firefox](https://thetechjournal.com/wp-content/uploads/2012/05/ff-options.jpg)
![Read more about the article [Tutorial] How To Use Your Android Phone As Web Camera – Windows](https://thetechjournal.com/wp-content/uploads/2012/07/android-webcam-laptop-512x213.jpg)
