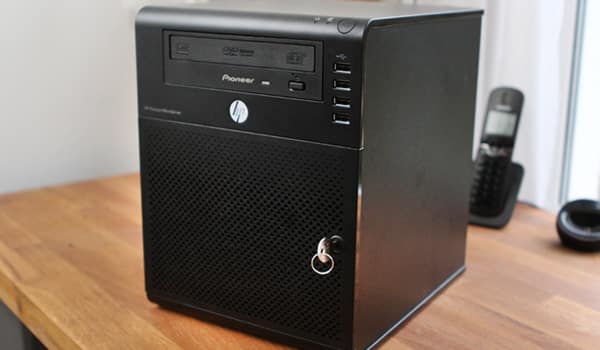
If you are planning to replace your existing hard disk from Windows Home Server or you simply want to remove it, this tutorial will show you what steps to follow. It’s not enough to only unplug it because you may lose data located in your hard drive but it’s required to use a Windows Home Server wizard which will help safely remove hard disk. Also make sure that you perform this procedure when you have a lot of free time since removal process will last for several hours.
To get started follow steps below
Step 1: Open Windows Home Server Console from any computer in your network and click Server Storage tab
Step 2: Here you will have a list of all available hard drives, simply right click on hard disk you want to remove and from context menu choose Remove
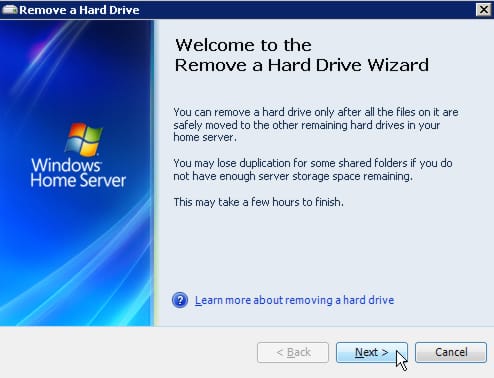
Step 3: A new window will open, click Next
Step 4: Windows Home Server will now estimate if there is enough available space to copy over data from the drove to another drive. If you do not have enough data connect another drive to your sever so you can copy your data.
Step 5: If you have enough space in new window simply click Finish
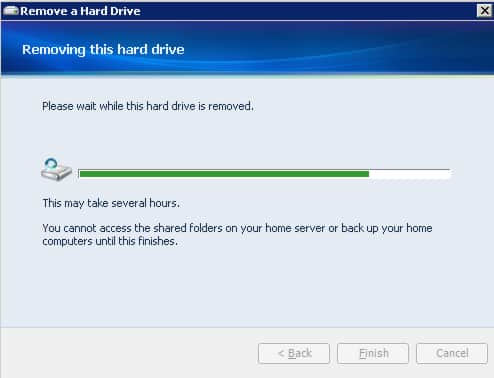
Step 6: When you start drive removal process you will get a notification in your system tray saying that your backup service is not running. During removal process do not remove any other hard drives or try to access any files. Let this process finish.
Step 7: When removal process begins it will take several hours until its finished so it’s the best to start this when you have enough free time and when you do not have to use your Windows Home Server
Step 8: Once you receive a message Hard Disk Successfully Removed click Done button to close the wizard
Step 9: Now go back to your Windows Home Server Console and under Server Storage you will see that connected hard drive is not visible anymore. You can now safely unplug your drive from the server
Step 10: Once you unplug the drive you will get a warning window which tells you that you now have less storage space.
[ttjad keyword=”desktop-computer”]


![Read more about the article [Tutorial] How To Block Installation Of Paid Apps On Your Android Using PIN Code](https://thetechjournal.com/wp-content/uploads/2013/01/checked-as65d46w5e4r.jpg)
![Read more about the article [Tutorial] How To Convert MKV Video To DVD In Windows](https://thetechjournal.com/wp-content/uploads/2012/03/project-settings.jpg)
![Read more about the article [Tutorial] How To Enable Spotify’s New Web Player](https://thetechjournal.com/wp-content/uploads/2012/11/respotify-profile-name-asd.jpg)