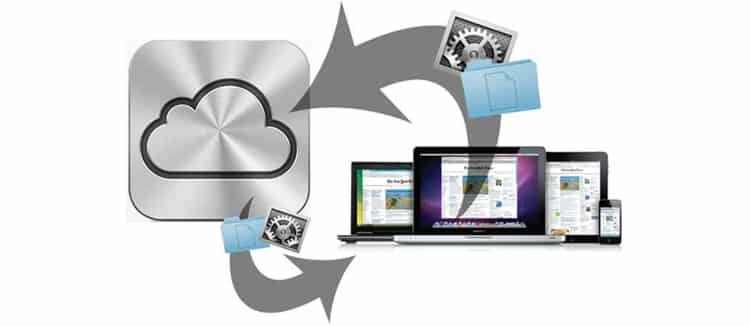
iCloud has the distinction of running on both Mac OS X Lion and Windows. In this tutorial I will show you how to use it and configure under Windows 7. Obviously the iCloud under Mac OS X have more advantages because of direct integration with applications such are iTunes, iCal, Address Book, iPhoto and Safari. However Windows users will not be neglected, because it is necessary to have Microsoft Outlook for your calendar and tasks manager.
Installing iCloud on Windows 7
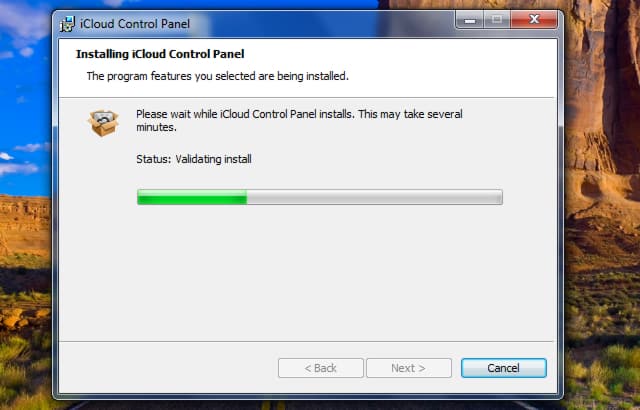
Step 1: First download iCloud for Windows and once the installation package is downloaded, double-click it to start the installation process.
Step 2: Click Next, check I accept the terms in the license agreement and click Next.
Step 3: Choose a location where you want to install iCloud and click Install. Wait a few moments for the installation to finish.
Step 4: Once the installation is finished click check the field Open the iCloud Control Panel and click Finish
Configuring iCloud under Windows 7
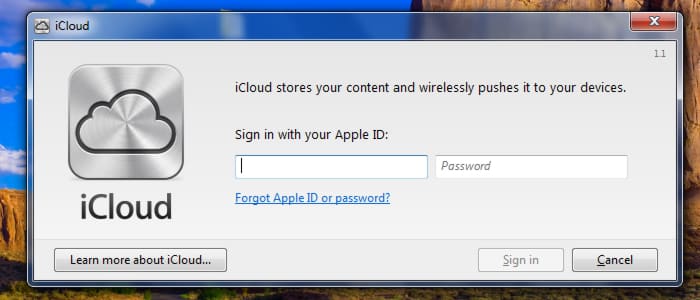
Step 1: The first screen asks you to enter your login details. Enter your Apple ID, the one you usually use on the iTunes Store or the App Store and click Sign In
Step 2: If you do not have Apple ID you can create once for free from the Apple web site. Note that once you login an iCloud icon will appear in the notification area, located at the bottom right of your screen. iCloud icon also can be found inside Windows Control Panel.
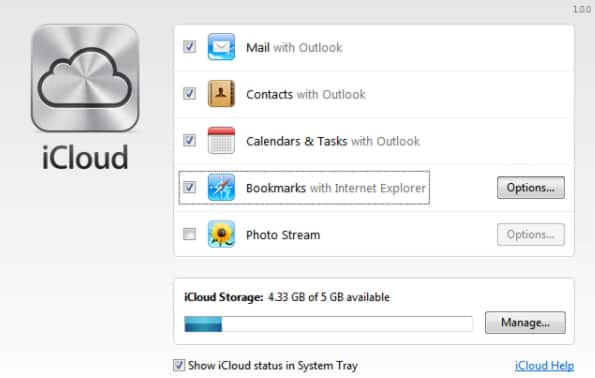
Step 3: Now you need to select what you want to sync to iCloud and across your iOS devices. If you want to sync your bookmarks, click on Options button next to Bookmarks and choose either Safari or Internet Explorer web browser and click OK. After that in new screen that popup choose Merge.
Step 4: If you have checked Photo Stream, photo feed is stored directly in the images directory and offers direct access to photos taken in the last 30 days from your iPhone for example. By clicking the Options button, you have additional options on how to store your photos at iCloud.
Unlike iCloud on Mac OS X Leo, you do not have iWork document sharing, Back to My Mac and Find my Mac. Finally, it is advisable to install iTunes which will allow you to access your applications, music and books.
[ttjad keyword=”mac”]


![Read more about the article [Tutorial] How To Bring Back Start Screen Tile Animation In Windows 8](https://thetechjournal.com/wp-content/uploads/2012/11/windows-8-regedit-sa5d49w87r98we.jpg)
![Read more about the article [Tutorial] How To Easily Rename Your Movies Or TV-Shows](https://thetechjournal.com/wp-content/uploads/2012/04/global-settings.jpg)